[Jamie Zawinski] Controls His Drapes From The Command Line

As one of the founders of Netscape and the Mozilla Project, [Jamie Zawinski] is no stranger to frustration elicited from syntax errors, terrible implementations, and things that don’t work even though they should. This familiarity of frustration is what makes [jwz]’s command line controlled curtains so great; it’s rare to see someone so technically proficient freaking out over the lack of DHCP on an Arduino Ethernet.

[Jamie]’s project begins as so many do – modifying an existing piece of hardware to connect to the Internet. This is easier said than done, as [Jamie] fried a USB hub, FTDI cable and an Arduino Ethernet all at the same time. Finally turned onto the seeed relay shield, [jwz] got busy writing scripts to power his curtain.

Of course, this level of automation is nothing without a good bit of integration. After [Jamie] realized his projector (a Panasonic PT-D5500U) and receiver (Denon AVR-2805) could talk to his computer, he got busy mashing them together with a Griffin PowerMate. Mashing the button on the PowerMate turns on the projector and closes the drapes. There’s also a cron job running so that [Jamie] is reminded of the glowing orange ball in the sky.

Weekly Roundup 1/14/12

For those of you who haven’t been paying attention in class, here is the best of what has hit our blog this past week:

In the #1 spot is a post about a project where some pretty ambitious hackers found a way to run Linux on a digital picture frame. Bravo!

Next up is a post where [Chris] needs some help getting his 1/10th scale, cycle accurate Cray I ‘supercomputer’ to boot.

In third place is a post about a very elaborate 737 cockpit simulator that was built over the past couple of years. This is a pretty intense build with lots of details about how it was done.

Following that is a post about a 3D-printed device that is similar to a phenakistoscope but instead of using slits to allow you to see the models in succession, it blinks some LEDs at the appropriate times.

Finally rounding things out in fifth place is a post about Makerbot Industries’ most recent release, which will let you print out your own phenakistoscope. This 3D printer is bigger than their makerbot and optionally sports two extruders instead of one so that you can do dual colors or possibly dual materials.

Python Maps Mouse Movements On An LED Matrix

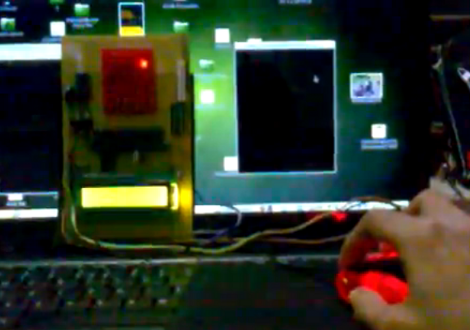
[Vinod Stanur] is working with a mouse input and a microcontroller driven LED matrix. The mouse cursor is tracked inside of a window by Python and the resulting coordinates on the LED grid are illuminated. He calls it an LED matrix “Paint Toy” because one of the features he’s included lets the user create pixel art like in MS Paint.

The 10×8 grid of lights is controlled by a PIC 16F877A. This display orientation is perfect for the 8-bit controller, which uses an array of ten bytes to keep track of the pixel data. A computer running his Python application (which uses the Pygame module to track the mouse movements) communicates with the display board via an RF connection. Five bytes plus a stop character make up the communication packet. The first two bytes contain the coordinates of the cursor, the other three bytes contain mouse button status.

As you can see in the demo after the break, the system is very responsive. The mouse can be moved quickly without latency issues, and if the cursor leaves the tracking window it gets picked up right away when it re-enters.

Continue reading “Python Maps Mouse Movements On An LED Matrix”

Laser-triggered Camera Rig Update: 2011 Version

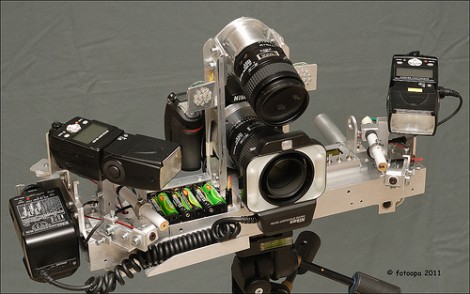
[Fotoopa] keeps churning out new iterations of his laser-triggered camera rig. This is his latest, which he calls the 2011 setup. Regular readers will remember that we just covered a different version back in November; that one was the 2010 rendition. It had two DSLR cameras offset by 90 degrees with mirrors to face forward. This time around he has gone back to the single camera setup which was what he used on the first and second versions seen way back in 2008.

Whew, that’s a lot of links to specialty DSLR hardware. Let’s bring it back to this newest model (the link at the top). The biggest improvement is the shutter delay between when the laser beam is tripped and the image is take. [Fotoopa] reports that he’s managed to reduce that time down to 3.3 milliseconds. This is thanks to an external shutter replacement which improves on the stock shutter’s 52 millisecond delay.

For those that are seeing this for the first time. [Fotoopa] uses this rig to photograph insects in motion. A laser trip wire is responsible for triggering the shutter, and it does so with stunning results!

[Grenadier] Wins The Laser Cutter For His Portable X-ray Project

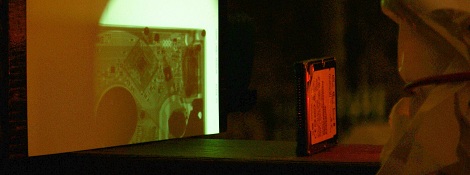
The results of the Full Spectrum Laser contest over at Build Lounge have been announce. The top prize of a 40 watt deluxe laser cutter goes to [Grenadier] for the portable x-ray machine we saw at the beginning of the month. We think this is an excellent choice for top prize because, come on, this is pretty hard-core.

Taking second place was a Christmas light show choreographed to music. The open spaces of the University of Minnesota hosted the installation. We’ve embedded a video of the performance after the break.

Third prize went to the QC Co-lab Hackerspace for their light wall. It uses the ever popular GE Color Effects lights, with each bulb housed in a vacuum formed pyramid which acts as a diffuser.

There were also several honorable mentions. There’s a special place in our heart for [Jack Buffington’s] solar clock which was included in this group. We think the use of fiber optics to pipe the sunlight into a machined index ring is ingenious. And you’ve got to give him credit for developing a project that uses no electricity and almost no moving parts (there is a slider to adjust for daylight savings time).

Continue reading “[Grenadier] Wins The Laser Cutter For His Portable X-ray Project”

Replacing An Overheating Tablet Power Supply

[Dave] has an ASUS tablet PC with a little problem. The device is charged via the docking connector’s USB cable when plugged into a special wall transformer. The problem is that the wall unit tends to overheat, and is shut down by a thermister inside to avoid permanent damage. The word on the Internet is to drop it in a zipper bag and chill it in the freezer for a bit. Although this works, it’s not the permanent solution that he was looking for. Instead, he hit the parts bin and built his own power supply replacement without buying anything.

The device is simply looking for 12V on the power pin (pin 1) of the USB cable. [Dave] dug through his mountain of unused AC adapters and found one that fit the voltage and current specs of the stock unit. He also grabbed a dusty old motherboard and plucked the USB ports off of the back. A bit of protoboard makes for a good base to connect the AC adapter wires to the ports, which was then covered with one big shrink tube. The result is seen above, and demonstrated in the clip after the break.

Continue reading “Replacing An Overheating Tablet Power Supply”

Tool Box Light Dimmer Helps Out A Friend, Offers Up Design Tips

toolbox-lighting

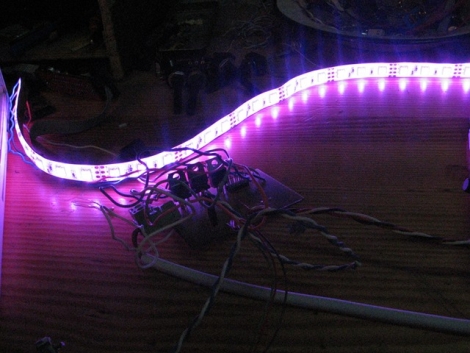
[miceuz] has a friend that works as a theatre technician, and in the course of his job he often needs to jigger with various stage components while shows are in progress. As you can imagine, the lighting situation is far from ideal, so he asked [miceuz] to build him an adjustable lighting solution for his tool box.

The circuit itself is relatively straightforward, using an ATMega88 to provide the PWM required for dimming and color control. Input is taken from three different sources, a rotary encoder for color selection, a pot for brightness control, and a button to turn the light strip on and off.

[miceuz] says that while project came together pretty easily, it still presented some issues along the way which provide some useful design reminders for beginners (and some veterans) alike.

First and foremost: debounce, debounce, debounce. [miceuz] forgot this mantra and made a mad dash to add capacitors to his design after etching the PCB to ensure that his inputs were not bouncing all over the place. He also noted that one should always be sure to read the ADCL before the ADCH register when decoding ADC data. His final observation is that using thick traces is the best policy whenever possible – he ran into a lot of issues with traces detaching during assembly, which he had to rework with wire and solder.

In the end, his friend was happy with the result, and [miceuz] is a better hacker for having worked through his issues. What sorts of important/useful lessons have you learned through the course of your projects? Be sure to share them with us in the comments.