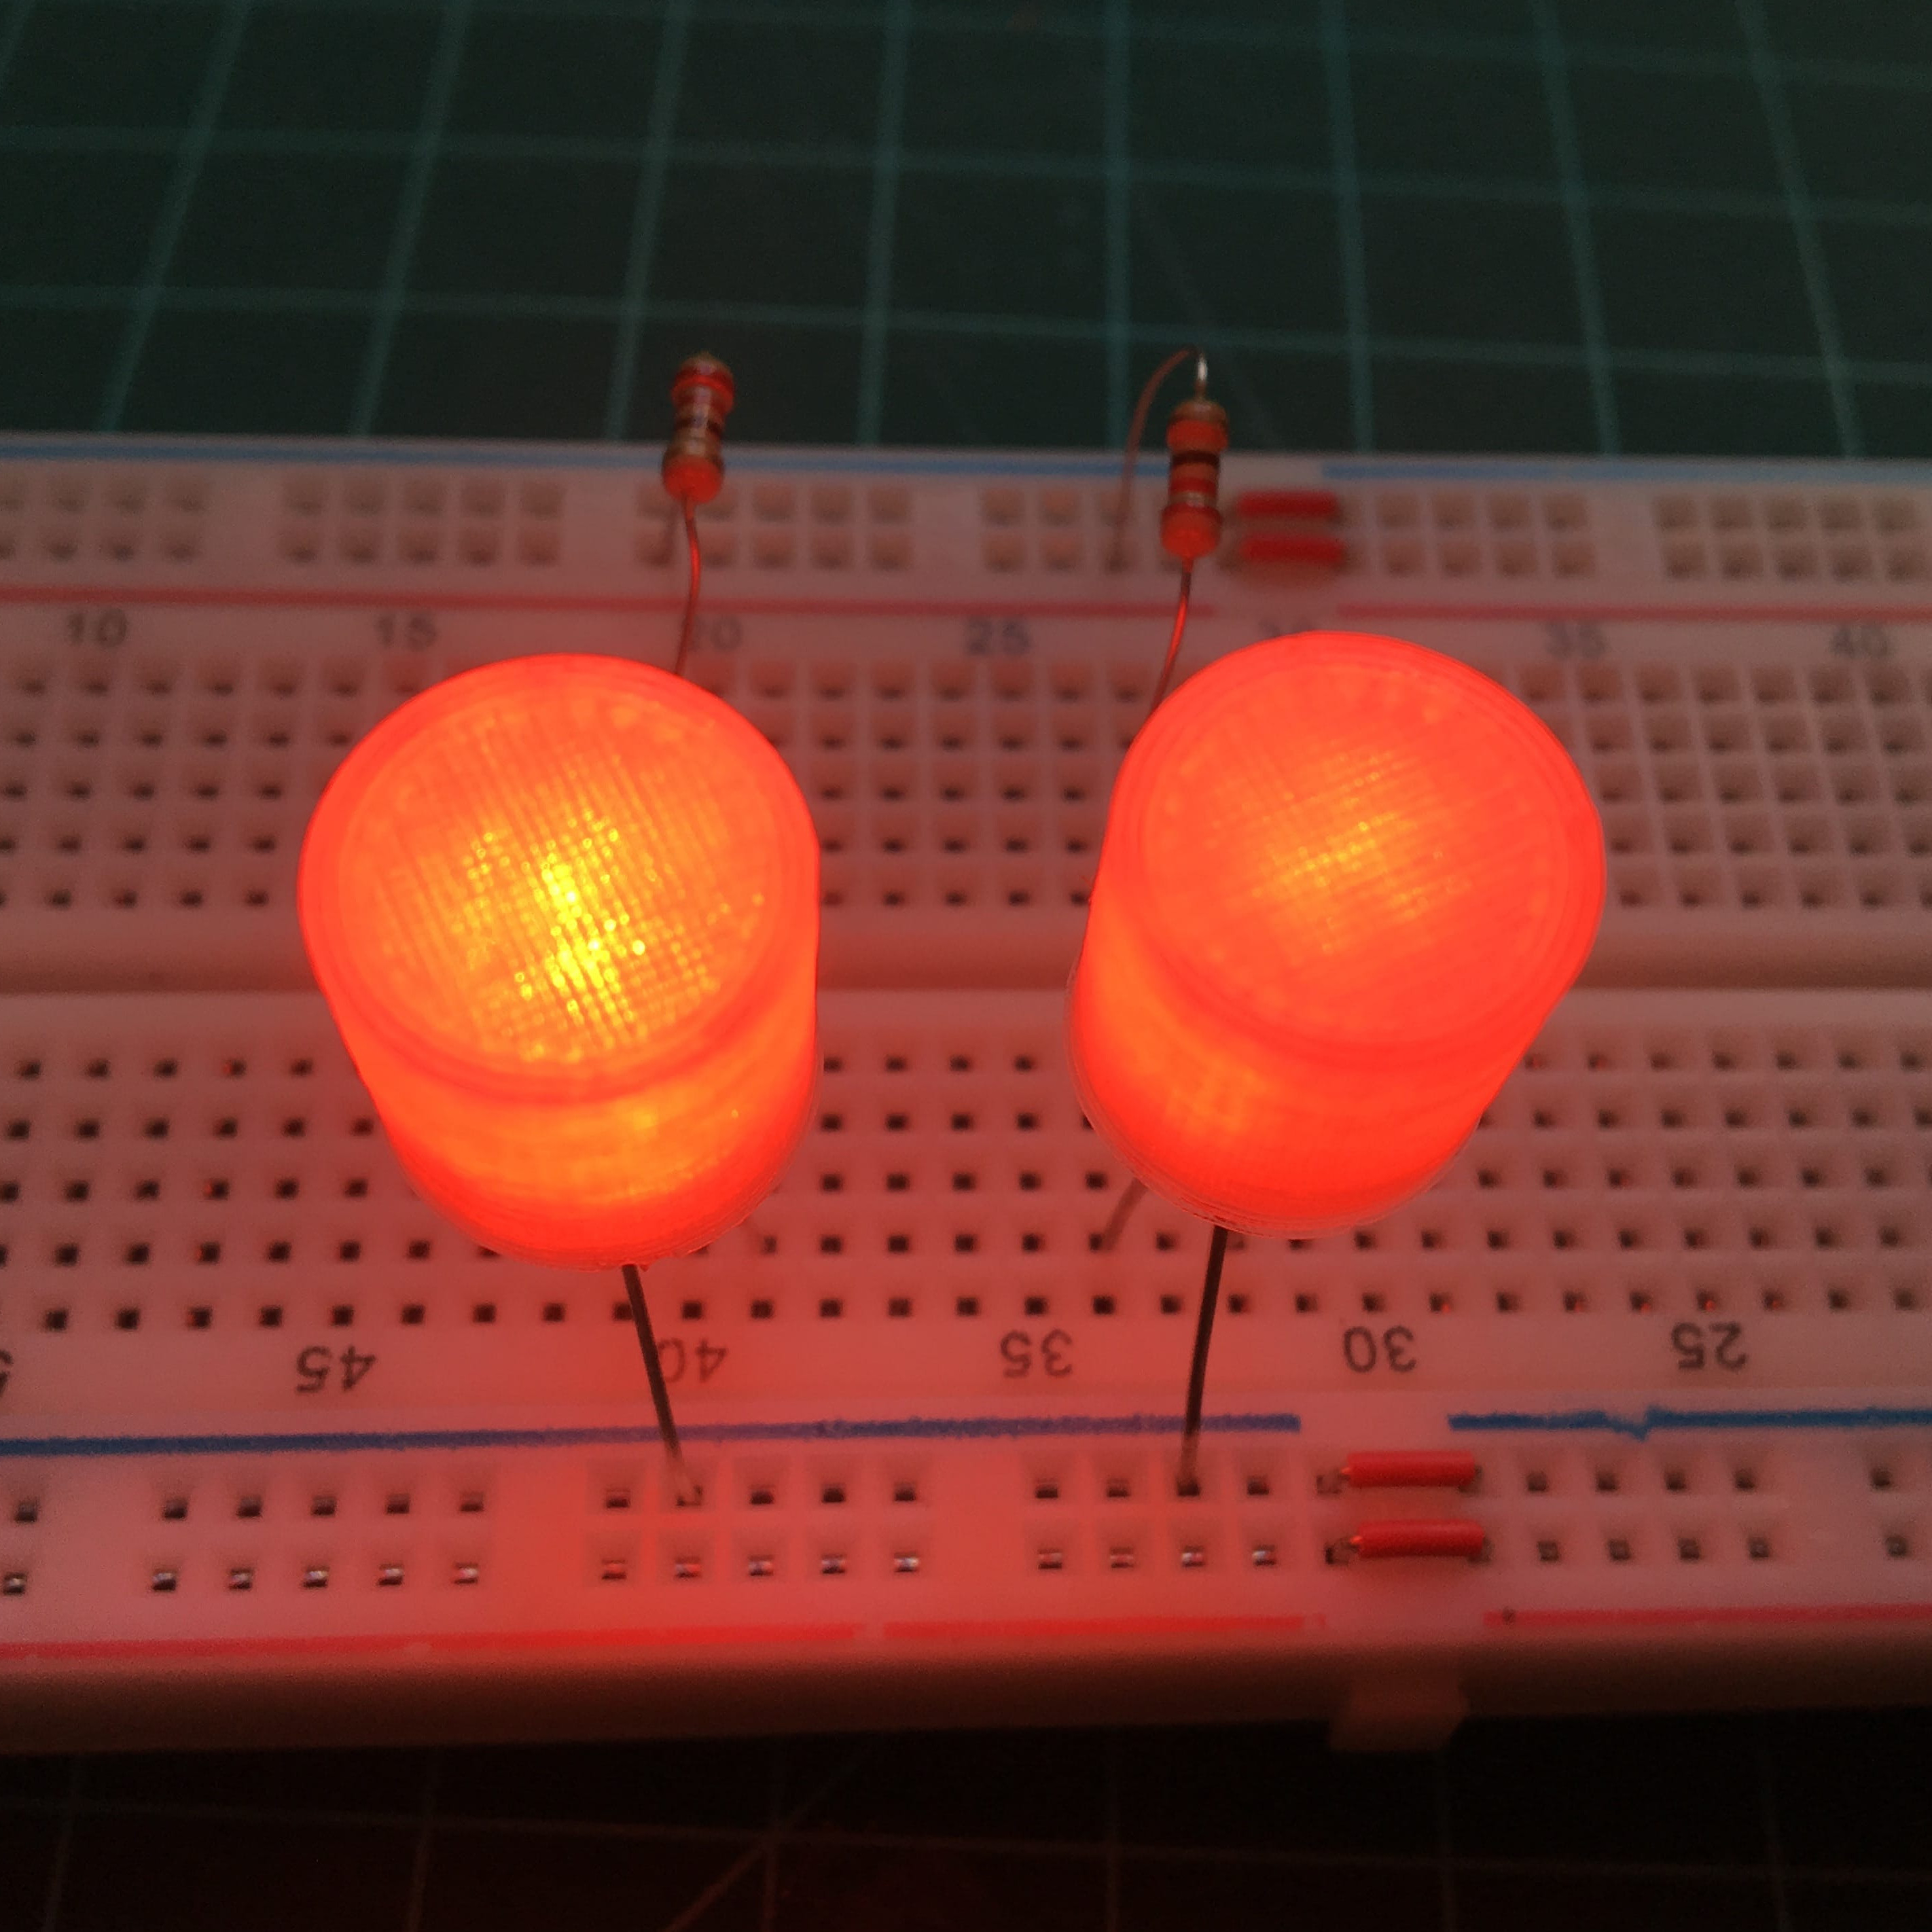
There are a number of ways to efficiently and elegantly limit an LED’s brightness, but [Tommy] found that using a light pipe or diffuser can integrate better with a device, especially when the device itself is mostly 3D printed in the first place.
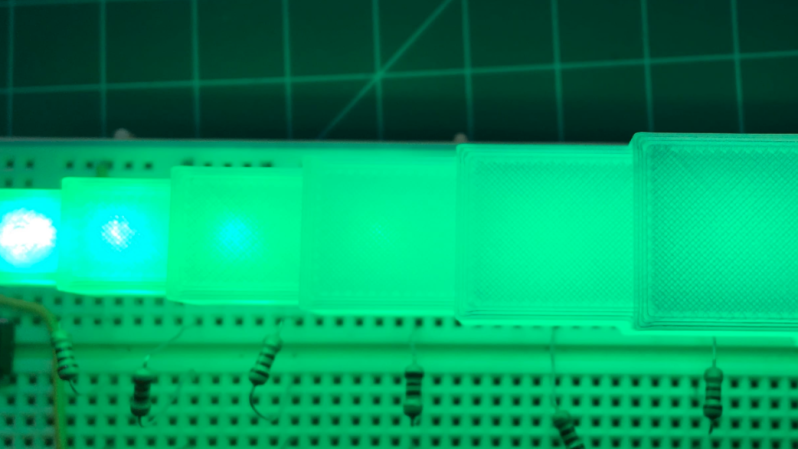
For some problems the Goldilocks approach is the way to go. [Tommy] designed a small array of different LED cover options, and tested each to see what yielded the best results for his printed kit. Some of the biggest takeaways include:
- 100% infill is best for even results (although interesting shadows happen at less than 100% infill.)
- Interesting things happen with 7 to 11 mm of top layers of clear PLA, when illuminated from below with a 5 mm high-brightness LED. An even diffusion of light starts to give way to a circular gradient as the upper layer gets thicker.
- LEDs emit their light mainly upward in a round pattern. Corners will always be darker, even more so if the guide is not round. This effect becomes noticeably more pronounced as the light guide grows in size, putting a practical upper limit on its effective dimensions.
[Tommy] explores these kinds of issues because he designs and builds electronic synth instruments, and they are mostly 3D printed. He explores efficiency and is always happy to share his findings about what works and doesn’t work.
Of course, the usual ways to deal with an overly-bright LED are to limit its current or control its brightness by driving it with a PWM signal. The right approach depends on the application and the scale of the design, and there are actually quite a few ways to crack this nut. Luckily, our own [Inderpreet Singh] is here to tell you all about how best to control LED brightness.


I had a flashlight with like a million lumen or something brightness. The kid wanted a flashlight that doesn’t blind him or others. So I printed a 1mm diffusor that I put into the flashlight instead of the glass. Problem solved. Sure it would be more efficient to dim the light, but this was 100x easier.
i have a cheap led desk lamp that i use to read in bed, and i put a PWM dimmer in it, but it turned out it didn’t work because the wall wart power supply used load detection to turn itself off. it sends out a pulse several times a second and if insufficient current flows then it turns itself back off.
and now you tell me i could’ve just put a piece of paper in front of the light!! haha thanks
A diode, a resistor and a cap are all pretty cost effective
Yeah, but math is apparently the hard part.
A great light pipe is a simple sheet of perspex, with an optional coat of silver hobby paint on the outside edge, and bottom.
You can print a 1mm thick lower section of your case, then add a 3mm sheet with holes pre-drilled for the LEDs. Finish your print with another 1mm, to make a 5mm total, complete with perspex reinforced centre.
If 5mm LEDs are too much, you can use SMD versions. Carefully “bend” the perspex over these.
Looks like this was just a way to produce a solid cube with a hole rather than taking advantage of the 3D printer to vary the internal geometry. e.g. adding internal cavity shaping to compensate of the LED’s angular distribution function to produce an evenly lit square (or other arbitrarily shaped top surface).
This. And SMD LEDs often have non-circular beams that can befenif from that as well.
However, I wonder if the typical 3D Printer has the granularity for precise (er, good?) enough control of the optics.
+1 for editing comments. befenif == benefit
I’ve dealt with led issues a lot. One way to diffuse the light from a high power led, in order to avoid darker shadows and have an even color, is to sand the clear acrylic head with a 800+ grit paper. No elbow grease , just lightly sand it so that it becomes opaque. Works like a charm. You can get away with as low as 400grit if you want a scatter effect from an IR led. Put it in n a cover box and voila.
I start with a very focused LED then melt a shallow cone down the middle of the LED package with a pointy solder iron.
This is very easy and sends most of the light out the sides in a 360° ring.
Like this image but with a smoother, more conical hole.
https://i0.wp.com/makezine.com/wp-content/uploads/2015/08/Mims_Amateur_Scientist_MAKE_47_Fig_5.jpg?resize=620%2C620&ssl=1
The deeper the cone, the more of a ring out the sides.
The shallower the cone, the more evenly distributed the light.
That’s a neat hack. Was just looking through a bunch of LEDs here, and noticing that some have cone reflectors already molded in from the factory. They work very well, IMO.
This is like that, but with a bit more diffusion instead of just reflection?
No, those collimate (focus) the light. Le Dirday is talking more like a circular fresnel lens (light house/train signal indicators..). I love that trick, look forward to trying that!
What if you modeled an inverted cone or a convex lens into the light pipe? Because it’s thicker in the middle and thinner at the edges it will diffuse more the light at the center and maybe even the light output.
Basically you have to try to collimate the output of the light so at the surface it’s as even as possible, but i understand it’s not that simple because lens and parabolic reflectors always concentrate more light at the center.
Maybe a fresnel like lens could work
I was working on a cool project that required luminated push buttons. I decided to get that awesome 1980s Alpine radio look. This took lots of trial and error. I believe Alpine uses a clear plastic with an etched back. I don’t have a physical reference since someone stole my pullout radio in 1990. The trick was 100% infill, 110% over extrude, hot temps 225 with 75 bed with clear PLA at 25 ms speed. Buttons came out close and looked awesome