We all love a good larson scanner. They’re so iconic that Evil Mad Scientist Laboratories makes a kit. However, just getting a kit and building it isn’t enough for many of us. How would we make a larson scanner better? Simply by adding more. EMSL shows us how you can modify their kit in both hardware and code to chain them together. They detail the modifications very clearly and show some video examples. You can see a three larson scanner chain in action after the break.
Author: Caleb Kraft1567 Articles
DIY Print Head Experiments
Inkjet printheads are a pretty rare thing to see done in home workshops. We would love to see more and got really excited when we saw this single nozzle, drop on demand, head being built. using a piezo disk intended to be a cheap buzzer and some reprap magic, [Johnrpm] got some results. [Madscifi] has been refining the design of the nozzle and the two have shared the process with us. Since it drops a single droplet of liquid, it can be used in a variety of manners, such as dropping plain old boring ink, or dropping a solvent into a powder for some 3d printing. You can see an example of the 3d printing in sugar above.
[via Makezine]
Chumby Takes Its First Steps
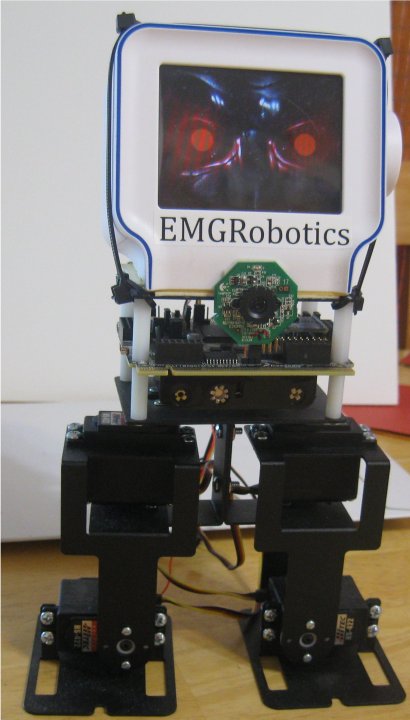
[Eric Gregory] has gone a bit mad scientist on the Chumby, turning it into a bipedal bot. We expected all kinds of cool chumby hacking, but we can’t say we saw this one coming. [Eric] points out that with a 454Mhz processor, 64MB of RAM, 2GB of expandable storage and a USB host port, the Chumby is more than capable as a robotics platform. With the addition of a mysterious and soon to be announced sensor board, he has made this chumby into a walking biped. While anyone who can write programs for linux, or even write flash applications can create software for the chumby, [Eric] chose to port the Robot Vision Toolkit over. This opens the doors to people who can write in Basic or who have written for the C64 or Apple][. You can see a video of this guy in action after the break.
Learning To Walk, A Tutorial On Making Bipeds Walk
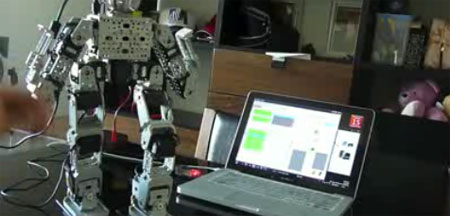
[Robert Lam] has produced a number of video tutorials, his latest being a tutorial on how to make a biped robot walk. He is mainly covering the individual motions and actions. He doesn’t go into any specific programming, but rather breaks down the act of walking into several motions and discusses the reason you need them as well as some variations. For some this will seem like obvious observations, but we’ve seen plenty of biped robots that attempt to walk without shifting their weight.You can watch this video after the break, but be sure to dig around in some of his other tutorials for plenty of good stuff.
Continue reading “Learning To Walk, A Tutorial On Making Bipeds Walk”
Creepy HDD Activity Lights Just In Time For Halloween
We almost skimmed right past this spooky HDD activity light thinking it was just another set of LEDs wired to the motherboard. However, they explained right off that they didn’t want just another blinking light on their case. They wanted it to change its intensity smoothly based on hard drive activity. While there are a million ways this could have been over engineered, we think they did a pretty good job of simplifying the circuit. The bill of materials is pretty much just a handful of resistors, LEDs, an opto isolator, and a capacitor. The effect, is quite nice and can be seen in the video after the break.
Continue reading “Creepy HDD Activity Lights Just In Time For Halloween”
Yashica Electro Shutter Mod
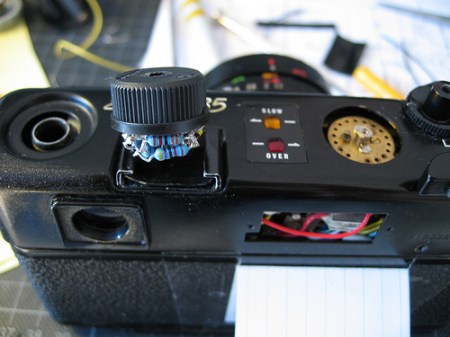
We saw this picture on Flickr this morning and started getting really curious. The caption says that [Steffanhh1] modified the Yashica Electro Shutter camera to be fully manual. We’re not camera experts so we had to do a little research to see what was going on here. The Yashika Electro got its name due to how the shutter speed is controlled. You have two little LEDs that light up depending on which direction you need to turn the dial (based on ambient light?). [Steffanhh1] really wanted full control, so they hacked in a dial with a knot of resistors under it. The first test photographs are downloading developing, so we’ll have to wait to see the results.
Upgrading The Freetronics Twentyten With A Real-time Clock
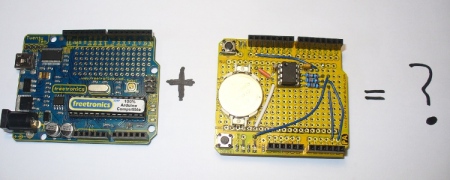
[John Boxall] finds himself doing a fair amount of projects that require a realtime clock. He does fast and frequent prototyping, usually using the Freetronics twentyten which is an Arduino alternative that boasts a few features like a nice prototyping area, edge visible LEDs, and Mini USB. What is lacking, however, is a real-time clock. Instead of making another shield type system, he just wanted to permanently add this feature to his board. He shares the whole process is photographed and explained quite well for anyone who would want to follow along.