Thumbnail that say The Hacklet

The Hacklet #7 – MIDI

7

This week’s Hacklet is all about Hackaday.io projects which use MIDI, or Musical Instrument Digital Interface for the uninitiated. MIDI was designed from the ground up as an open communications standard for musical instruments. Nearly every major instrument company participated in the design of the standard. MIDI was first demonstrated in January of 1983, with the communications standard document following in August. Hackers, makers, and musicians immediately ran with it, using MIDI to do things the designers never dreamed of.

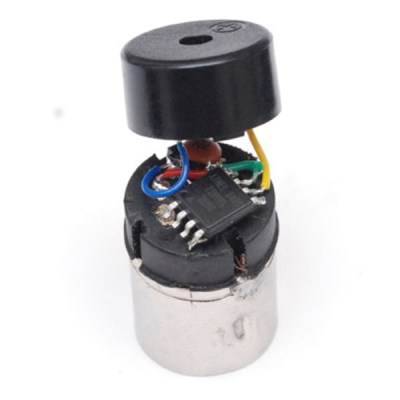
SAMSUNG[Robert’s] 9×9 Pixel Muon Detector/Hodoscope  is a great example of this. [Robert] is using 18 Geiger Muller Tubes to detect cosmic particles, specifically muons. The tubes are stacked in two rows which allows him to use coincidence detection. Rather than just plot some graphs or calculate impact probabilities, [Robert] hacked a Korg Nanokey 2 MIDI controller to output MIDI over USB messages corresponding to the detected muons. Check out his video to see a sample of the music of the universe!


diyMPCNext up is [Michele’s] DIY MPC style MIDI controller. [Michele] needed a simple low-cost drum controller that wouldn’t wake his neighbors. He loved Akai MPC controllers, so he rolled his own. [Michele] investigated force sensitive resistors but found they were very expensive. At a cost of $8 USD each, his resistors alone would be nearly the cost of a low-end MPC!  [Michele] created his own sensitive pads using a sandwich of copper tape and 3M Velostat conductive sheets. An HCF4067 routes all the analog lines to a single pin of Teensy 3.0, which then converts the analog resistor outputs to MIDI messages.

pic-midi-1vo[Johan] loves his analog synths, and wanted them to be able to talk MIDI too. He built MIDI2VC, a circuit which converts MIDI to 1V/Octave (similar to  CV/Gate). 1V/Octave is an analog control system used in some early synthesizers, as well as many modern analog creations. Pitches are assigned voltages, and as the name implies, each octave is 1 volt. A4 on the keyboard is represented by 4 volts, while A5 is 5 volts. [Johan] used a Microchip PIC16LF1823 to receive and convert the MIDI signals. The PIC outputs I2C data to an MCP4725 DAC which drives the analog side of the house.

eldanceLong before DMX512 came on the scene, hackers were controlling lights via MIDI. [Artis] continues this with El Dance, a wireless system for controlling electroluminescent wire worn by dancers. Similar in function to  [Akiba’s] EL wire system, [Artis] took a lower cost route and used the venerable NRF24L01 radio module. He added an antenna which gives the modules a range of about 30 meters. The computer running the dance routine’s music sees the transmitter side of the link as a MIDI instrument. Standard note on and off commands activate the EL wire strings.

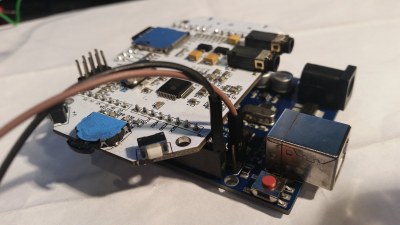
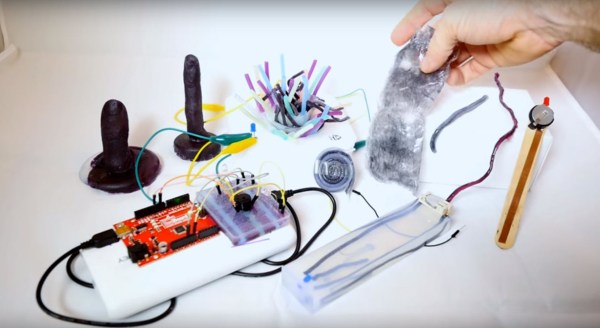
midi-vibeOur final hack comes from [Jen] who built a MIDI Vibrator Inductor Synth. [Jen] performs in an experimental music band called My Wife, with instruments as varied as violins and sewing machines. [Jen] must be a fan of Van Halen’s Poundcake as she’s using a similar technique, with a MIDI twist. An Arduino converts MIDI notes to analog values, which are sent to a motor controller board. The motor controller uses PWM to drive a vibrator motor at the frequency of the note being played. Like all DC motors, the vibrator puts out a ton of electromagnetic noise, which is easily picked up by [Jen’s] electric bass.

That’s it for this week’s Hacklet! Tune in next week for more projects from Hackday.io!


Home Made Lightbulb Is A Fun Proof Of Concept

home made lightbulb

Do you ever look at some of the most classic and world-changing inventions and think, “Darn, I totally could have invented that if I was born 100 years ago!”. Sometimes its a lot of fun to try to recreate these inventions making use of period-accurate materials — like this jar-based carbon filament light bulb!

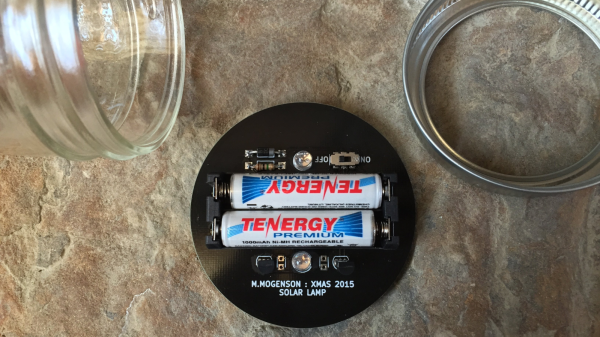
The project is made out of simple household materials that you probably already have. A jar, some pencil lead, a clothes hanger, some nuts and bolts, a bit of silicone, piano wire and a bit of JB weld. The only thing you might not have is some compressed CO2 — unless you have a kitchen fire extinguisher, a paintball gun, or one of those home-made pop carbonation machines… Alternatively you can just buy some dry ice and let it sublimate in the bottle before you seal the bulb.

No fancy tools are needed (except for an air nozzle for filling the bulb), and it’s not too difficult to construct. The trickiest part is probably drilling small holes through the screw, but if you choose nice brass screws it’ll be quite easy to do.

Once it’s all assembled, plug it into a car battery and enjoy your inefficient 1-lumen light bulb! Still — pretty fun experiment!

$400 DIY CNC Machine Is Surprisingly Simple!

Once you go CNC you never go back — they’re just too darn convenient! [Drez20001] shows us how he made one for around $400. Who needs expensive roller bearings when you can use drawer slides?

That’s right — the majority of the cost of this CNC machine are the things you can’t really get any cheaper — the servos (or steppers), the belts (or leadscrews), and of course the motor controller plus computer interface. Everything else? Plywood, drawer slides, and a bunch of fasteners can be had for next to nothing!

He had wanted to build a CNC for years but was mostly hesitant in doing so due to the cost and apparent complexity of the build, but when he started to look into it seriously, he found it really wasn’t the case! It’s built on the basic gantry system design where the X-axis drives a bridge containing both the Y and Z-axis. It’s not a heavy duty machine by any means (he just has a small dremel-like tool in it right now), but for his purposes it’s more than enough.

One rather creative way he saved a few dollars is with his motor couplers — he’s actually taken rubber gas line and cinched it onto both shafts, which he says works quite well!

Continue reading “$400 DIY CNC Machine Is Surprisingly Simple!”

2014 Red Bull Creation Is Under Way

We rolled into Detroit this morning and immediately wanted to know what the teams for the Red Bull Creation were up to. But first thing’s first, what’s the surprise theme? [Brian Benchoff] caught up with [Tyler Hansen] and [Jason Naumoff] who filled us in. The theme is “Reinvent the Wheel”.

The seven finalist teams are competing in a live, non-stop build which started yesterday and continues until tomorrow evening.

Party Ready Mini LED Volume Tower

Audio LED Light Tower

There are many very cool visual effects for music, but the best are the kind you build yourself. [Ben’s] mini LED volume towers adds some nice bling to your music.

[Ben] was inspired to created this project when he saw a variety of awesome stereo LED towers on YouTube (also referred to as VU meters). We have even featured a few VU meters, one very recently. [Ben] goes over every detail, including how to test your circuit (a very important part of any project). The schematic is deceptively simple. It is based on the LM3914 display driver IC, a simple chained comparator circuit is used to control the volume bar display. All you really need is a 3D printer to make the base, and you can build this awesome tower.

See the completed towers in action after the break. What next? It would be cool to see a larger tower that displays frequency magnitude!

Continue reading “Party Ready Mini LED Volume Tower”

The Electric Imp And An Easy Hackaday Prize Entry

impy

We’re a little under a month until the first cutoff date for The Hackaday Prize, and there have been a few questions we’ve been answering again and again: ‘what does ‘connected’ mean?’ and, ‘do I really have enough time to build something for The Hackaday Prize?’ Lucky for you, [Matt] from Electric Imp put together a very short demo of a sample THP entry. It’s a ‘HACKING’ light, kind of like an ‘on air’ light you’d find in a TV or Radio studio.

The idea for the project came from a tweet to [Matt] that seemed simple enough to implement. After grabbing an Imp and a breakout board, a LED, button, and resistor were wired up, with power supplied over USB. The code for the device was simple enough, and the Imp makes it easy to make that ‘hacking’ button tweet and serve a simple web page.

[Matt] pulled this project together in an afternoon, and although it’s not nearly as complex as the 3D printers, CNC machines, and freakin’ tricorders that are also entered into The Hackaday Prize, it meets all the requirements we’re looking for.

Of course, ‘connected’ is a very broad term, and even if you have a project that communicates with LEDs, a serial connection, or even pigeons, it’ll be more than enough to tick that ‘connected’ check box.

There’s still a few weeks until the first cutoff date for The Hackaday Prize, so get moving.

[via Bearded Inventor]

Vote Or Be Sorry — Round 2 Of Astronaut Or Not

b2

Have you voted in the second round of Astronaut or Not? You’d better get in there by Friday at 9pm EDT or miss your chance to win a Bukito Portable 3D Printer in the voter’s lottery.

You must vote at least once per round to be eligible. At the appointed time we’ll draw a random number and look up to see if that profile on Hackaday.io has voted. If so, winner winner (like the Rigol scope that was awarded last Friday). If not, no Bukito for you! This new round just started at the beginning of the week. Your vote quota has been restored, and we tweaked the interface to only show you each project once.

In addition to your own gain, you’re helping us choose which projects deserve a bit of swag. We’re one again sending shirts to the projects who rise to the top of the head-to-head gudgematch.

UPDATE: To clarify, you must vote in the current round to be eligible for the current voter lottery. Your participation in previous rounds has no bearing on the current round eligibility.