ATtiny Hacks: ATtiny-controlled 4x4x4 LED Cube Has A Unique Design

ATtiny Hacks Theme Banner

simple_attiny_led_cube_charlieplexing

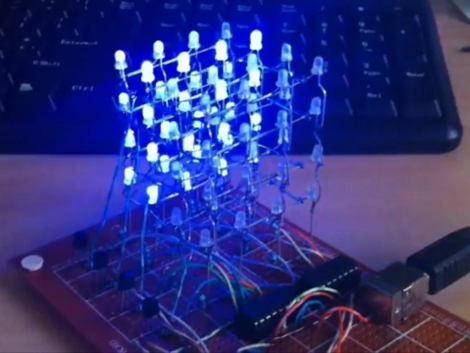
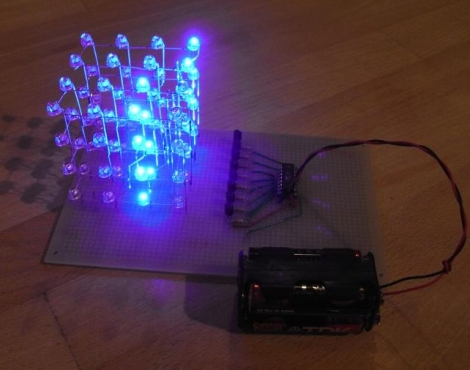
[Tom] recently started experimenting with Charlieplexing, and wrote in to share the 4x4x4 cube he built with an ATtiny24. Similar to this minimalist 4x4x4 LED cube we featured the other day, [Tom’s] version attempts to use the least pins possible to drive the LEDs, but in a different manner.

[Tom] didn’t want to sacrifice brightness, so he decided that the LEDs would have a 1/8 duty cycle. The problem is that the ATtiny’s I/O ports can’t support that kind of current so he needed a different means of driving the LEDs. Rather than employ any sort of shift register to control the LEDs, he opted to exclusively use transistors as he had done in previous projects.

For his Charlieplexed cube to use a total of 9 I/O pins he had to get creative with his design. He broke each level of the structure into two non-connected groups of LEDs, utilizing diagonal interconnects to get everything wired up properly.

It seems to work quite nicely as you can see in the video below. While it uses two more I/O lines than the other ATtiny cube we featured recently, we love the simple, shift register-less design.

Continue reading “ATtiny Hacks: ATtiny-controlled 4x4x4 LED Cube Has A Unique Design”

ATtiny Hacks: 2313 Driving A 4x4x4 LED Cube

ATtiny Hacks Theme Banner

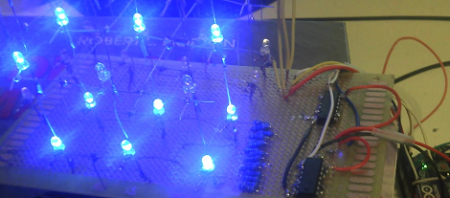
[Kirill] wrote in to share his ATtiny hack, a 4x4x LED cube. The 64 LED display is a great choice to fully utilize the hardware he chose. It’s multiplexed by level. Each of the four levels are wired with common cathodes, switched by a 2N3904 transistor. The anodes are driven by two 595 shift registers, providing a total of 16 addressable pins which matches the 4×4 grid perfectly. All said and done it only takes seven of the ATtiny2313’s pins to drive the display. This is one pin more than the chip’s smaller cousins like the ATtiny85 can provide. But, this chip does include a UART which means the project could potentially be modified to receive animation instructions from a computer or other device.

You may have noticed the USB port in the image above. This is serving as a source for regulated power in lieu of having its own voltage regulation hardware and is not used for data at all. Check out the animations that [Kirill] uses on the display by watching the video after the break. You’ll find a link to the source code there as well.

Continue reading “ATtiny Hacks: 2313 Driving A 4x4x4 LED Cube”

Largest LED Cube We’ve Ever Seen Is Still Only Half Complete

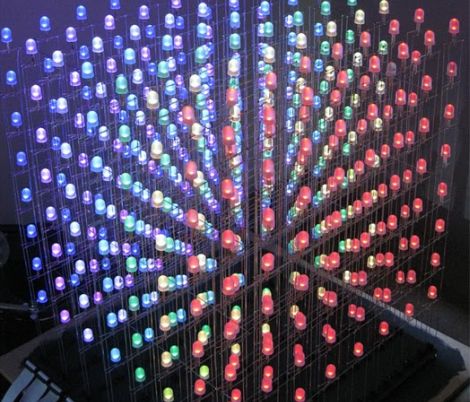
[Brendan Vercoelen] is a university student in New Zealand studying engineering. He says his recent gigantic LED cube build, “isn’t very serious” compared to other student projects, but that doesn’t mean it’s not impressive. The original plan for the build was a 16x16x16 tri-color LED cube. After realizing how much soldering that really was, [Brendan] scaled back his design a little to a 16x16x8 cubeoid, but the other half can be attached when the project is complete.

From the cost breakdown, [Brendan] only spent about $550 USD – far less expensive than we expected. The most expensive item was the 4,000+ Red-Green-Orange tri-color LEDs. The largest LED cubes (1, 2, 3) we’ve covered have maxed out at 8x8x8, or 512 total LEDS. Even though [Brendan]’s build is only half done, it’s still four times larger in volume than the largest LED cube we’ve seen.

The gauntlet has been thrown down. This is the one to beat, folks. Check out a video of the cube after the break.

Continue reading “Largest LED Cube We’ve Ever Seen Is Still Only Half Complete”

Using An LED Cube As An Audio Visualizer

[Isaac] sent in his mashup build of a LED cube combined with a graphic EQ meter. The build is fairly simple and from the video we can tell that his build would be a great installation in a dubstep venue. While it’s not the 9x9x9 cube possible with some judicious coding we think it’s a very fitting display for the intended purpose.

Continue reading “Using An LED Cube As An Audio Visualizer”

Third Time’s A Charm – 512 LED Cube Kicks It Up A Notch With RGB LEDs

rgb_led_cube

In the comments section of our 512-LED cube post from the other day, several people suggested that to take the project up a notch, building a similar cube using RGB LEDS was the next logical step. It seems that Hack-a-Day reader [vespine] was way ahead of the curve, as he sent us the build details of his 8x8x8 RGB cube shortly after the other story was published.

His cube, which was finished earlier this year, uses 512 10mm RGB LEDs, arranged on top of a simple elevated stand. The stand conceals all of the circuitry he uses to control the cube, the centerpiece of which is a PIC32 MCU. A dozen TLC5940 16-channel PWM drivers are used alongside the PIC in order to adjust the color output of the LEDs, each of which can be addressed and colored individually.

The end result is just about as amazing as you would imagine. He has created several quick demonstration animations, which you can view in the video below. Be sure to stop by his site to see all of his build details – there’s quite a lot there.

Continue reading “Third Time’s A Charm – 512 LED Cube Kicks It Up A Notch With RGB LEDs”

512 LED Cube (again)

We’ve seen LED cubes before, but [nick] upped the ante with his 8x8x8 LED cube that uses only three pins on his microcontroller.

Previous LED cubes we’ve covered drove the LEDs with shift registers and latches, but [nick] used STP16CP LED sink drivers to reduce the component count. The STP16CP can control 16 LEDs each, can be cascaded off of each other, and can operate up to 30Mhz. With a component like this, you’re limited by your microcontroller and not your patience or soldering skills.

While he was waiting for his LEDs to arrive in the mail, [nick] decided he would get a head start on the animation code by plunging into MATLAB. After getting an idea of what would look good on the cube, [nick] wrote the code on his PC to send commands to the arduino controlling the sink drivers. To wrap up the project, [nick] put the cube on a very attractive wooden box stuffed with the electronics. All tolled, a very efficient and elegant build.

Continue reading “512 LED Cube (again)”

512 LED Cube

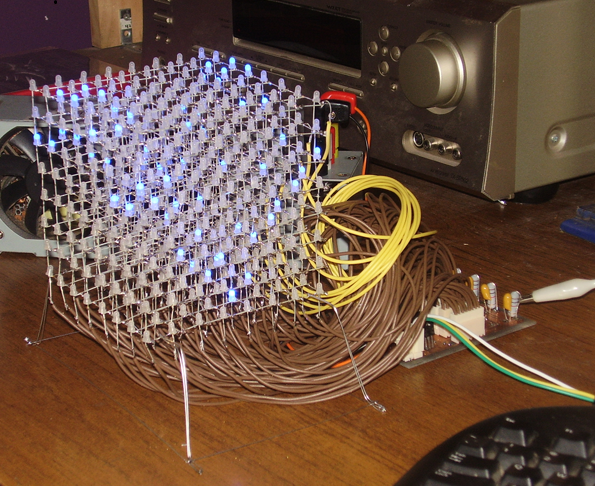
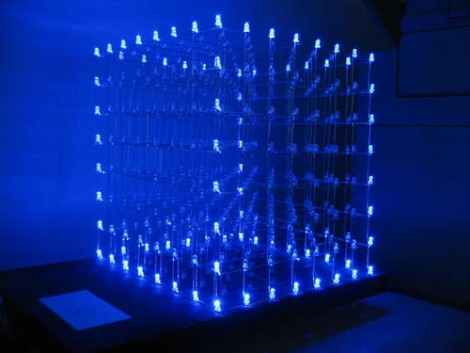
Get out the soldering iron and clear your schedule, it’s going to take you a while to assemble this 8x8x8 LED matrix which contains a total of 512 LEDs. We’ve looked in on a 3x3x3 cube, and [Chr], who is responsible for this one, has assembled a 4x4x4 cube before, but this one is quite a leap in complexity. It isn’t just physical assembly problems that increase with scale, you’ll need to consider a power supply too since one layer of a 3x3x3 cube would need at 90 mA, but a single layer of the cube above requires 640 mA to light all of the diodes. Multiplexing is handled per-layer, controlled by  ICs which share 8 data lines and are latched by a shift register. This means the display only requires 11 microcontroller pins for addressing. It is striking how well [Chr] explains the design process, and how cleanly he builds the driver circuits on protoboard. There’s a lot to look at and a lot to learn, not to mention the stunning results which can be seen in the video after the break.

Continue reading “512 LED Cube”