A German man has just finished a very impressive Paper Airplane Machine Gun, or a Papierflieger-Maschinenpistole, which just sounds so much cooler. It actually takes a stack of paper, folds it into paper air planes and shoots them.
The device takes a stack of what looks like post-card size paper in the “clip”, forms them into paper air planes by a series of rollers and folding edges and then launches them out of the end. A cheap electric screwdriver powers the entire drive train, which allows him to shoot around 20 planes per minute (PPM?).
Sadly there’s really not too much information on how it works, nor the files to reproduce it. [Papierfliegerei], as he goes by on YouTube, decided to build this awesome contraption to show off just what 3D printers are capable of these days. He designed the whole thing in 3D CAD and had many of the parts printed off at a 3D printing company called fabberhouse.de, while the rest of the components are off the shelf.
Continue reading “Paper Plane Folding Machine Gun Is A Mechanical Marvel”
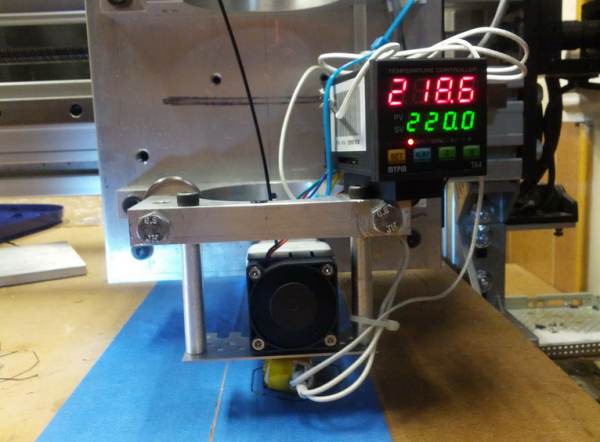
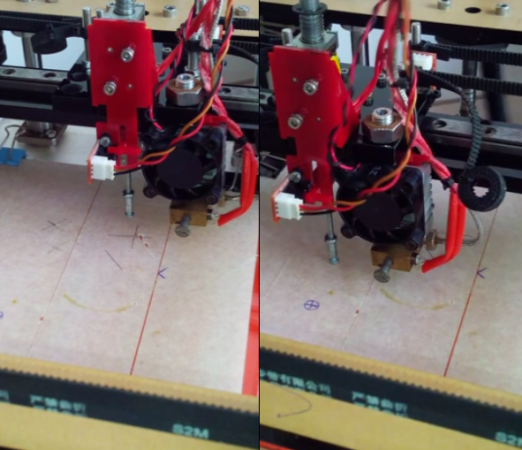
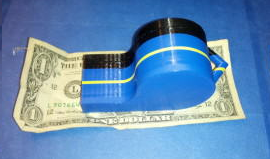 [Jon] used liked Mach3 for controlling his CNC Router so he stuck with it for printing. He’s tried a few slicers but it seems Slic3r works the best for his setup. Once the g-code is generated it is run though Mach3 to control the machine. [Jon] admits that he has a way to go with tweaking the settings and that the print speed is slower than most print-only machines due to the mass of the frame’s gantry and carriage. Even so, his huge whistle print looks pretty darn good. Check it out in the video after the break…