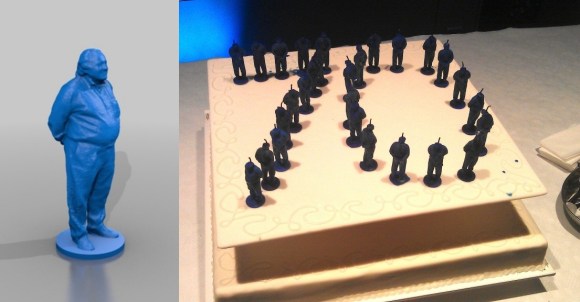
[Christian Lölkes] needed a unique gift for their CEO’s 70th birthday — We mean really, what do you get someone who probably has everything? Well… you 3D scan him and make candles in his likeness of course!
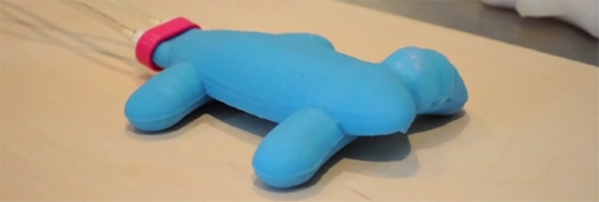
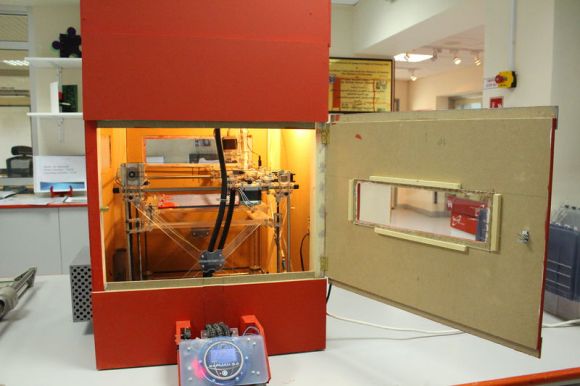
Since they have both a 3D scanner and 3D printer at work, this was the obvious choice. Instead of printing the mold out, they opted to print a high resolution figurine of their CEO, and then make a reusable silicone mold instead. When you’re designing a figurine for candle casting, it’s important to make a nice wide base, as this will make pouring the hot wax into the mold much easier.
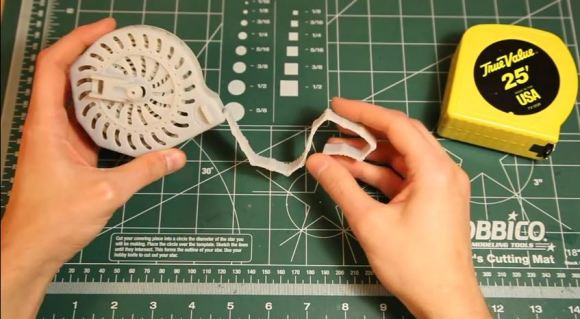
There are lots of different ways to make molds, but to make theirs they decided to use a toilet paper roll for convenience. After taping up the mold with the figurine inside, it’s time to fill it with silicone. Unfortunately bubbles form in silicone so you need a way to force the bubbles to rise to the top and pop — vibrating the mold is a good solution, and setting it on top of a washing machine is an easy way to accomplish it.
Once the silicone is cast, you have to cut the mold in half carefully as to not damage your figurine. Then it’s just a matter of zip-tying the mold back together, inserting a wick and pouring wax in! Cool.