It’s one thing to be able to transcribe music from a flute, and it’s another to be able to make a flute play pre-written music. The latter is what [Abhilash Patel] decided to pursue in the flute player machine, an Arduino-based project that uses an air flow mechanism and PVC pipes to control the notes produced by a makeshift flute. It’s currently able to play 17 notes, just over two octaves starting from the lowest frequency of E.
In order to play songs, the tones have to either be directly coded and uploaded to the Arduino, composed with a random note generator, or detected from a microphone. While a real flute can be used for the machine, [Patel] uses a PVC flute, constructed with some knowledge of flute playing.
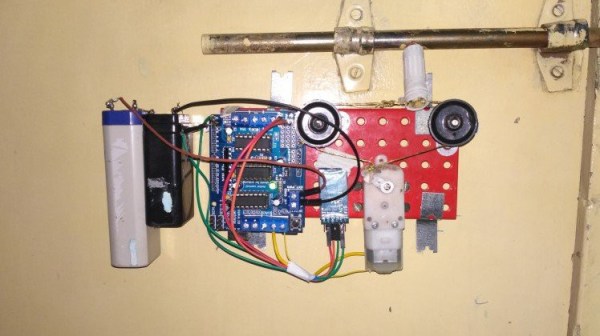
The resonant frequency is based on the effective length, hole sizes, and pipe diameter, so it is fairly difficult to correctly tune a homemade flute. Nevertheless, calculating the length as c/2f where c is the speed of sound (~345 m/s) and f is the frequency of the note can help with identifying the location of the holes. [Patel] cut the PVC pipe and sealed off one end, drilling a blowing hole at 1.5 x the pipe diameter. After playing the flute, the end of the pipe was filled until the frequency exactly matched the desired note.
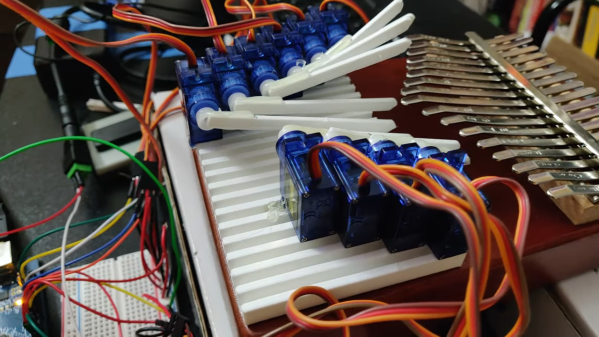
The hole covering uses cuttings of pipe attached to a cable connecting to a servo. The motors are isolated inside a box to keep the wires clear and area all able to be powered with 5 V. As for the software, the code is primarily used to control when the fan is blowing and which holes are covered to produce a note.
Listen to the flute play “My Heart Will Go On” from Titanic in the video below. Now the next step might just be making the flute playing machine automatically play sheet music – imagine the possibilities!
Continue reading “An Arduino-Based Flute Playing Machine” →