Adding SCART To A Cheap CRT Television

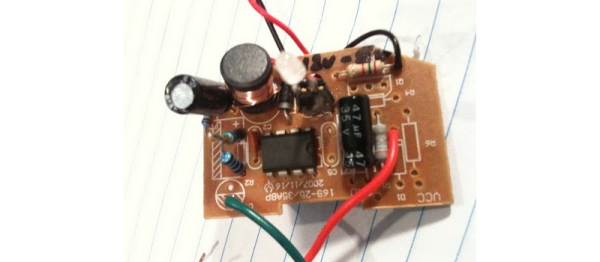
[133MHz] cracked open a cheap tube television to add a SCART connector. He knew he had a chance at success when he discovered all of the knock-outs on the back of the connector panel because one of them was exactly the right size for the connector. But it wasn’t quite as easy as soldering in one component. He ended up injecting his own RGB data from the SCART connector directly into the onscreen display, making an end run around the missing feature. [133MHz] removed some resistors in the circuit and used the empty lead holes to patch in his own circuit, feeding the RGB data from the SCART connector to the OSD chip in the format it needed.

This one takes you way down the rabbit hole. We’re glad he provided so much background about the hack but it’s going to take us a little while to fully wrap our heads around how he figured it out.

[Thanks Victor]

BAMF2010: DIY Electroluminescent Displays

[youtube=http://www.youtube.com/watch?v=jPclj5lbz48]

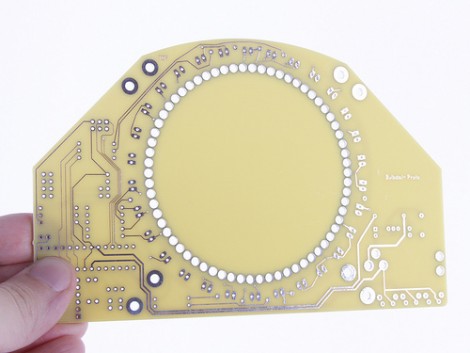
In this video from Maker Faire, [Jon Beck] of CLUE — the Columbia Laboratory for Unconventional Electronics — demonstrates the unexpected ease of creating custom electroluminescent (EL) displays using materials from DuPont and common t-shirt screen printing tools. Eagle-eyed reader [ithon] recognized the Hack a Day logo among the custom shapes, which escaped our notice at the time. Sorry, Jon! Very cool project, even if the setup is a bit steep. You’ll find links to materials at the project site.

If the interviewer seems especially sharp, that’s because it’s none other than [Jeri “Circuit Girl” Ellsworth], who makes transistors from scratch and designed the C64 DTV. We’re not worthy!

PLCC Replaces Game Boy Cartridge ROM

[Gerry] sent us pictures and a few details on replacing the Game Boy cartridge chip with a flash chip. For the prototype he used a PLCC and a little wire porn to interface a flash chip with the cartridge’s PCB while still having access to it for programming. In retrospect he plans to use a 32-pin ZIF socket on the next version to make things easier. It does work and he’s had some success loading his own code and getting it to run. There are other cartridge hacks that let you load code onto a cartridge but if you have the knowhow and the parts this makes for a fun weekend project. We’ve posted the rest of the photos that [Gerry] sent us after the break.

Update: Gerry is working on a video and a pinout. We’ll post info once we get a hold of it.

Continue reading “PLCC Replaces Game Boy Cartridge ROM”

32-bit ARM7 Gaming rig

Are you hardcore enough to build your own 32-bit ARM powered gaming console AND use point-to-point soldering to accomplish this? [Craig Bishop] did just that when building his GameSphere console project. First thing’s first, click through the jump and watch the game play video. He wrote that game in the C language in less than a day which in itself is quite remarkable. On the hardware side of things he’s got an interesting mix; an Ateml AT91R40008 chip drives this system with PIC 18F4682 for VGA signal generation and a PIC 18F2685 to interface with the N64 controller. We like what he’s done so far and would love to see this end up in its own game cabinet. Continue reading “32-bit ARM7 Gaming rig”

Z80 Emulated On PIC Hardware

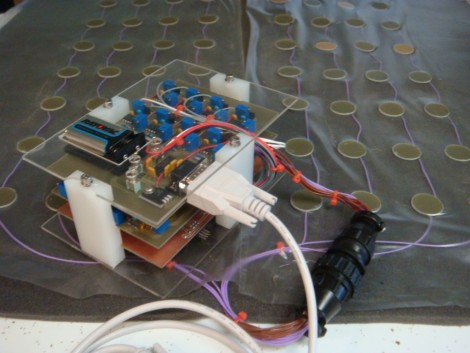
[Jaromir Sukuba] built a very portable, low power consumption Z80 emulator using a PIC microcontroller. Looking through his build photos we love the clean and resilient construction which includes a breakout board for the PIC 32MX795F512H that interfaces with the main board via pin headers and sockets. He’s using a home-built keyboard and a 4×40 character display but there is also the option to communicate with the device over an RS232 connection. Oh, and yes it plays Zork, which seems to be the benchmark whether you are emulating a Z80 with AVR hardware, or if you built one from transistor-transistor logic.

Personal Pencil Production Plant

[vimeo=http://vimeo.com/9661763]

[Robb Godshaw] put together a pencil production line for home use. The whimsical assembly line starts with a graphite rod and extrudes clay polymer around it. From there it’s down a conveyor belt to get stamped and then into the oven made from a hacked toaster. The final step is to cut out a plug of eraser and attach it to the back-end of the pencil. This low-speed assembly line reminds us of a Rube Goldberg machine with all the wasteful steps cut out.

Human Tetris: Object Tracking On An 8-bit Microcontroller

Elaborating on an item previously mentioned among last weekend’s Cornell final projects list, this time with video:

For their ECE final project, [Adam Papamarcos] and [Kerran Flanagan] implemented a real-time video object tracking system centered around an ATmega644 8-bit microcontroller. Their board ingests an NTSC video camera feed, samples frames at a coarse 39×60 pixel resolution (sufficient for simple games), processes the input to recognize objects and then drives a TV output using the OSD display chip from a video camera (this chip also recognizes the horizontal and vertical sync pulses from the input video signal, which the CPU uses to synchronize the digitizing step). Pretty amazing work all around.

Sometimes clever projects online are scant on information…but as this is their final grade, they’ve left no detail to speculation. Along with a great explanation of the system and its specific challenges, there’s complete source code, schematics, a parts list, the whole nine yards. Come on, guys! You’re making the rest of us look bad… Videos after the break…

[G’day Bruce]

Continue reading “Human Tetris: Object Tracking On An 8-bit Microcontroller”