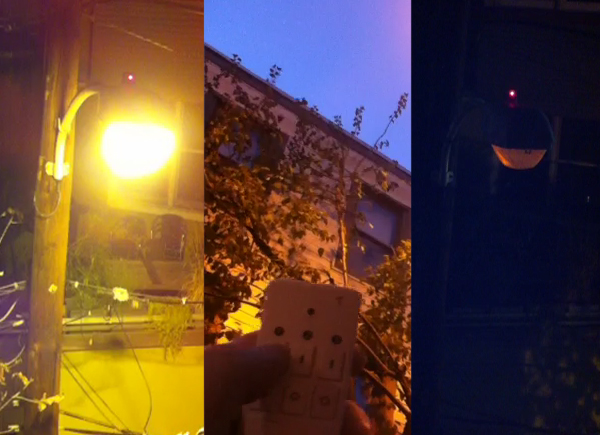
$20, some spare parts and a bit of mischief was a small price for [Chris] to pay for a reprieve from light pollution with this remote control laser hack. The streetlight in front of his house has a sensor that faces westward, and flips the lamp on once the sun has disappeared over the horizon. As it turns out, [Chris’s] third floor window is due west of this particular lamp, meaning he takes the brunt of its illumination but also conveniently places him in a prime location for tricking the sensor.
According to [Chris], the lamp’s sensor requires two minutes of input before it will switch off and stay off for around 30 seconds before cycling on again. The lamp does not zap straight to full brightness, though; it takes at least a minute to ramp up. [Chris] recalled a hack from a few years ago that essentially used LED throwies tacked onto the sensors with putty to shut off lamps for a guerrilla drive-in movie, but the sensors on those lamps were at the base and easily accessed. [Chris] needed to reach a sensor across the block and nearly three stories tall, so he dug around his hackerspace, found a 5V 20mA laser diode, and got to work building a solution.
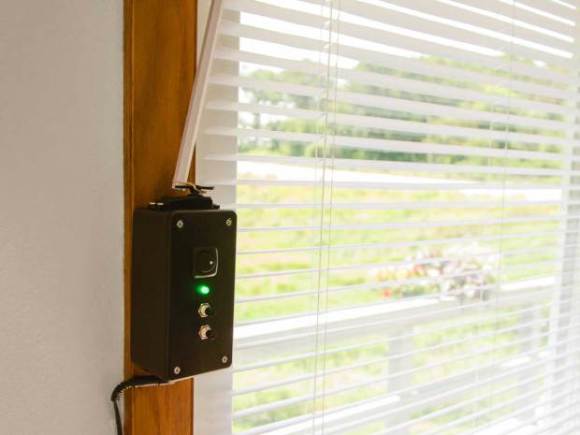
[Chris] 3D printed a holder for the laser and affixed it via a mounting bracket to the wall near his third floor window, pointing it directly at the street lamp’s sensor. He plugged the laser’s power supply into an inexpensive remote control outlet, which allowed him to darken the street lamp at a touch of a button. This is certainly a clever and impressive hack, but—as always—use at your own risk. Check out a quick demo video after the break.