Building A Laser Cutter From A Weak Laser

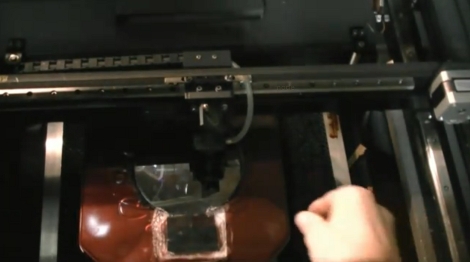
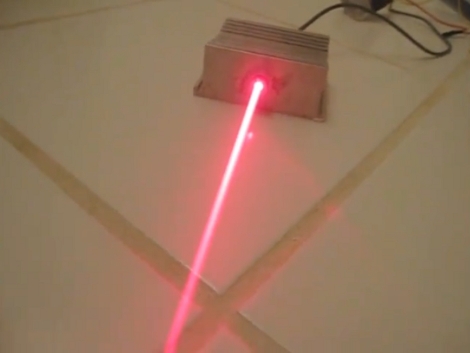
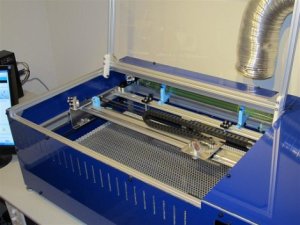
We covet laser cutters and this diy model with a 1 Watt IR diode may be well within our price range. Most commercially available laser cutters, and some homemade ones, work in the 20-100 Watt ranges, using a CO2 laser. They have more than enough power to cut right through a lot of materials so how can a 1W diode compare? It seems that the weaker laser is still quite powerful right at its focal length, so moving that point along the Z axis will let you burn away a larger depth of material. The test rig seen above uses optical drive components for the three axes and managed to cut a rectangular piece out of the black plastic from a CD case.

This isn’t [Peter’s] first try with CNC lasers. He’s the one that’s be working on an open source selective laser sintering platform.

[Thanks Osgeld and Vesanies]

Another Home-built Laser Projector

[Jarrod] sent us a link to this home-built laser projector after seeing a different projector that we featured yesterday. This system is fundamentally different. [ChaN], who finished the project several years ago, didn’t use a loudspeaker to move the mirrors, but instead build his own closed-loop Galvanometers. Two of these are controlled by an ATmega64 to produce incredibly clean and accurate vector images. It’s not just the images that are impressive, his hardware is laid-out with skill and forethought that make hiding it in a case a sacrilege.

Vector Plotter With Lasers

[Hubert] sent in his experiments using HDDs, CDROMs, speakers, and other components to make an XY laser plotter. Those carefully reading will note, its not all three to make one plotter, but rather three plotters each using a separate system. The setups have their advantages and disadvantages, and [Hubert] is sure to point them out; including circuit diagrams and pictures to help you on your own trials.

There is a little difficulty in reading English not so good, but considering we’ve never seen a single-laser vector plotter done before (spirographs come close, and no one wants to wait 85 seconds) it’s still very impressive.

[Thanks TJ]

Laser Microscope Projection

looks totally safe to me

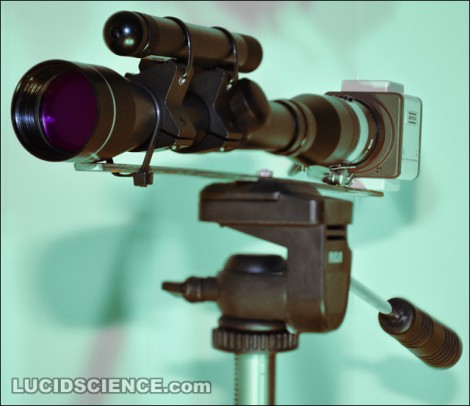
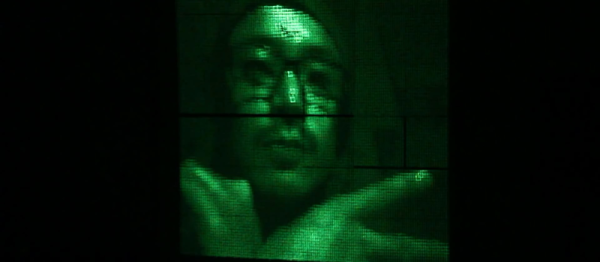
Ok, we’ll start this off by saying, looking at lasers can damage your eyes. Be careful. Now that we’ve got that absolutely clear, we couldn’t help but find this super quick and dirty laser microscope fascinating. Basically, they are just pointing a laser through a drop of water suspended from the tip of a syringe. The image of the contents of the drop are projected on a nearby wall. The drop seen in the video after the break was taken from a potted plant and you can see all kinds of life squirming around in there. Just don’t try it with this laser.

[via HackedGadgets]

Continue reading “Laser Microscope Projection”

1W Blue Laser – Remarkably Easy And Dangerous

[youtube=http://www.youtube.com/watch?v=lE3F7vjYx4U]

We’ve been covering Laser Hacks pretty much since the beginning but it’s surprising to see the niche market that has sprouted up around building powerful handheld modules. [Styropyro] filmed the video above as a tutorial on building a 1W blue laser. The “flashlight” that he starts with includes a heat sink intended for a laser diode. It seems there’s a lot of choices when choosing one of these build kits. A one Watt blue laser diode is press fit into the heat sink and wired in place. The body of the device receives a boost converter to get the batteries up to 1A, and once the assembly is complete the burning begins. It lights candles, matches, and pops balloons; the normal laser demo goodies.

So it’s a pretty easy build. But it’s also easy for someone being careless to damage their eyes. As [Styropyro] mentions in his comments, just looking at the dot created by the laser will damage your sight.

Negative Laser Etching

[James] has been refining a method of negatively etching metal with a laser. He had been using a product called Thermark which is designed for this process, but it’s quite expensive. He found that paint designed for wood stoves works just as well. To prepare the surface he bead blasted it and then cleaned of the residue and finger prints off with acetone. The board was preheated in an oven before covering it with the spray paint. He ran the laser at 98/100 power and 90/400 speed at a step size of 0.1mm to achieve the results above. This should immediately make you think about making circuit boards. We’d love to ditch the toner transfer and we’re always looking for one more reason to get a laser cutter.