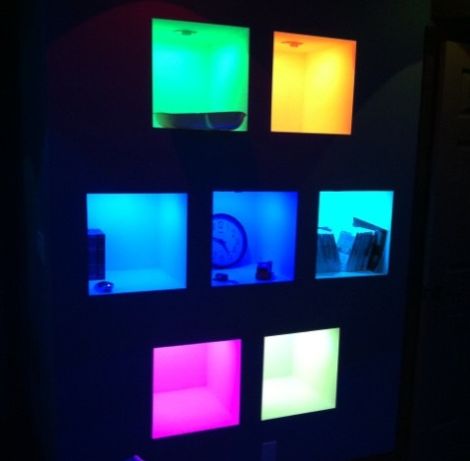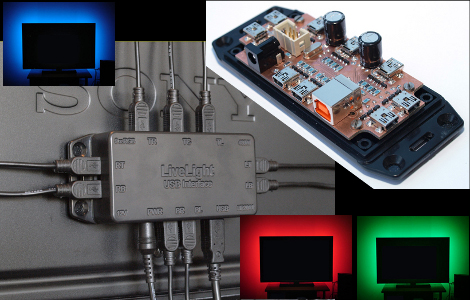
A Charlieplex Display And A Board Layout Tip

[Ben] is getting himself up to speed with microcontrollers. He jumped into the deep end by taking on this Charlieplex LED matrix build. As you can see after the break, he not only made the display work, but coded Conway’s game of life to run on the ATtiny85 that drives the device. What you see above is the prototype version that [Ben] used to make sure he had the hardware just right. He’s seeing the project through to a manufactured board and this is where the layout tip comes from. In order to make sure he had enough space for all of his components he printed out the board artwork, taped it to some Styrofoam, and then inserted all of the through-hole parts. Now he can be sure that physically the design works, we’ll keep our fingers crossed that everything is also kosher electrically.

Continue reading “A Charlieplex Display And A Board Layout Tip”

Microsimon

[Simoninns] is hoping to compete in the Sparkfun Microcontroller Contest with this cool little Microsimon instructible. The parts list is pretty small, at around 20 components. At the heart is a PIC 12F683 microcontroller. The whole project is very well documented with schematics, PCB layouts, code, and great pictures. This is a great project that you could put together really quickly and is a perfect introduction to charlieplexing. We find that, especially when teaching a new person, games are often a good project to learn from. The interactive and competitive nature of the finished product usually keeps people interested a little longer. You can catch a video of it after the break.

Continue reading “Microsimon”

8×8 LED Infinity Mirror

[chromationsystems] put out a couple instructibles on building infinity mirrors. One with an 8×8 array of LEDs and one with a 32 LED ring. These are very well  documented covering the construction of the mirror enclosure as well as the circuit and code. The effect is quite nice. The 8×8 array is interesting, we haven’t seen that before. These would make a fine addition to any geek cave/electronics lab. While it looks like these were basically advertisements for a product he sells, you can definitely make your own from his instructions. We like this kind of advertising.

See-through LED Display

[Ndsit] is having a party and wanted to liven up the place with some blinky lights. He’s a bit new when it comes to hobby electronics, and although we’d highly recommend inviting some resistors to participate, the LED matrix that he built is very nice. It’s 8×8, it’s big, and (as shown in the clip after the break) the lights seem to hover in midair. That’s because he didn’t use a substrate to make the display. A grid of enameled wire is strung between the four sides of the wooden frame. LEDs were gathered from a string of Christmas lights which means they’re in a holder and have insulated wires already connected. Each one was tied on at a junction point of the grid, then connected to a portion of the wire where enamel had been scraped off.

It works but there’s already one light that is out. We hope some current protection is added so that this can be used again and again.

Continue reading “See-through LED Display”

555s For Your Mouse And R/C Airplane

[lenny] decided to build a 555-based auto-firing mouse based on a 555 after seeing a similar PIC-based project we posted earlier. Lenny’s version is self-contained in one mouse without requiring a second mouse to act as the rapid-fire button. It uses only a handful of components, costs less than $5 to build, and doesn’t require any programming.

But then, [wfdudley] shakes things up a bit. He added a 4022 counter IC and some diodes to act as logical “OR” gates in order to create a unique blinking pattern (short-short-long) for the lights on a friend’s RC airplane. While this project involves more components, it’s definitely a trickier problem to solve with a 555 timer IC. We love seeing people choosing simplicity in design over popular off-the-shelf microcontroller frameworks as these two have done.

Don’t forget, the 555 Design Contest is still going strong, and you’ve got the entire month of February to submit your awesome designs. We wanted to highlight two of the more clever 555-based hacks that we’ve had in our backlog for a while, though.

How To Build A Ping-pong Ball Display

If you’ve been lusting after your own glowing display we’re here to help by sharing some simple building techniques that will result in an interesting project like the one you see above. This is a super-accurate clock That uses ping-pong balls as diffusers for LEDs, but with a little know-how you can turn this into a full marquee display. Join me after break where I’ll share the details of the project and give you everything you need to know to build your own.

Continue reading “How To Build A Ping-pong Ball Display”

Insane Covert IR Illumination

[Onironaut] over at lucidscience sent us a link to his latest project, some IR illumination panels. At first, we were mildly enticed by his usual high standard of photography and description. It was just an array of LEDs though. Still, we kept hitting the “next page” button because he goes into such great detail. Then we saw version two. Instead of simply being an array of IR LEDs mounted outside for his security camera, he has mounted 1536 IR LEDs inside an old flat panel monitor. That’s a fake monitor producing 180 watts of IR light, and we think that’s even at half power!  He replaced the screen of the display with one way mirror, so you would have no idea that it isn’t just a normal screen sitting on his desk.  Great job as usual [Onironaut].