It is a running gag around here that whenever a project posts, someone will inevitably point out that it could have been done with a 555 timer IC. [Stephen Woodward] went the opposite way and built a simple thermostat using the ubiquitous chip.
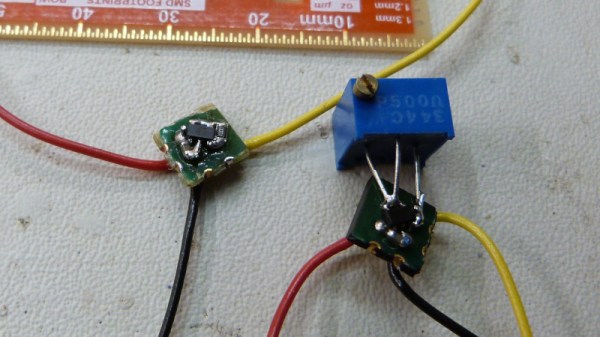
To be fair, this isn’t some sophisticated PID controller — it’s basically a bang-bang controller. Since the device has a comparator and the circuits use a thermistor, it seems like a clever but simple idea on the surface. However, there are some neat tricks. For example, if you tie the 555 threshold pin to Vdd, then the trigger pin acts as an inverting analog comparator. Another nice feature: the setpoint depends on a resistance ratio, so there is no need for a precise input voltage reference.
A simple circuit change can switch the circuit to power a heater or a cooler. The chip can handle a surprising amount of power, but for some applications, you may need some output drive circuitry. The simple circuit even has hysteresis, which you can set with a different resistor. Pretty impressive for a cheap chip, two resistors, a thermistor, and a battery.
We’ve seen a lot of strange 555 circuits in our contests. We even had a 555 Timer Contest.