The Macintosh SE/30 is the greatest computer ever made, and I’m not saying that just because I’m sitting on a cache of them, slowly selling them to computer collectors around the world. No, the SE/30 is so great because of how powerful it is, and how much it can be expanded. A case in point: here’s an SE/30 that’s a Spotify player. Oh, it does it over WiFi, too.
You might be asking yourself how a computer from 1989 (it’s late enough in the year that we can safely say this computer is thirty years old) can possibly play music over the Internet. While the SE/30 supported an astonishing 128 Megabytes of RAM, it’s still just a bit too slow to play MP3s or any modern audio codec. The 68030 CPU just wasn’t fast enough to play audio, to say nothing of streaming it over a network connection. The trick is that this SE/30 is simply a remote for Spotify Connect. You could theoretically get the Mac to speak, “Alexa, play Despacito” and get the same functionality, but that’s not fun, is it? You need to do it wirelessly.
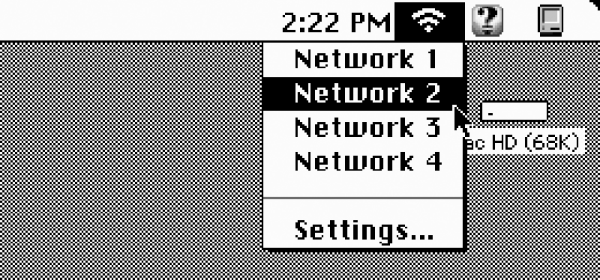
This is a continuation of one of [ants] earlier hacks that basically put a WiFi to Ethernet bridge inside an SE/30. Tie that together with a Finder extension and you have System 7, with WiFi. That’s a connection to the Internet, but [ants] actual wrote an app to connect to a Spotify playlist, browse tracks, and display album art in beautiful 1-bit color. Writing the app involved dealing with OAuth, which means the MacPlayer isn’t entirely standalone; some of it must be done on a ‘modern’ device. This, along with porting a conversion utility that translates UTF-8 text encoding into something the Mac can understand ties everything together.
With all those pieces, the SE/30 becomes a handsome, functional piece of art. Apple is never going to release a computer like this again, and you’re not going to find a touchbar MacBook being used like this in thirty years time.


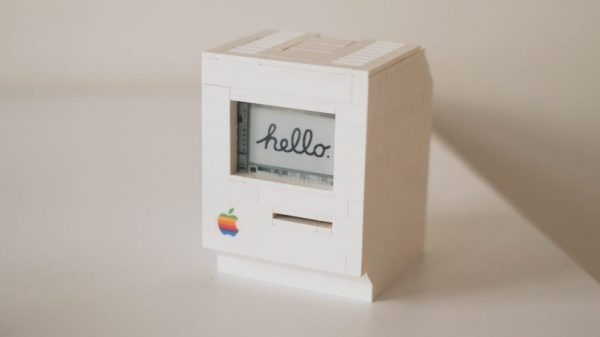
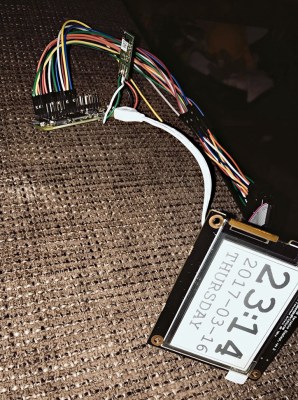 [Jannis Hermanns] couldn’t find a reason to control this outburst of nostalgia for the good old days of small, expensive computers and long hours spent clawing through the LEGO bin to find The Perfect Piece to finish a build. It turns out that the computer part of this replica was the easy part — it’s just an e-paper display driven by a Raspberry Pi Zero. Building the case was another matter, though.