The RISC-V ISA specification contains the recipe for everything from the humblest of microcontrollers to the most accomplished of high-end application processors, but it’s fair to say that at our end of the market it’s mostly been something for the lower end. There are plenty of inexpensive small RISC-V microcontrollers, but so far not much powerful enough for example to run a Linux-based operating system.
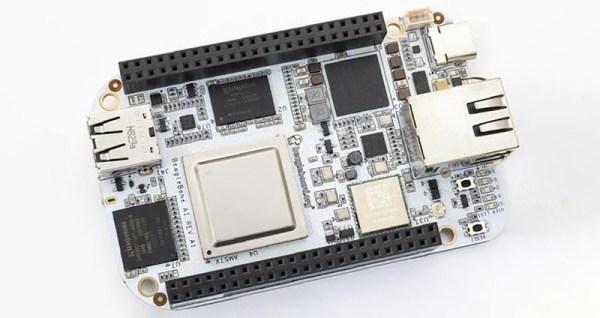
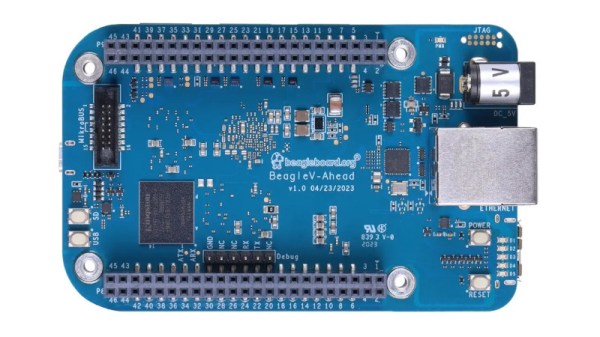
It’s a situation that’s slowly changing though, and it looks as though things may have taken a turn for the better as a new BeagleBoard has appeared using a RISC-V chip. The BeagleV-Ahead has a BeagleBone form factor and packs an Alibaba T-Head TH1520 SoC, a 2GHz quad-core part with a GPU and DSP components on-board. They link to a selection of distributors, from which one can seemingly be bought for about $170.
It’s a departure from the ARM chips that have until now powered the BeagleBoard line, but its appearance shouldn’t come as a surprise to seasoned Beagle watchers as they announced their RISC-V developments back in 2021. We’re guessing they too had to contend with the chip shortage which hit other players such as Raspberry Pi, so we’re pleased to see a product on the market. In particular though we’re pleased to see one on a BeagleBoard. because unlike a random no-name single board computer they’re a manufacturer who supports their products.
There’s a page with a good choice of operating systems for the board, and we hope that this means they provide kernel support for this SoC. This is the real benefit of buying a BeagleBoard or a Raspberry Pi, because cheap competitors will typically support only one kernel version compared with their years of support. So while this board is by no means cheap, we’re hoping it heralds a new wave of powerful RISC-V computers. Something to look forward to indeed.