If you’ve done any development on USB hardware, you’ve probably wished you could peek at the bits and bytes as they pass through the data lines. Sometimes, it’s the only way to properly understand what’s going on. [ataradov]’s USB sniffer is built to do just that.
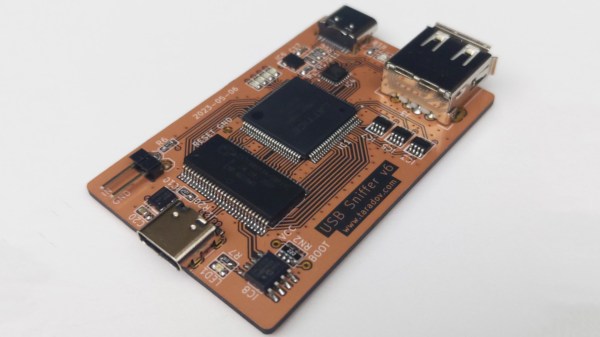
To sniff high-speed USB communications, the device relies on a Lattice LCMXO2 FPGA and a Cypress CY7C68013A microcontroller, paired with a Microchip USB3343 USB PHY. This setup is capable of operating at data rates of up to 40-50 MB/s, more than enough to debug the vast majority of USB peripherals on the market.
The device is built specifically for use with Wireshark. Most commonly used for network packet sniffing, Wireshark can also be used with a wide variety of other capture hardware for other debugging tasks, as seen here. In addition to live sniffing, it also allows captured data to be saved for later analysis.
If you need this tool, spinning up your own is straightforward. Gerber files are available and the required components can be bought off the shelf. Once assembled, you can program the chips via USB, with no external hardware programmer required.
We’ve seen some other similar hardware before. Meanwhile, if you’re whipping up your own useful debug tools, don’t hesitate to drop us a line!