Those of us who prefer to drive older cars often have to make sacrifices in the entertainment system department to realize the benefits of not having a car payment. The latest cars have all the bells and whistles, while the cars of us tightwads predate the iPod revolution and many lack even an auxiliary input jack. Tightwads who are also hackers often remedy this with conversion projects, like this very slick Bluetooth conversion on a Jeep radio.
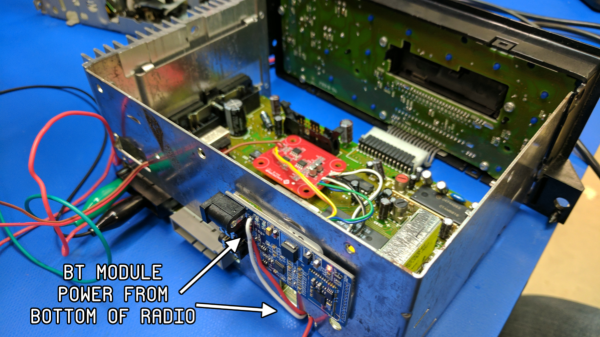
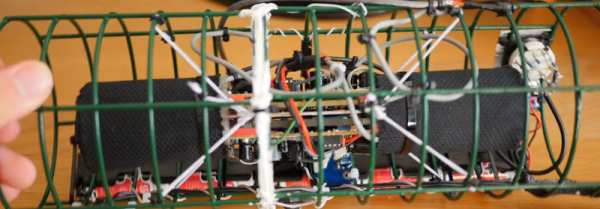
There are plenty of ways to go about piping your favorite tunes from a phone to an old car stereo, but few are as nicely integrated as [Parker Dillmann]’s project. An aftermarket radio of newer vintage than the OEM stereo in his 1999 Jeep would be one way to go, but there’s no sport in that, and besides, fancy stereos are easy pickings from soft-top vehicles. [Parker] was so determined to hack the original stereo that he bought a duplicate unit off eBay so he could reverse engineer it on the bench. What’s really impressive is the way [Parker] integrates the Bluetooth without any change to OEM functionality, which required a custom PCB to host an audio level shifter and input switch. He documents his efforts very thoroughly in the video after the break, but fair warning of a Rickroll near the end.
So many of these hacks highjack the tape deck or CD input, but thanks to his sleuthing and building skills, [Parker] has added functionality without sacrificing anything.
Continue reading “Reverse Engineering Enables Slick Bluetooth Solution For Old Car Stereo”
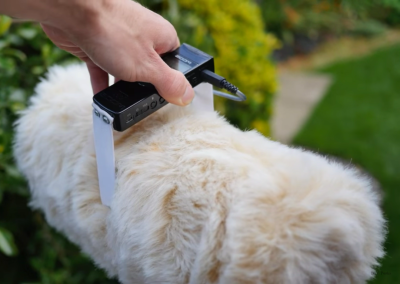 Another problem is that for stereo recording you need two and because they are quiet, they tend to pick up handling noise so you probably need to mount them on tripods. That’s all too much to carry around, especially on a hike. So [Matt]