[Thomas] and his friends wanted to ring in the new year by setting off some fireworks. To keep a safe distance and have a little fun they built this network controller launcher (translated).
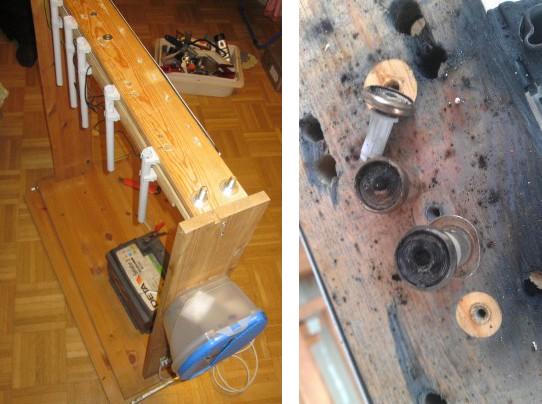
the image on the left shows the build in its unused and pristine state. But by the end of the celebration it look a bit melted and burnt. Still, for the first revision of the system it ended up working pretty well.
We’ve seen several remote fireworks launchers that burn up resistors to light the fuses. But this system is much more reusable. The image on the right shows the heating elements which light the fuses. Younger readers might have no idea what they’re looking at, but every automobile used to come with at least one of these electric cigarette lighters. Just drive 12V through them and they get burning hot relatively quickly. That’s where the car battery on the base comes into play. It is connected to the lighters using some mechanical relays.
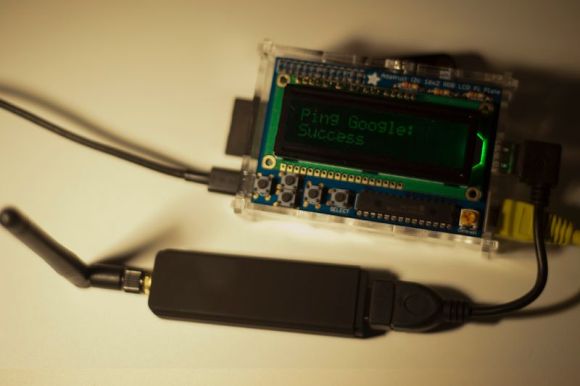
In the food container attached to the side of the launcher you’ll find a Raspberry Pi which provides the web connection for the system. [Thomas] wrote code which uses a webpage with some bomb icons as buttons. Check out the video after the break to see him demonstrate how fast one of these lighters will glow red after pressing a button on his smart phone.