[Douglas Adams] will tell you not to forget your towel when it comes to space travel. But NASA may start mandating that astronauts always carry a toothbrush. That’s because when a recent repair on a critical International Space Station component went wrong it was a toothbrush hack that saved the day.
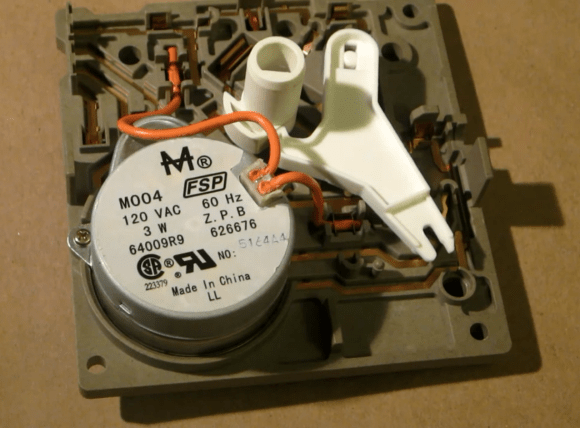
The culprit here is a bolt that wouldn’t re-seat after replacing a power transfer module that routes electricity from solar cells to the station’s electrical systems. About how many times have you had trouble with bolt threads? Now put yourself in a space suit in orbit for eight hours trying to get the thing to work. Yikes!
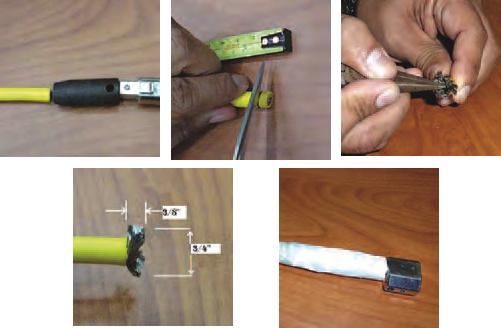
Just like in the movies there was a team of engineers at the ground center which gathered all the supplies available in the ISS. They figured out that metal shavings in the threaded hole needed to be cleaned out and the area lubed for the bolt. One of the two types of tooth brushes on hand would work for the lube, but needed to be stiffened. There was also a brush for cleaning the threads which was made out of a jumper cable. The images seen above are the step-by-step instructions the team uploaded to the astronauts who reproduced their hacked hardware to complete the repairs.
[Thanks G Mob]