Some people are not merely satisfied with functionality, or even just good looks. These persnickety snoots (I am one of them) seek something elegant, a true marriage of form and function.
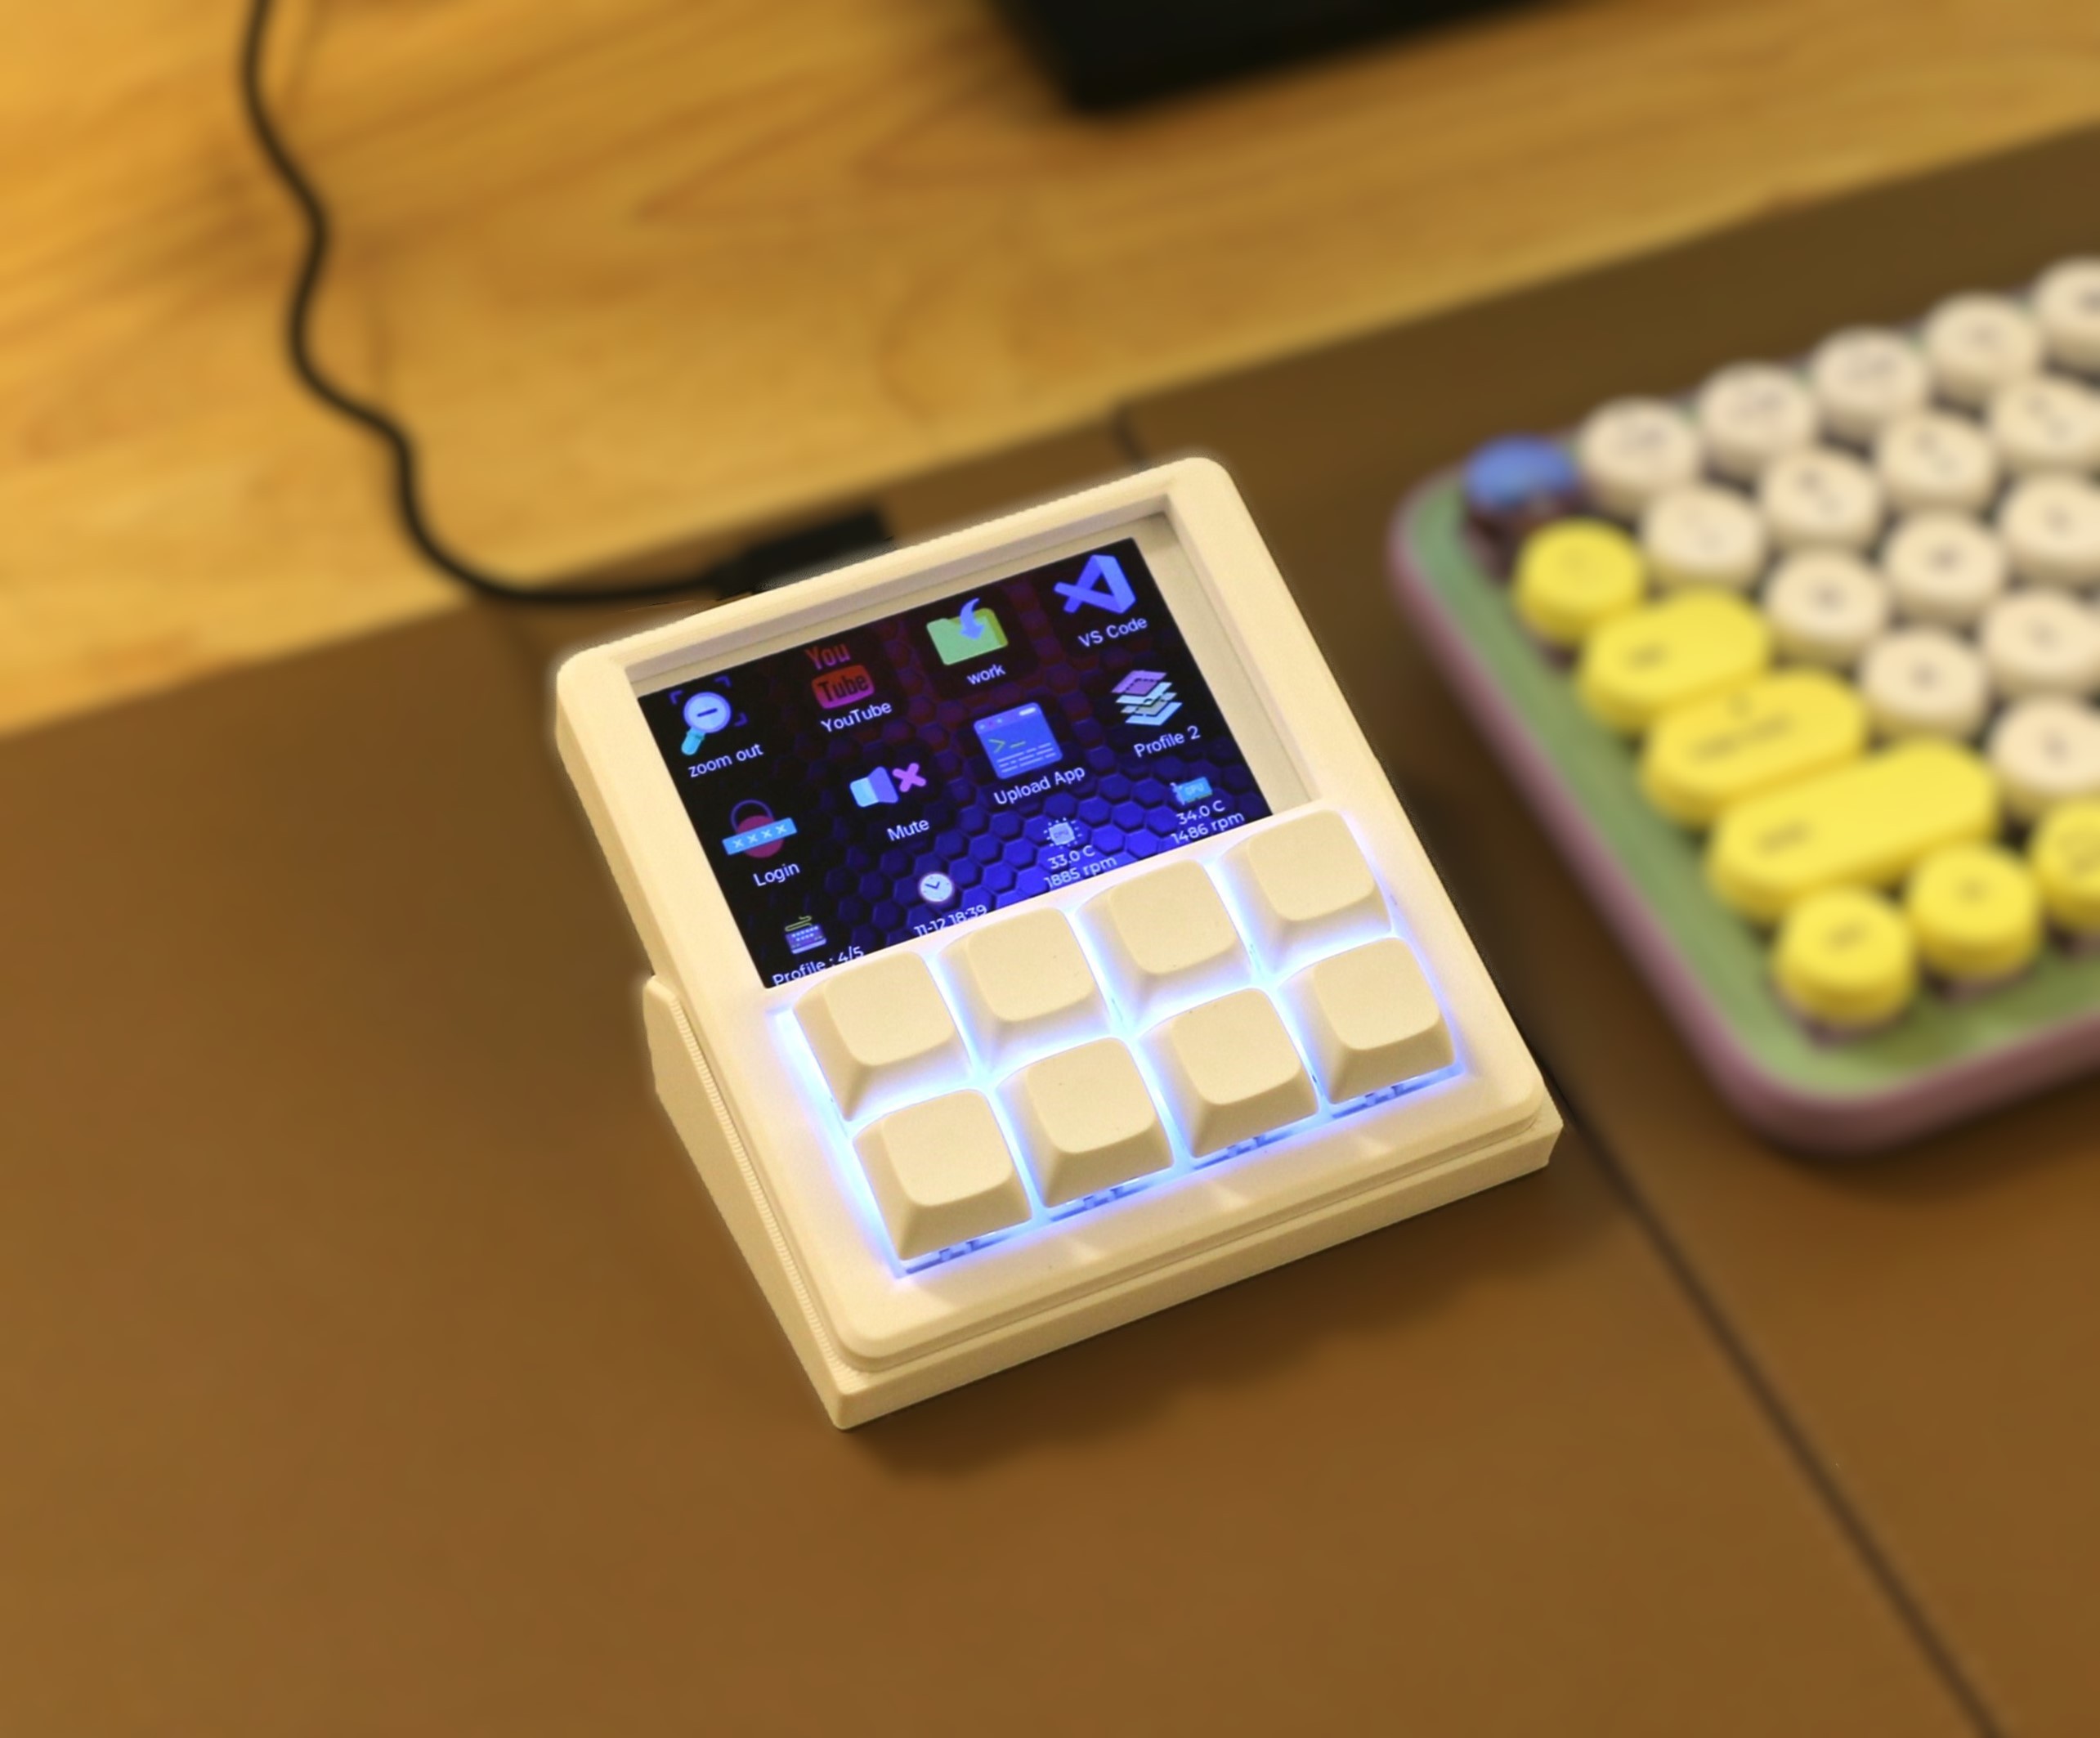
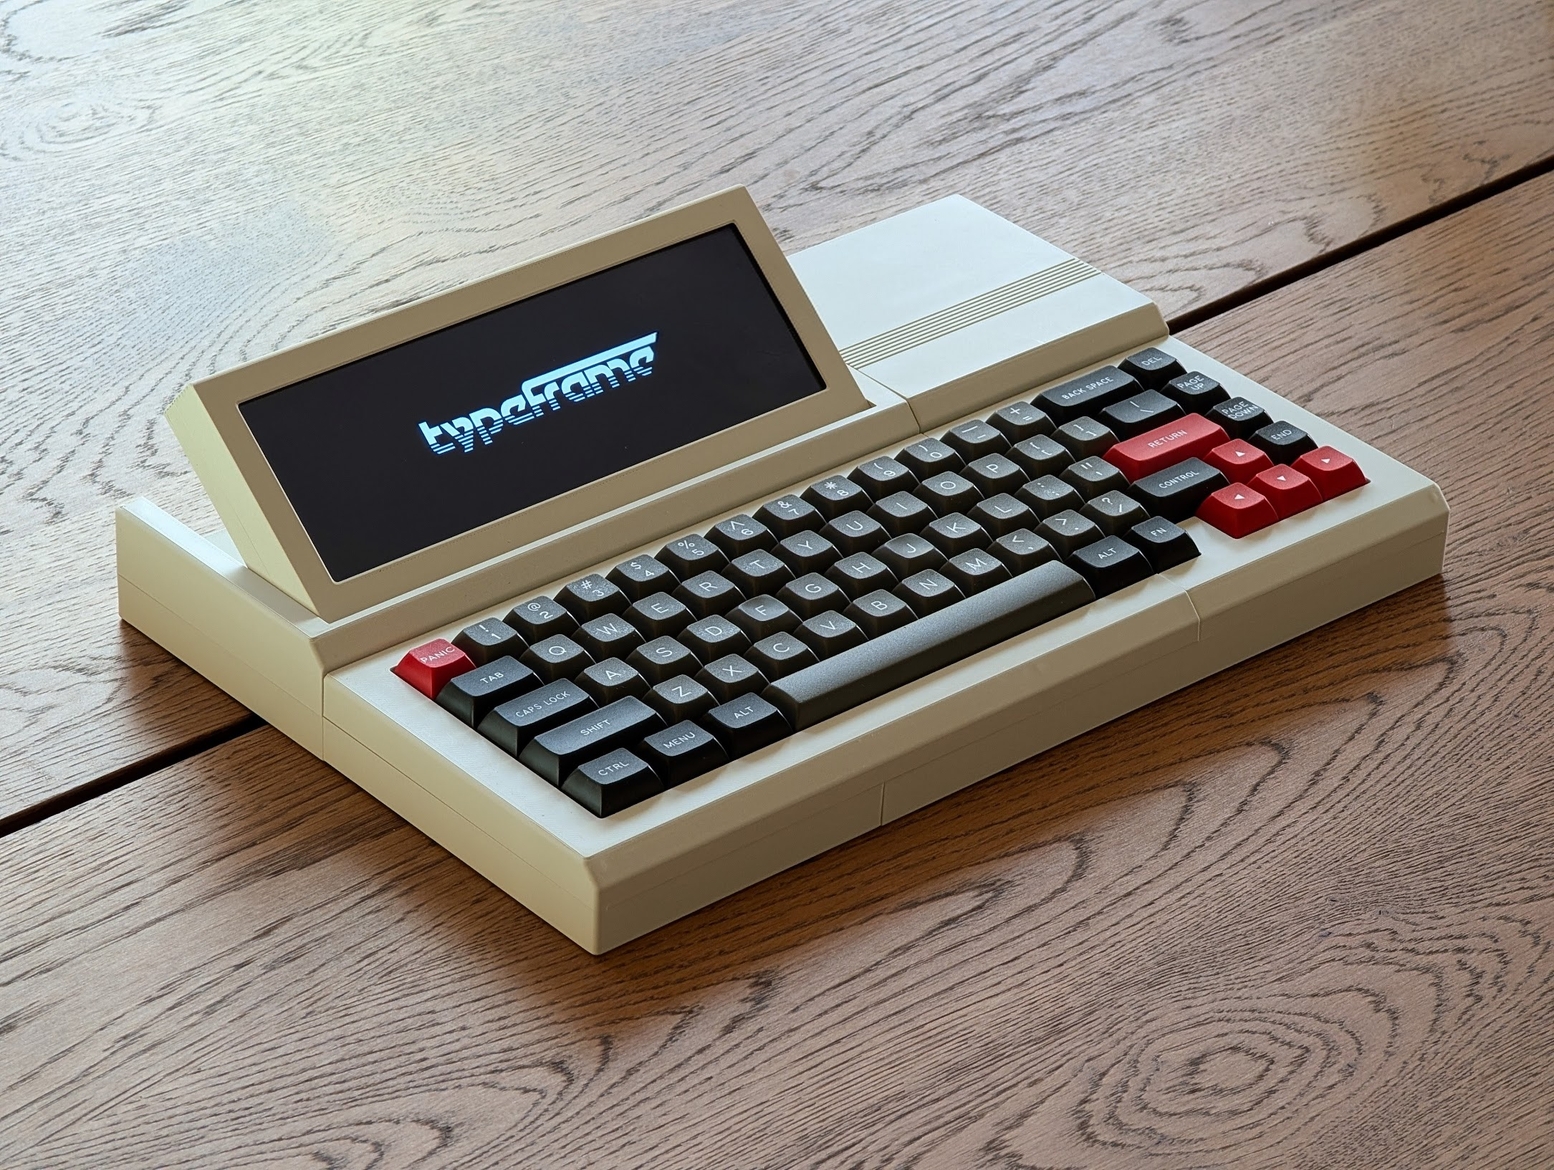
The main goal here was the perfect fusion of display and feel. I’m not sure that an FDM-printed, DIY macro pad can look any better than this one does. But looks are only half the story, of course. There’s also feel, and of course, functionality.
Yes those are (hot-swappable) mechanical key switches, and they are powered by an ESP32-S2. Drawn on the 3.5″ LCD are icons and text for each switch, which of course can be easily changed in the config app.
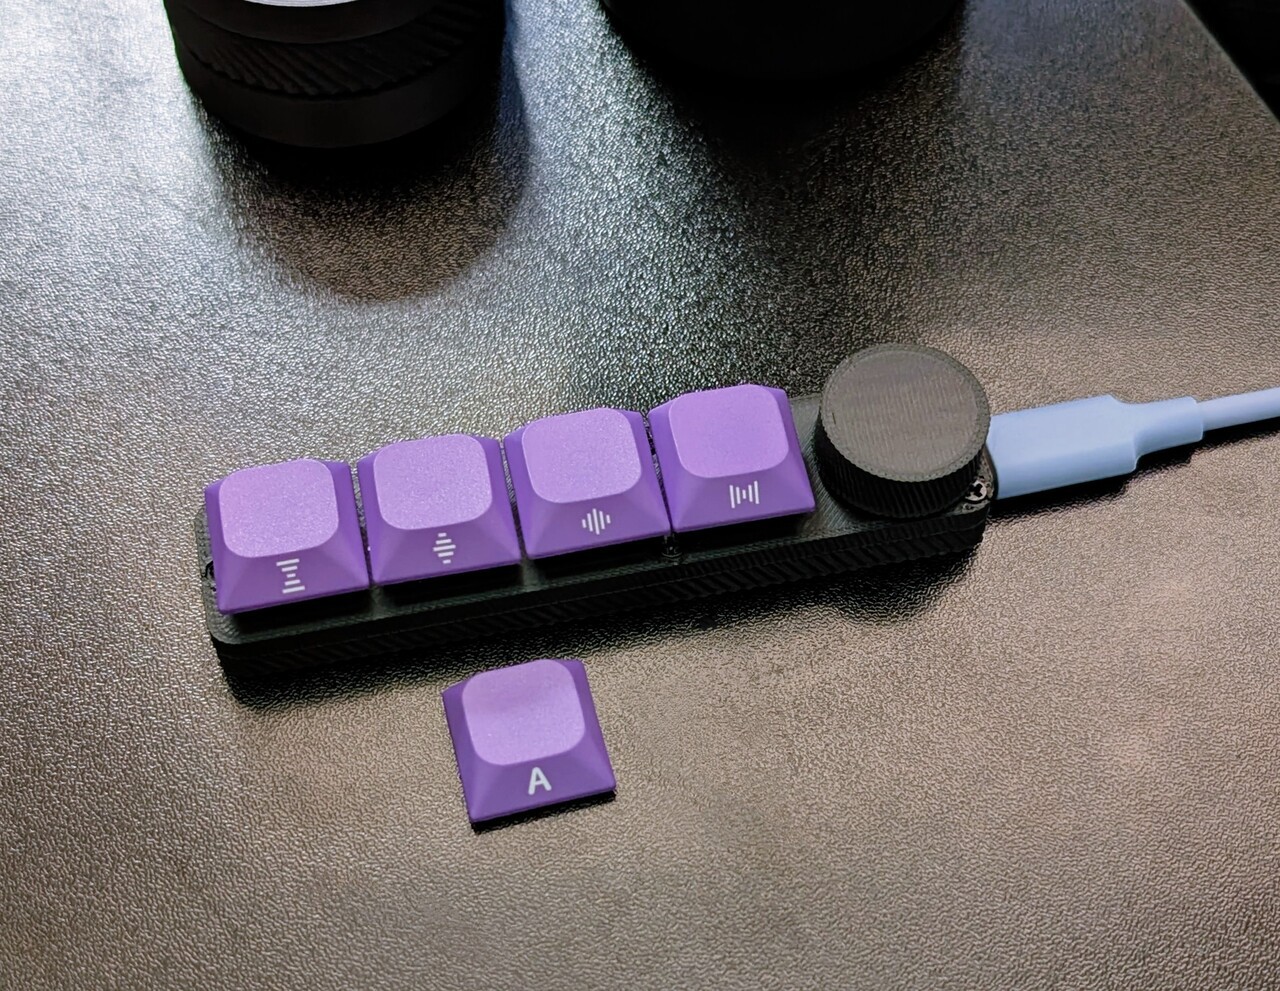
There’s a three-direction tact switch that’s used to switch between layout profiles, and I’m sure that even this is satisfying on the feel front. Does it get better than this? Besides maybe printing it in black. I ask Hackaday.
Continue reading “Keebin’ With Kristina: The One With The Elegant Macro Pad”