Reviewing The Numbers From One Month Of Solar Harvesting

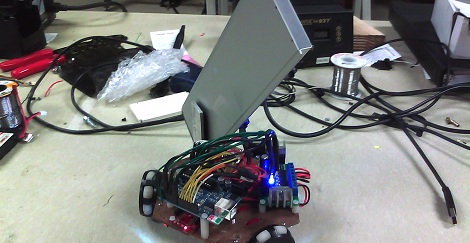
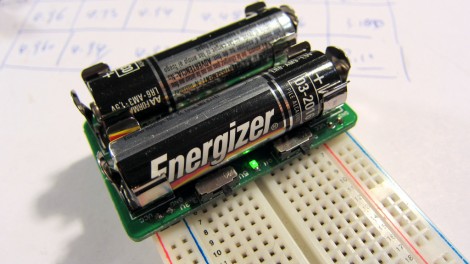
[Mathieu] just finished analyzing the numbers from a month of solar energy harvesting. You may remember that he was curious to see what kind of energy can be collected from small solar cells used indoors. He built several copies of a test platform which collected data between December 16th and January 16th.

First of all, it’s not shocking to find out that rooms with no sunlight produced negligible energy during that time. When you think about it, if they had been gathering a statistically significant amount wouldn’t that mean the lighting used in those rooms was incredibly inefficient? In other words, there’s no way you need to be making that much light.

But he did find that proper positioning in rooms that catch sunlight during the day can result in usable energy for small loads. He established that a 0.5 Watt panel harvested just a bit more than half of what a 1 Watt panel did. But perhaps the most useful discovery was that it’s quite a bit more efficient to have a charging circuit store energy in a battery rather than directly powering a fixed load.

It will take us a few more viewings to really decide what we can take away from the experiment for our own projects. But we appreciate [Mathieu’s] quest for knowledge and his decision to put this information out there so that others can learn from it.

From The Readers: Low Battery Cutoff Solutions

We got a lot of really great feedback about low battery cutoff options in the comments section of Monday’s replacement battery post. To refresh your memory, some power tool batteries were replaced by Lithium Polymer units which can be damaged if drained too low before recharging. We had thought that many Lithium cells had cutoff circuitry these days. The consensus is that these batteries didn’t because they’re for RC applications where weight is an issue. But we did get a ton of people sending in commercially available drop-in solutions, mostly from RC hobby outlets, so search around for those if you’re interested.

[Christopher] sent us a link to the cutoff circuit he built for his bike light. You can see the schematic for it above (direct link). He sourced an ATtiny45 to drive a MOSFET which disconnects the battery when it gets too low. This would be easy to adapt to other uses, but note that there’s a voltage regulator involved as well as a few other passives… not a difficult solution but also not all that simple.

This same concept can be adapted. A few commentors mentioned using a transistor (or MOSFET) with the base driven by a voltage divider including a zener diode. This way the voltage rating of the diode would effectively shut off the gate when that threshold was reached.

We also enjoyed reading about [Bill’s] human-controlled cutoff circuit. It also uses a zener diode, but this time in series with a resistor and and LED patched into the trigger of the tool. The LED will shine brightly when the battery is in good shape. It will dim near the end, and fail to light when the critical limit has been reached. Just make sure you’re paying attention and you’re in good shape.

Pros And Cons Of Replacing Tool Batteries With Lithium Polymer

[HammyDude] was tired of buying replacement batteries for his power tools. He had some Lithium Polymer batteries on hand and decided to take one of his dead drills and swap out the dead power pack.

The orange battery pack you see above has a deans connector on it for use with RC vehicles. By opening up the drill housing, [HammyDude] was able to add the mating deans connector. Now the replacement easily plugs into the drill, and it even fits inside the handle body.

This battery is made up of several cells, and an inexpensive charger is capable of topping off each individually for a balanced charge. In the video after the break [HammyDude] points out that the Makita charger applies voltage to all of the cells in series. It’s incapable of balance charging so when one cell dies the battery is toast. We’ve encountered this problem with Makita tools before.

One drawback to take note of in the end of the video: this replacement doesn’t have any low voltage cut-off. Running this battery pack down too low will permanently damage it. There must be a simple circuit that could be added as a safety measure. If you know of one, drop us a tip.

Continue reading “Pros And Cons Of Replacing Tool Batteries With Lithium Polymer”

Replacing Solder Tab Batteries

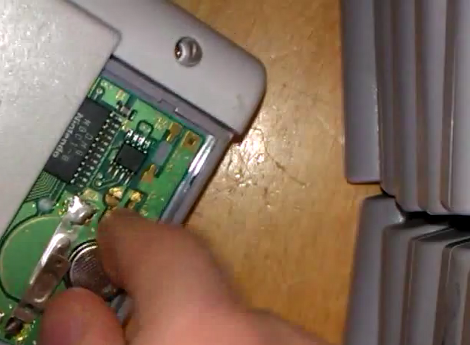
There’s a ton of devices out there that have batteries in them but most people never think about it. That’s because they use rechargeables that are sealed inside and topped off with external chargers. [Todd Harrison] has a couple of them, including a cordless shaver and a Christmas light timer. He’s had these for years and the batteries have gone south. They’re not meant to be consumer-replaceable, but that did stop him from cracking them open and swapping out the solder-tab batteries himself.

The batteries themselves won’t be all that hard to source. The shaver just takes a NiMH AA cell. But since they’re not meant to be replaced [Todd] needed to do some soldering. Here you can see he’s using a solder gun to make the connection between the new battery and one of the solder tabs. He uses the gun instead of an iron because he needs to heat the joint quickly, and must avoid heating the rest of the cell which could rupture. As a safety precaution he’s wearing gloves and a full face-shield.

Check out the video after the break to see this, as well as the coin cell replacement in the lighting controller.

Continue reading “Replacing Solder Tab Batteries”

Cellphone Battery Booster Built At The Checkout Counter

When you’re away from home and your cellphone runs out of juice it can be a real downer. Sure, you could find a store and buy a wall charger, but wouldn’t it be more fun to build your own battery booster without using tools? [Spiritplumber] did just that, popping into a Radio Shack for the parts, then making his how-to video (embedded after the break) while standing at the checkout counter. You can see he hust set his camera on top of the battery display case and got to work.

He’s using four D cell batteries to provide 6 volts of power. Assuming your phone charges at 5 volts this is going to be just a bit too high, even though there’s some tolerance with most phones. To overcome that obstacle he added a diode to the circuit, taking advantage of the 0.7 volt drop that it brings to the mix. Grab a plug adapter for your model and then just hand twist the connections. [Spiritplumber] admits it would be better to solder these, but in a bind you can get away with it. We looked up some prices for this method and we figure this would cost around $18 (batteries included) depending on the price of the plug adapter for your phone.

Of course if you’re just looking for a way to charge your phone without paying consumer prices there are ways of accomplishing that as well.

Continue reading “Cellphone Battery Booster Built At The Checkout Counter”

Halloween Props: Pumpkin Battery

This one would make a nice centerpiece for your Halloween party. It’s a battery with tiny pumpkins serving as the cells. [EM Daniels] shows us how to clear out the pumpkins, fill them with some freshly mixed electrolyte, and he even throws in the directions for baking the pumpkin seeds.

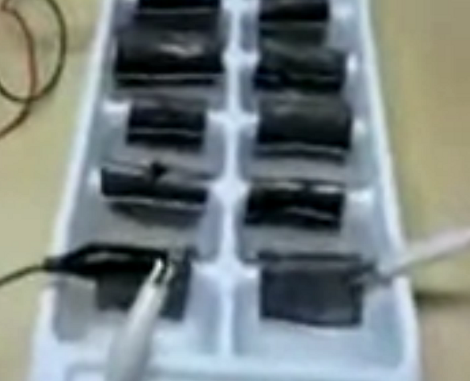
Each pumpkin will need a pair of conductors made of dissimilar metals to serve as the anode and cathode. Copper wire is used for one, aluminum for the other, and both wires have a spiral pattern bent on one end to increase the surface area that contacts the electrolytic solution. Now just boil up a slurry of vinegar, gelatin, and salt, then let it sit in the fridge over night. [EM Daniels] was able get 1.5V out of this project (enough to light one LED) for two hours, and 1.4V for six hours by using seven of the pumpkin cells in series.

[Thanks Karen]

A Simple Fix To Resurrect Your Broken Iclicker

simple_iclicker_battery_fix

If you are currently attending college, the odds are that you are familiar with iclicker classroom remotes. If you have one of these, you might also be aware that they tend to be flaky at times, particularly when it comes to powering on. [Todd] received a few “broken” iclickers lately and has found an easy to fix design issue that might possibly save yours (and others) from the trash heap.

When he started pulling the units apart to diagnose them, he noticed that something with the battery contacts was not quite right. They are held in place by the device’s plastic shell which is pretty common, however in the iclicker, the portion of the plastic case that holds the positive battery contact is too big, preventing some batteries from making a complete circuit.

Now you might be thinking to yourself that AA batteries are all the same, but they are not necessarily created equal. Through a small bit of testing, [Todd] found that many different batteries experienced intermittent connectivity issues depending on the height of the positive terminal, and that due to their design, Duracell batteries flat out didn’t work. With the careful removal of a portion of the plastic surrounding the positive contact, [Todd] was able to fix each of his “broken” remotes.

He hopes that this information helps some people resurrect their non-functioning units, because a few minutes work sure beats buying another $30 iclicker.