Sure, we all love fixing stuff, but there’s often a fine line between something that’s worth repairing and something that’s cheaper in the long run to just replace. That line gets blurred, though, when there’s something to be learned from a repair.
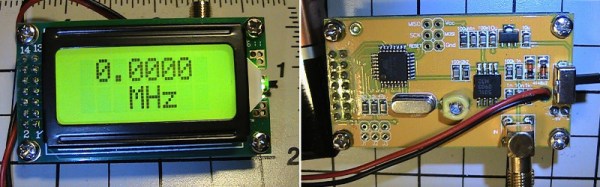
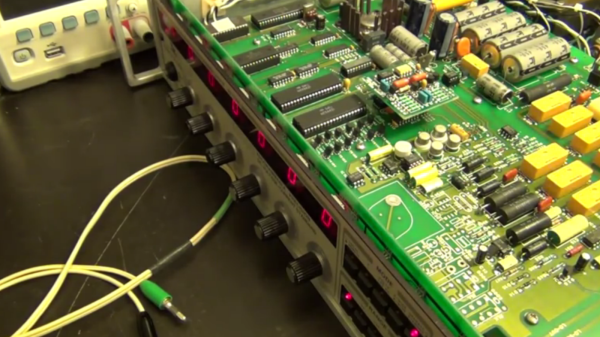
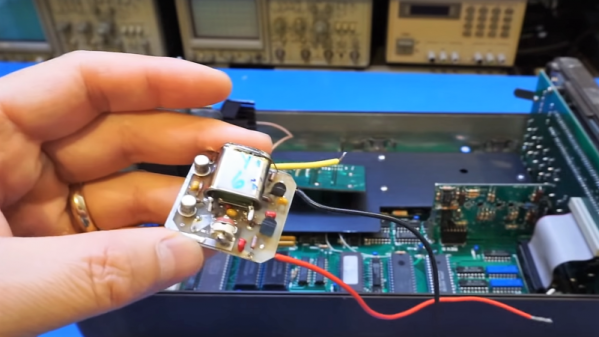
This wonky temperature-compensated crystal oscillator is a good example of leaning toward repair just for the opportunity to peek inside. [Kerry Wong] identified it as the problem behind a programmable frequency counter reading significantly low. A TCXO is supposed to output a fixed frequency signal that stays stable over a range of temperatures by using a temperature sensor to adjust a voltage-controlled oscillator that corrects for the crystal’s natural tendency to vary its frequency as it gets hotter or colder. But this TCXO was pretty old, and even the trimmer capacitor provided was no longer enough to nudge it back in range. [Kerry] did some Dremel surgery on the case and came to the conclusion that adding another trim cap between one of the crystal’s leads and ground would help. This gave him a much wider adjustment range and let him zero in on the correct 10-MHz setting. [Mr. Murphy] still runs the show, though – after he got the TCXO buttoned up with the new trimmer inaccessible, he found that the frequency was not quite right. But going from 2 kHz off to only 2 Hz is still pretty good.
Whether it’s the weird world of microwave electronics or building a whole-house battery bank, it’s always fun to watch [Kerry]’s videos, and we usually end up learning a thing or two.
Continue reading “Drifting Instrument Presents Opportunity To Learn About Crystal Oscillators”