You can get all kinds of fancy lenses for modern cameras, with all sorts of mechanical and electronic wizardly to make them shoot better images. But what if you paired a vintage lens with a modern camera? It would take some work, as [Mathieu] found out, but you’d also get some interesting results.
The optic in question is a 100-year old lens—a Foth 50 mm f2.5 to be precise, originally used with a folding film camera. It was sourced from a market for just 3 euros. Notably, the lens was not designed for modern cameras, and so lacks an aperture and focusing mechanism. [Mathieu] thus had to fabricate something to fit the lens to a Sony FX3. A first attempt used an aperture adapter from Amazon and an elcoid adapter, but there were vignetting problems due to the lens placement in this case. Ultimately, [Mathieu] went with a special macro adapter that allowed him to control focus and tuck in an ND filter behind the lens, which made up for the lack of an aperture.
The vintage glass isn’t the sharpest lens out there, but that’s kind of what’s fantastic about it. The center of the frame is certainly focused, but it fades out softly towards the edges of the image, giving a cinematic, dreamlike effect. The bokeh in the background are particularly charming, too. As far as 3 euro lenses go, this one was a hit.
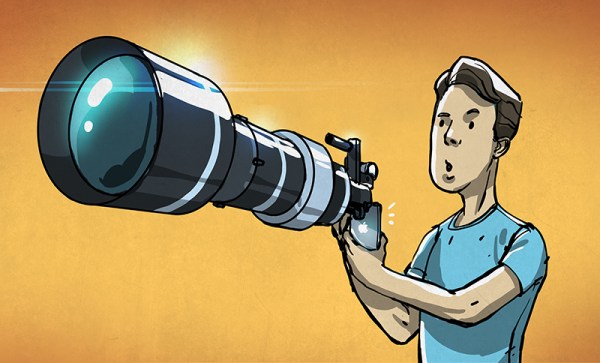
You can slap just about any lens on anything if you get creative with how you do it. Video after the break.
Continue reading “Adapting A 100-Year-Old Lens To A Modern Camera”


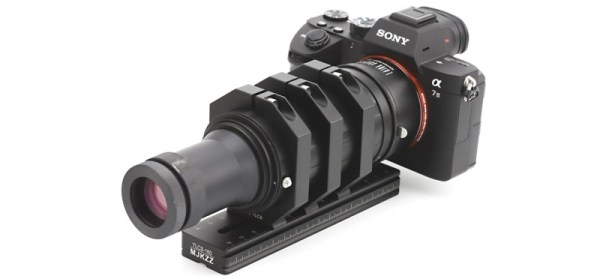
 In building a new lens for the Open Sauce ’23 event, [scealux] wanted to get variable aperture working, while also improving focus speed. The lens was also intended for use with a Sony A7R3. Unlike his previous effort, this lens would only work on the full-frame Sony FE mount cameras.