Improving A Cheap Espresso Machine

For those of us that would like a good cup of coffee but don’t want to put up with the ‘burnt butt’ taste of Starbucks and don’t have a decent coffee shop nearby, we’ve had very few options. Most of us have been made to suffer with an el-cheapo espresso machine. [Joe] sent in a great build that improves these el-cheapo models and brings them up to the quality we would expect from their more expensive brethren.

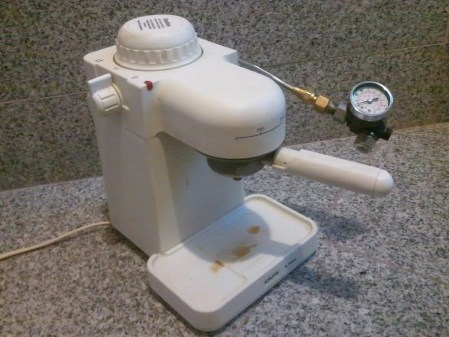
For the best pull from an espresso machine, the great [Alton Brown] says 200° F water must be forced through the grind at around 10 PSI atm. [Joe]’s espresso machine can’t build up pressure because the heating element is only active when the lever is in the ‘brew’ or ‘froth’ position. To build up pressure in the water reservoir, [Joe] simply added a pressure gauge to the frothing attachment. When the gauge reads the necessary 10 atmospheres, just move the lever over to the ‘brew’ position and enjoy a nice cup of espresso.

[Joe] has already tested the pressure relief valve of his espresso machine. With the gauge in the way, [Joe] can’t make use of his frother, but a secondary valve could easily remedy that. [Joe] hasn’t published his espresso hack anywhere, but he did email us some pics of his build. We’ve embedded them as a slideshow after the break. Check out the pressure gauge on the frothing attachment and the pressure relief valve below.

Continue reading “Improving A Cheap Espresso Machine”

Hacking A Better Pressure Cooker

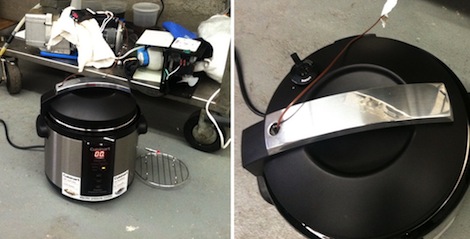
This pressure cooker hack on [Dave Arnold]’s great cooking blog was sent into us (thanks, [techartisan]!). Most pressure cooker recipes are written for pressure cookers that can go up to 15 PSI or 250° F / 121° C. At these temperatures, a lot of interesting chemistry happens in the food. The popular Cuisinart electric pressure cooker doesn’t reach these pressures and temperatures, so [Dave Arnold] set out to make his Cuisinart better.

After measuring the temperature with a thermocouple, [Dave] deduced that the Cuisinart cooker only reached 237° F and 9 PSI. After having a look at the electronics, he realized that adding a resistor to the temperature sensor circuit would give him the pressure he wanted. After soldering in a trim pot, everything went swimmingly and the cooker was able to reach 15 PSI.

[Dave] isn’t sure how his modifications will hold up – he doesn’t know how the cooker will hold up to overheating (and there are a few concerns about non-stick pressure cookers in the first place). That being said, it’s a great mod to get some more capabilities out of a Cuisinart.

Peltier Powered Sous-vide Rig Gets It Right Every Time

diy_sous_vide_refrigerator_cooker

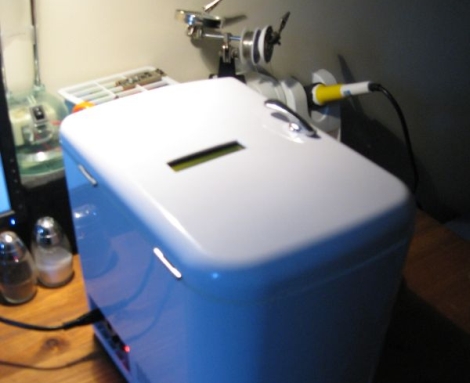
It seems that sous-vide cooking is becoming increasingly popular lately. [Meseta] caught the sous-vide bug and wanted to try his hand at it, though he did not have enough money for a premade sous-vide cooker. After seeing a good handful of lackluster DIY sous-vide rigs online, he decided that he would design and build a sous-vide cooker of his own.

He already had a Forebrain microcontroller at his disposal to use as a PID controller, but what he really needed was a cooking vessel. Rather than use an old crock pot or similar device, he purchased a small personal refrigerator that could be used for cooling or heating. The unit ran off a Peltier cooler that could be switched between modes, making it quite easy for him to control.

In his blog, he discusses the modification from beginning to end, and even shows off the results of his cooking endeavors. He hasn’t posted code as of yet, but he says that he is more than happy to share it with anyone who might be interested in building their own sous-vide cooker.

Hacking Cakes With LEDs, The Sequel!

A few weeks back we ran a piece about the convergence of making and baking in an attempt to create a cake festooned with working LEDs. The moral was that not every creative idea ends in victory, but we applauded the spirit it takes to post one’s goofs for the whole internet to see and to learn from.

[Craig]’s LED matrix proved unreliable…and the underlying cake didn’t fare much better, resembling that charred lump in the toaster oven in Time Bandits. The cakes-with-lights meme might have died right there if not for a fluke of association…

Continue reading “Hacking Cakes With LEDs, The Sequel!”

PID Sous-Vide Slow Cooker – Bon Appétit!

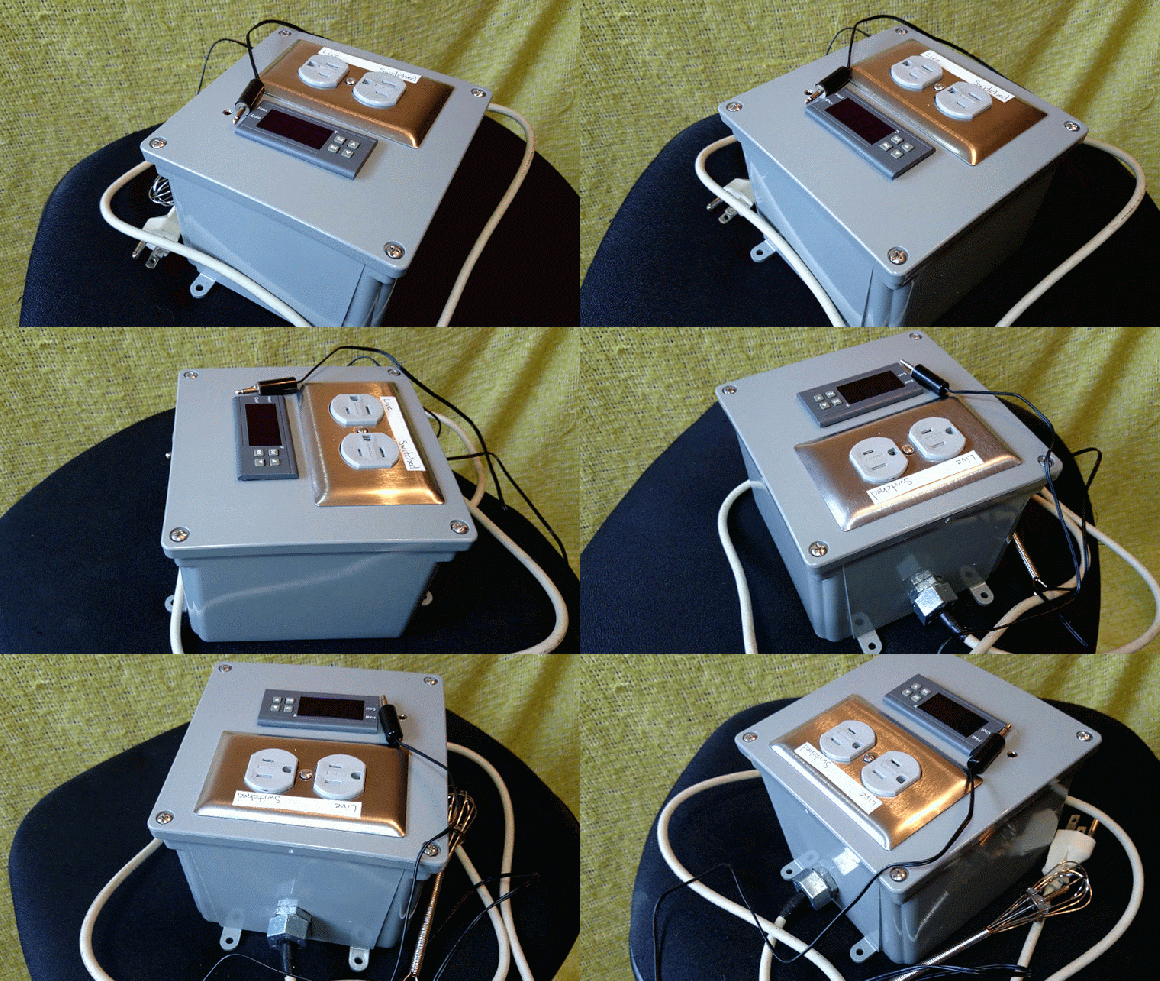
In search of a perfectly-cooked brisket, [Aaron] recently completed this DIY  PID-controlled sous-vide slow cooker. Sous-vide (French for “under vacuum”) is a cooking technique in which foods are typically vacuum-sealed and then cooked in a relatively low temperature water bath for an extended period of time. This is done to minimize temperature gradients throughout the food to ensure even cooking. Precise regulation of the water temperature is the key to ensuring that the results are exactly as desired – when cooking for many hours or days, even a few degrees discrepancy can greatly influence the final product.

A few months ago we featured a similar hack that utilized a simple switching temperature controller spliced into an extension cord.  Although probably sufficient for most aspiring “hacker-chefs”, the temperature was not as stable as it could be. The problem is that it takes time for the heat generated in the slow cooker’s heating element to reach the temperature probe (and food) suspended in the water bath.  By the time the probe reads the elevated temperature, the element is already too hot and the temperature overshoots the target. One way to mitigate this effect is to circulate the water to minimize temperature gradients, as is done in many of the expensive commercial units. In order to achieve similar results, [Aaron] instead created a PID controller that uses temperature feedback over time to precisely maintain the desired temperature and reduce any deviations resulting from outside disturbances.

The build is covered in detail and looks great in a custom acrylic enclosure. All of the board schematics, enclosure layout files, and source code are available under Creative Commons licensing at the bottom of his blog page. A good deal of time is also spent addressing the actual PID programming and tuning – something that could be useful for many different hacks requiring precise feedback control.

The end result is a professional looking control box and a slow cooker that is able to maintain temperature within 1°F even while using a DS1820 temperature sensor that is only rated as accurate to 0.5°C (0.9°F). From the pictures it looks like [Aaron] has finally achieved brisket bliss! Now the only question remaining is: what is the best setting for reheating left-over pizza?

PID Controlled Smoker

[dafonso] purchased a nice 1500W smoker but was somewhat dismayed that it only had one cooking temperature. To compensate he designed his own PID control system which allows him to set the cooking temperature digitally. At the heart of the system is a PICAXE 18 micro which switches the smoker on and off using a solid state relay. Rather than testing the 110V system on the smoker itself (which would have been a pain indoors) he used a lamp instead. To see if he was getting the correct temperature he taped his thermocouple to the light bulb and let the PID switch the lamp on and off. Also be sure to checkout his video which does a good job of explaining how he was able to solder the surface mount components required for the control board.

Refurbishing A Refrigerator For Fermenting

[Mikey Sklar] wrote in to show us how he refurbished a neighbors useless refrigerator as a fermentation chamber. [Mikey] is a fan of making breads, kemchi, yogurt, and tempeh. To make these, it helps to have a completely controlled temperature for them to ferment in. [Mikey] developed a temp controller for this in the past, but had to either build a control box or use a giant chest freezer.  This is not optimal for limited space, such as a kitchen. He got lucky when a neighbor tossed a wine cooler into the trash. These little coolers are perfectly sized for a kitchen and even have a glass front so you can keep an eye on what is going on inside without having to open it and effect your temps. [Mikey] ripped it open, replaced the peltier cooler with a large heat lamp and his temp controller. Since he was making yogurt with this one, he needed only to heat it. The final product turned out pretty effective.