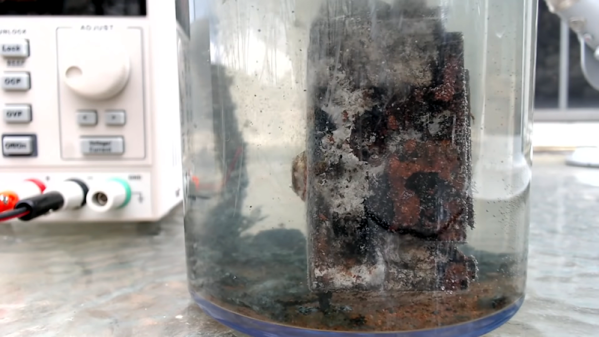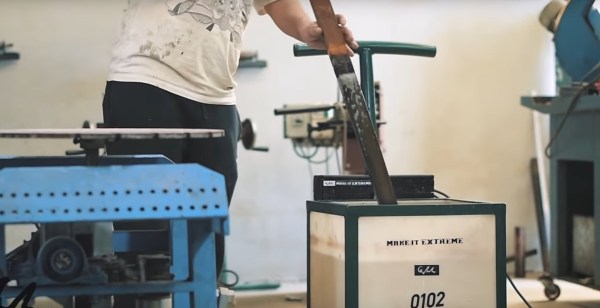
Anyone who’s done a bit of metalworking will know how quickly your stockpile will pick up a coating of rust with even just a bit of humidity. While welding requires only a bit of wire brushing at the joint areas, cleaning a large frame for paint is a completely different story. The projects [Make it Extreme] gets himself into tend to involve a lot of steel, so he built his own electrolysis tank for rust removal.
Electrolytic rust removal involves placing the piece of steel to be cleaned into an alkaline electrolyte solution (water and washing soda) with a sacrificial steel anode and connecting a low voltage DC supply over the two pieces. [Make it Extreme] started with an old plastic container, around which he built a very neat trolley frame. He obviously put some thought into how the tank will be cleaned, since it can be removed by unscrewing six bolts and removing the top part of the frame.
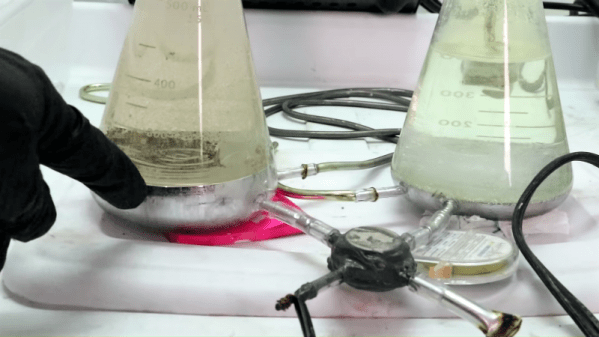
The high current, low voltage power supply that is required for the process was built using an old microwave transformer. The secondary coil is removed and replaced with coil of thick insulated wire, to convert it into a step down transformer. After the rewinding the transformer outputs about 13 VAC, which is then run through beefy bridge rectifier modules to get a DC current. A custom machined copper bolt terminal is mounted through the side of the tank to attach the sacrificial anode plate to the positive lead of the power supply, while the negative lead is clamped to the rusty steel to be cleaned.
[Make it Extreme]’s projects never get old, with everything from rideable tank tracks to rotary electric guns. Check out the video after the break to see the build and an impressive demo. Continue reading “DIY Electrolysis Tank: Removing Rust While You Sleep”