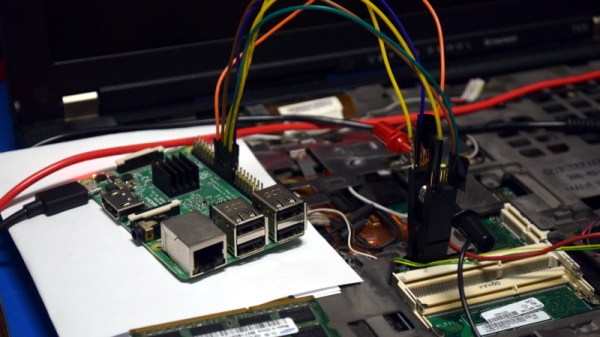
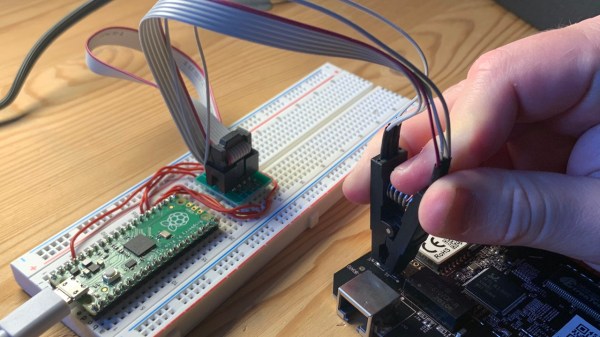
A Pi Pico plugged into a breadboard, with jumpre wires going away from its pins to an SPI flashing clip, that's in turn clipped onto an SPI flash chip on a BeagleBone board

Programming SPI Flash Chips? Use Your Pico!

At this point, a Pi Pico is equivalent to a bag full of programmers and debugging accessories. For instance, when you want to program an SPI flash chip, do you use one of those wonky CH341 dongles, or perhaps, even a full-on Raspberry Pi with a Linux OS? If so, it might be time to set those two aside – any RP2040 board can do this now. This is thanks to work of [stacksmashing] who implemented serprog protocol for the RP2040, letting us use a Pi Pico with stock flashrom for all our SPI flash chip needs.

After flashing the code to your RP2040 board, all you need to do is to wire your flash chip to the right pins, and then use the serprog programmer type in your flashrom commandline – instructions are available on GitHub along with the code, as you’d expect. Don’t feel like installing flashrom, or perhaps you happen to run Windows and need a flasher in a pinch? [stacksmashing] has a WebSerial-based SPI flasher tool for you, too, and shows it off with a fancy all-the-pinouts board of his own making.

This kind of tool is indispensable – you don’t need to mod one of these CH341 programmers to fix the bonkers 5 V default IO, or keep an entire Linux computer handy when you likely already have one at your fingertips. All in all, yay for one more RP2040 trick up our sleeve – this SPI flashing helper joins an assortment of applets for SWD, JTAG, UART, I2C and CAN, and in a pinch, your Pi Pico will also work as a digital and analog logic analyzer or an FPGA playground.

 

Installing LibreBoot The (Very) Lazy Way

Recently I was given a somewhat crusty looking ThinkPad T400 that seemed like it would make a good knock around machine to have on the bench, if it wasn’t for the fact the person who gave it to me had forgotten (or perhaps never knew) the BIOS password. Cleaning the machine up, putting more RAM in it, and swapping the wheezing hard drive for an SSD would be a relatively cheap way to wring a few more years of life from the machine, but not if I couldn’t change the boot order in BIOS.

Alright, that’s not entirely true. I could have installed an OS on the SSD from my desktop and then put it into the T400, but there was something else at play. The locked BIOS gave me the perfect excuse to install LibreBoot on it, which is one of those projects I’ve had in the back of my mind for years now. Replacing the BIOS with something entirely different would solve the password issue, but there was only one problem: the instructions for flashing LibreBoot onto the T400 are intimidating to say the least.

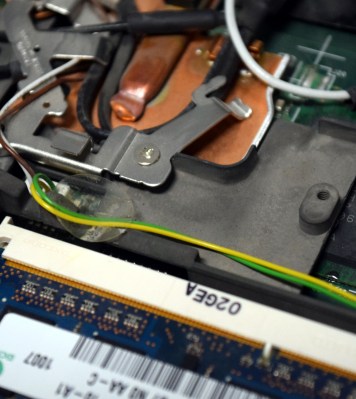
You’re supposed to take the entire machine apart, down to pulling the CPU cooler off and removing the display. All so you can flip the motherboard over to access a flash chip between the CPU and RAM that’s normally covered by a piece of the laptop’s frame. Oh how I hated that diabolical chunk of magnesium which kept me from my silicon quarry. Flashing the chip would take a few minutes, but YouTube videos and first hand accounts from forums told me it could take hours to disassemble the computer and then put it back together after the fact.

Deep into that darkness I peered, long I stood there, wondering, fearing, doubting. Then a thought came to me: maybe I could just cut the thing. If it was a success, it would save me hours of work. If it failed, well, at least the computer didn’t cost me anything. Time to roll the dice.

Continue reading “Installing LibreBoot The (Very) Lazy Way”

Arduino Uno BIOS Flasher

We’ve seen the Arduino used to flash BIOS chips several times now. But these hacks are almost always the result of a bad flash. This time around [GNUtoo] is interested in putting a tool in your hands which can be used to flash Coreboot to your motherboard. His offering uses the Arduino Uno, but there are several other hardware options covered as well.

The firmware makes use of the serprog-duino library which was crafted at writing to flash memory chips. On the computer side of things the flashrom package pushes the BIOS image to the Arduino. The nice thing is the flashrom is a common packge in Linux repositories so it’s probably just an apt-get away.

The process isn’t fast, taking about ten minutes to program a 1 Mb chip. But if you’re just interested in loading an open source BIOS alternative this is easy to set up.