It’s hard to argue that bicycles aren’t super handy. They get you from point A to B in a jiffy with little effort. Since these machines are so simple and convenient, why not use them for things other than transportation? Well, [Job] set out to do just that.
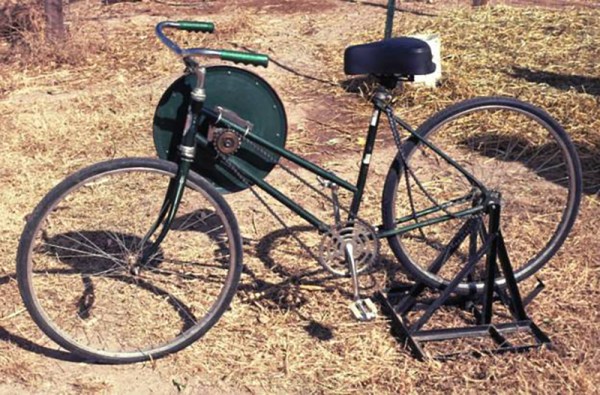
[Job’s] starts with a standard single speed bike and adds a few parts. First, a stand is installed to the back axle. When in the down position, it lifts the rear wheel off of the ground and provides support so the bike does not tip over. When flipped up into the ‘up’ position the stand creates a rack for holding goods and the bike can be pedaled around in a normal manner.
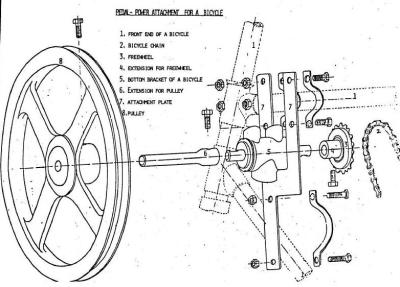 Next, a jack shaft made from a bike bottom bracket and crank is installed up front in between the top tube and down tube of the frame. On one side of the jack shaft is a sprocket and the other side is a large pulley. When converting to what [Job] calls ‘power production mode’, the chain going to the rear wheel is removed from the crank sprocket and replaced with a chain connected to the jack shaft.
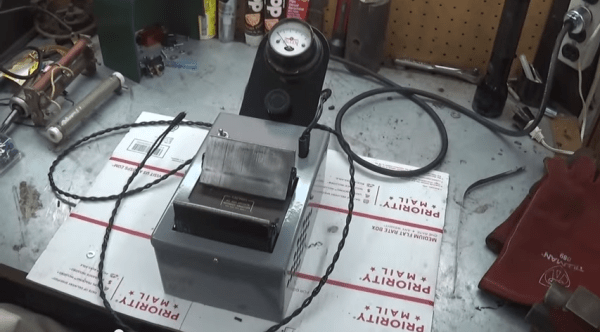
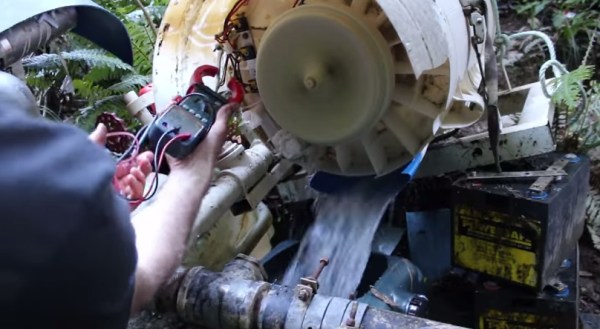
With the rear stand down supporting the bike and the pedals now powering the jack shaft and large pulley, it is time to connect the bike to any sort of machine. A belt is slung around the pulley and connected to a matching pulley on a power-hungry machine. This dual-purpose bike has powered a rice thresher, peanut sheller, water pump, table saw and even a wood lathe!
[Job] set out to create a simple and inexpensive way to make a bike even more useful than just riding around town. We think he did just that. For more bike-powered stuff, check out this generator.