Hackaday Links Column Banner

Hackaday Links: August 23, 2015

Dutch security conference! It’s called hardwear.io, it’ll be in The Hague during the last week of September, and they have the CTO of Silent Circle/Blackphone giving the keynote.

Baltimore’s awesome despite what the majority of the population says, and they have a few hackerspaces. One of them has an Indiegogo going right now to save the space. Want a tour of the space? Here you go.

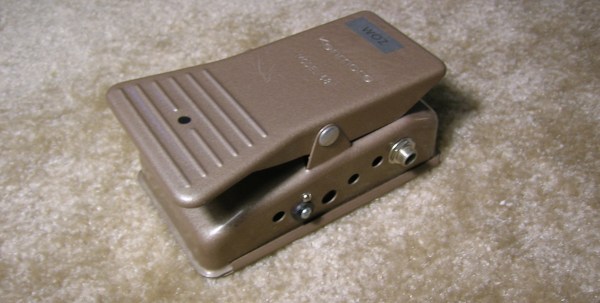
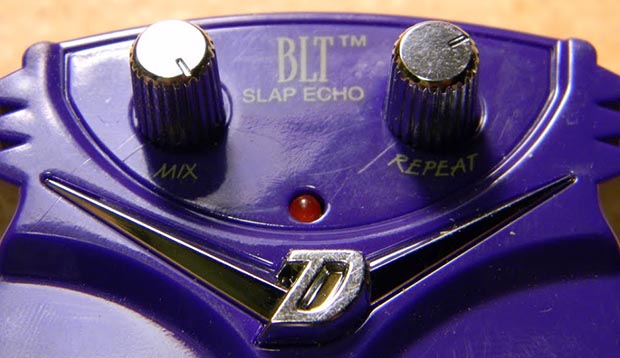
[Fran Blanche] made it on to the Amp Hour. Included in this episode are discussions about the boutique guitar pedal market and the realities of discarded technology that took us to the moon.

Speaking of electronics podcasts, SolderSmoke is 10 years old now.

TARDIS-shaped guitars are nothing new, but [Gary] from the LVL1 hackerspace in Louisville, KY is making an acoustic one. The neck is, of course, taken from another guitar but the entire TARDIS-shaped body is custom-made. Now do resonance calculations on something that’s bigger on the inside.

Think German-made means German quality? [AvE], [Chris], or whatever we call him did a teardown of a Festool Track Saw. It’s a thousand dollar tool that will start to stink in a few years and has bearings that don’t make any sense.

Love 8-bit? There’s a Kickstarter from 8-bit generation for a documentary about the love, loss, resurrection and continuation of old computers. Dozens of very interesting interviews including one from our own [Bil Herd]

DIY guitar mute pedal

Guitar Mute Pedal Made From Upcycled Parts

Rockin’ out on your fave guitar is pretty fun for sure but whether your on stage or jamming in your basement, it can be convenient to quickly mute those killer licks. [wozlaser] wanted a mute pedal for his guitar and instead of shelling out the tens of dollars for a commercial version, he decided to build one himself.

This pedal is heavy-duty and made out of metal. If the frame looks familiar, that is because in a prior life this was a control pedal for a sewing machine. [wozlaser] found it cheap at a thrift store. After the internals were taken out, he added a few key parts. First were the 1/4″ input and output jacks that were scavenged from an old stereo system. There is a momentary switch from a VCR and a standard guitar stomp pedal switch mounted all the way in the front of the frame. The wiring is as follows:

DIY guitar mute pedal

The wiring schematic is pretty darn simple, it just grounds and ungrounds the signal wire. As stated earlier, there are 2 switches, a momentary and a push-on/push-off switch. A normal mute pedal would only have one switch but [wozlaser] wanted something special. If you push the pedal all the way forward it will mute or unmute the signal until it is pushed again. When the pedal is in the spring-supported ‘up’ position a lever pushes on the momentary switch, a slight push on the pedal lifts the lever off of the momentary switch to mute or unmute the signal. The function of the momentary switch (mute or unmute) changes with the state of the other switch. This works exactly the same as a 3-way light switch circuit allows two switches to control one light in your house. With this setup [wozlaser] is able to not only mute and unmute his guitar but strum a chord with it off and pulse the chord on to the beat of the music or tap the pedal with some guitar feedback to make the sound cut in and out. All that only cost [wozlaser] a little time and spare parts… and there are no batteries to replace!

modded guitar pedal

Guitar Pedal Hack Via Manufacturer’s Shortcut

There seems to be no shortage of manufacturers that cut costs by using similar components across a wide range of products. This isn’t necessarily a bad thing though, since it makes it easier for someone with some know-how to quickly open up the product and figure out how to get more use out of it. [Lewin] noticed some peculiarities on the PCB of his EHX Screaming Bird guitar pedal, and used a manufacturer’s shortcut to turn this treble-boosting pedal into a flat booster.

Once [Lewin] removed the case, he noticed that there were some unpopulated pads on the PCB. Additionally, the potentiometer was labelled as 10k, but a 100k was actually installed. These were indications that something was awry, so after poking around on the internet, [Lewin] now believes that the same PCB was used to make at least three different effects pedals with similar internal structures.

The Screaming Bird pedal was a little harsh for [Lewin]’s taste, so he changed out some capacitors on the board to get it closer to the flat booster. There are some other things that could be changed, but now he has a pedal that suits his needs much more appropriately, thanks to the manufacturer making only minor changes across a range of similar products. Historically, guitar pedals are pretty easy to modify, but it’s nice that the manufacturer of these has made it so much simpler!

DIY Foot Pedal Controller For Guitar Rig 5

DIY Modeling Software Control Pedal

Back in the old days, it took external guitar effects pedals to modify a guitar’s sound. As computer processing power has been growing at an exponential rate, software-based effects modelers have been becoming more common. [Matthew]’s dad is running Guitar Rig 5 modeling software on his Lenovo tablet. Although it works well, it is a hassle to change effects and amp models while playing. That’s where [Matthew] comes in. He’s built a foot pedal controller so his old man can change up those sweet sounds on the fly.

Guitar Rig 5 has the ability to change presets with key presses. Even so, it would still be a hassle tapping a keyboard while playing, whether it be physical or on-screen. Since an Arduino-compatible board with an ATMEGA32U4 chip can be used to simulate an HID device, [Matthew] decided to use one as the basis for his project. Standard push buttons mounted in a project box indicate to the microcontroller which keyboard commands to send to the tablet. There are 4 buttons for 4 presets on this build but any number can be used. When a button is pushed, the associated keyboard command is sent to the tablet via a USB cable and Guitar Rig 5 responds to that command by changing the preset. And just so you know where you are, an indicator light adjacent to each button shows which preset is current.

Continue reading “DIY Foot Pedal Controller For Guitar Rig 5”

An Opensource Arduino Guitar Pedal

If you’re a guitarist, or know a guitarist, you probably know just how many guitar effects there are out there — but what if you could design your own effects?

[J Rodriguez] has just released his opensource Arduino guitar pedal shield, dubbed the pedalSHIELD. He designed it as a platform to learn about digital signal processing, effects, and synthesizers — without needing an in-depth knowledge of electronics or programming. It allows you to design your own effects in C/C++, or download from his own library online. Some of the downloadable presets include an octave pedal, reverb pedals, delay pedals, and even distortion pedals!

The pedal features three programmable potentiometers, two main switches, and the foot pedal switch. The shield plugs directly into an Arduino Due, and you can find all the schematics here and the parts list here. It was completely designed in KiCad which is an open source electronics CAD design suite.

Take a listen after the break to hear the pedal in action!

Continue reading “An Opensource Arduino Guitar Pedal”

Improving A Cheap Guitar Pedal

pedul

If something doesn’t suit your needs, just change it. That’s a motto we live by, and it looks like [Doug] took up the same creed when he modified a cheap effects pedal.

The victim of [Doug]’s soldering iron is a Danelectro BLT Slap Echo – a tiny, cheap pedal in Danelectro’s mini ‘food named’ pedal series. Stock, this pedal’s slap back echo is set to a fixed amount of time. [Doug]’s mod changes that.

The mod consists of desoldering a single SMD resistor and replacing that with a 50k pot [Doug] had lying around. After mounting the pot between the two stock knobs, the new and improved pedal had a variable length echo. There are a few more mods possible with this pedal – changing some of the resistors on the filter for a better sound, or even connecting the rate pot to a wah-style rocker pedal for some wobbly Echoplex or Space Echo action.

You can check out [Doug]’s gallery of pics here.

Homebrew Guitar Tuner Also Includes MIDI Out

A few years ago, [Frédéric]’s brother in law wanted a guitar tuner for Christmas. Instead of going out and buying one, [Frédéric] broke out the soldering iron and built one from scratch.

[Frédéric]’s tuner is built around an ATMega168 uC on a Real Bare-Bones Board with an LM386 amplifier. The display is a standard 20×2 LCD character display, and the interface is torn from the pages of stomp box schematics with a very hefty foot switch.

Detecting the frequency of a note played into [Frédéric]’s tuner involves a fair bit of math. To measure the frequency, the Arduino samples the waveform coming from the input jack. This signal is delayed for a fraction of a second and the area underneath the real and delayed waveforms is measured. This delay slides across the original waveform until the area between the real and delayed samples are minimized. At that point, delayed wave form will be exactly one cycle behind the real signal, and the cycles per second can be calculated. It’s called the YIN algorithm, and you can read more about it here.

Since [Frédéric] already knew the exact frequency being played into the tuner, he figured it would be trivial to add a small analog audio to MIDI converter. This feature (as shown in the video after the break) turns the sounds from a guitar into MIDI notes. It’s monophonic and probably a little superfluous, but still very cool.

Continue reading “Homebrew Guitar Tuner Also Includes MIDI Out”