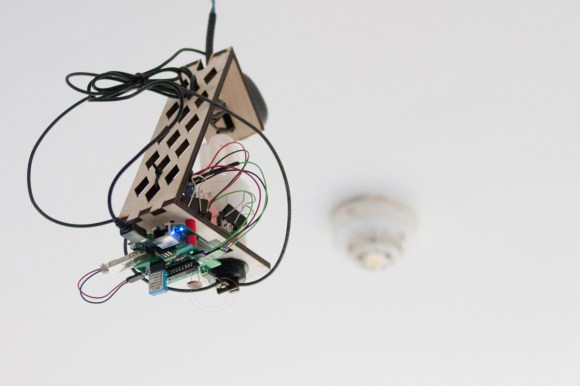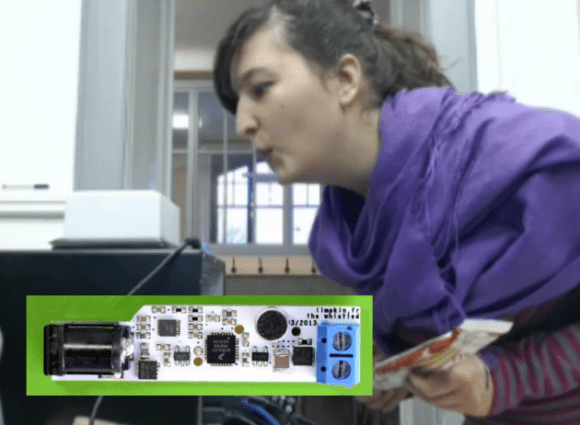
The inlaid image is a controller board which [Limpkin] developed to add whistle control as a home automation option. It has an effective range of around fifteen feet and does a good job of detecting whistles from many different people. Here is one of the test subjects (captured with a hidden camera) whistling to the white LED lamp in order to switch it on.
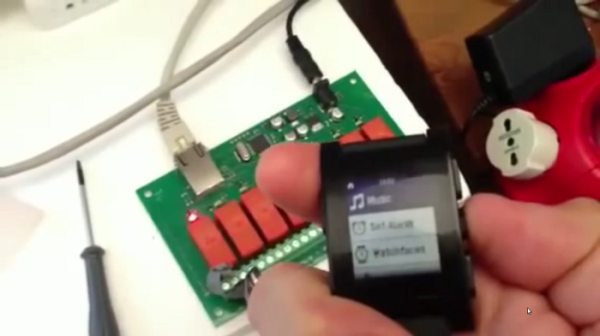
The board is quite small. [Limpkin] holds it up in the beginning of his test video, which gives a good sense of scale. One end has a barrel jack through which the board gets power. The other end has a two conductor screw terminal which is used for switch your devices. An N-channel MOSFET protects the circuit when a heavy external load is connected. It is capable of driving a respectable 90 watts. If you’re looking to switch mains rated devices you’ll need to bring your own relay to the party.
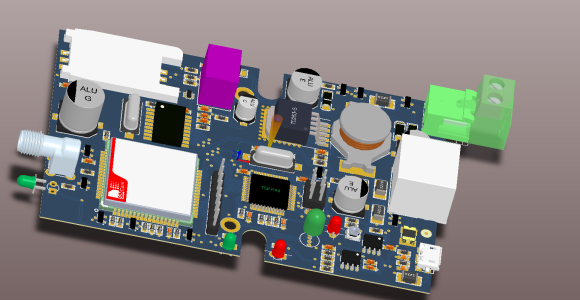
Audio processing is handled by the Freescale ARM Cortex M4 chip at the center of the board. The Serial Wire Debug (SWD) clock and data pins are both broken out to solder pads so the thing is hackable. [Limpkin] posted the schematic, gerbers, and a code template. But he didn’t release the algorithms he uses for processing so if you want to make this at home you’ll need to figure that out for yourself. If you need help you should check out this whistle-based remote control.