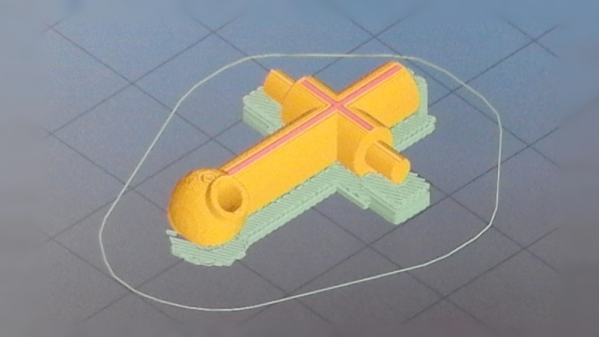
Today, when we say “Jesus nut”, we’re not referring to the people who spend their days proselytizing down at the mall. The term, likely spawned in the Vietnam war, refers to the main nut holding the rotors on to the mast of a helicopter which is in the shape of the Christian cross. If the “Jesus nut” was to fail, the rotors would detach from the craft, and there would be little for crews to do except to pray.
[Marius] was presented with a failed Jesus nut, though thankfully from an R/C helicopter, meaning there was no loss of life. A friend needed the part replaced for their FQ777 copter, so it was time to bust out the 3D printer and get to work.
The first step was to reconstruct the broken piece so it could be measured and then modeled in CAD software with the help of calipers to determine the original dimensions. What followed will be familiar to many 3D printing enthusiasts — a case of educated trial and error, experimenting with different filaments and print settings until a usable part was produced. [Marius] notes on the part’s Thingiverse page that they achieved the best print with an 0.2mm layer height, and printing two parts at once to allow the layers more time to cool during each pass. It was then a simple matter of tidying up the part with sandpaper and a drill bit before installing it on the vehicle.
[Marius] reports that the part was successful, being both strong enough to withstand the forces involved as well as having a fit that was just right to suit the rotor pin which needs to be able to turn freely within the Jesus nut. While they’re not always the right tool for the job, 3D printed replacement parts can sometimes surprise you. These prints that are used in repair work often don’t attract the same interest as printing cosplay armor, kinetic art, and low-poly Pokemon. But they quickly prove how transformative having a 3D printer, and the skills to use it, are. That’s why we’re running the Repairs You Can Print contest… take a few minutes to show off the really useful repairs you’ve pulled off with your 3D printer!


