An open-source chording keyboard with trackball support.

Chordie Chording Keyboard Speaks No Qwerty

What is the fastest way to get thoughts out of your brain and into relative permanence? Well, yeah, probably a voice recorder. But after voice recorders comes typing in a distant second. Typing, especially QWERTY-style, has its limitations. The holy grail method it comes to typing quickly has got to be a chording keyboard, hands down. How can court reporters possibly keep up with everything that’s uttered during a trial? When you can press a few keys at the same time and type entire words, it’s not that difficult. It just takes a whole lot of memorization and muscle memory to get to that point.

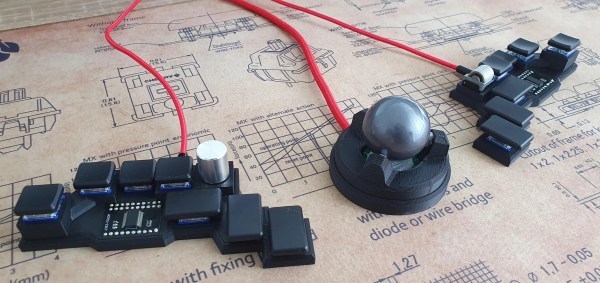
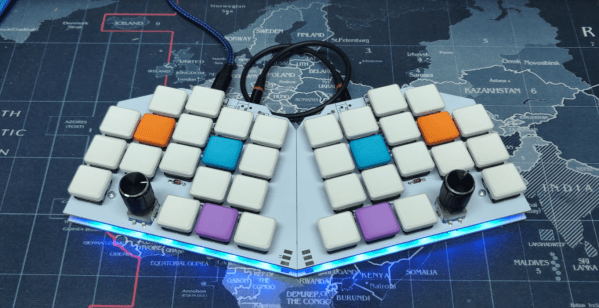
An open-source chording keyboard with trackball support.So if you’re going to go for the glory, check out Chordie, a snazzy little chording keyboard that does it all with just 14 keys. [kbjunky] based Chordie on the Ginny, a cute little bare-bones bat-wing chording keyboard that uses the ASETNIOP chording engine originally built for soft keyboards.[kbjunky] added open-face trackball support via printed cradle, but it’s not necessary to use a trackball since there’s a pair of rotary encoders and a mouse layer.

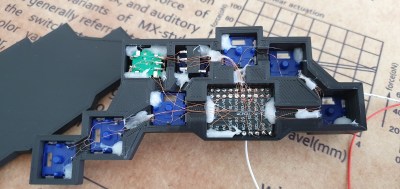
This keyboard looks fantastic with its rocket ship MCU holder and its flush-mounted I/O expander breakout boards. Apparently [kbjunky] used polyimide tape to keep the solder from making blobs. It’s all there in the nice build guide.

We would probably argue that chording is not totally ergonomic. Sure, you barely move your hands or wrists, but chording itself can be hard on the digits, especially the pinkies. To that end, [kbjunky] used low-profile switches with light springs. Totally ergonomic or not, we have to admit that we love the idea of clacking along at 300 WPM someday far, far down the learning curve of ASETNIOP. Take a look at the key map, and check out [kbjunky]’s follow-up post if you want to see a demo.

Maybe you prefer a completely different typing experience. Well, ASETNIOP works with digital pianos, too.

Via r/ErgoMechKeyboards

Where We’re Going, We Don’t Need Keycaps

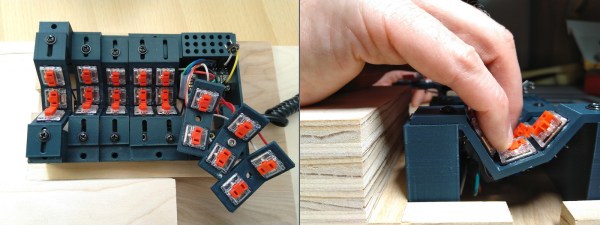
Just when we thought we’d seen the peak of ergonomic, split keyboards, along comes [Peter Lyons] with the Squeezebox — an adjustable, column-staggered, streamlined beauty with 21 keys per hand. Much like the Kinesis Advantage and the Dactyl, the user’s fingers are allowed to dangle comfortably and stay in their naturally curled position, moving as little as possible between keys, rows, and columns. But the Squeezebox goes a few steps farther to reduce finger travel.

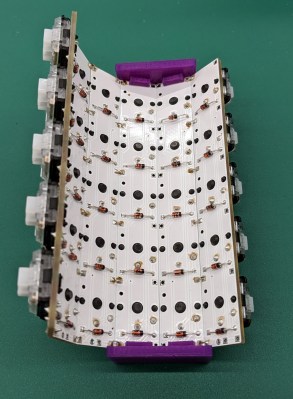
For starters, each column of keys is adjustable on the fly in the Y-direction by loosening the screw and sliding it until it’s just right. The columns are also adjustable in the Z-direction, but for now, this requires reprinting a few parts. In case you didn’t notice, the grid is pretty tightly packed, and those low-profile Kailh choc switches are naked to the world, mostly because keycaps wouldn’t fit anyway.

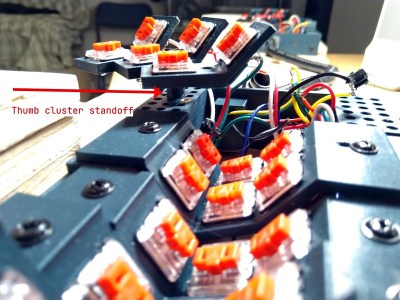
At that angle, there’s no reaching required at all between the middle and bottom rows. The 100° corner that they form both invites and supports chording — that’s pressing multiple keys simultaneously to do some action. There’s no real need to reach for the top row, either, because [Peter] merely moves his finger upward in the Z-direction a little bit to hit those. The similarly-angled thumb clusters are chord-able as well, and their position relative to the mainland is adjustable thanks to a grid of holes that are meant for threaded inserts. Genius!

For the next version, [Peter] plans to bring the three sets of thumb cluster switches closer together, and arrange them like a tri-fold science fair display board. Be sure to check out the super cool but somewhat impossible-to-solder prototypes in the build log, and stay for more stuff in the huge build gallery. Typing demo is after the break.

Still too much travel for your taste? How about a 5-way for each finger?

Continue reading “Where We’re Going, We Don’t Need Keycaps”

Magnum Opus Keyboardus, Or Build Ad Infinitum?

It happens to pretty much everyone who gets into keyboards. No commercial keyboard can meet all your needs, so you start building them. Use them a while, find problems, build a new keyboard to address them. Pretty soon you think you have enough user experience to design the perfect keeb — the be-all, end-all magnum opus clacker you can take to the grave. This time, it happened to [aydenvis]. We must say, the result is quite nice. But will it still be perfect in six months?

As you might expect, this board uses an Arduino Pro Micro. We can’t say for sure, but it looks like [aydenvis] created a socket with a second Pro Micro board populated only with female header. That’s definitely a cool idea in case the board fails. It also has two rotary encoders and a pair of toggle switches to switch controller and secondary designations between the PCBs.

We like the philosophy at play in this 36-key ‘board that states that prime ergonomics come when each finger must only travel one key distance from the home row. This of course requires programming layers of functionality into the firmware, which is easy enough to set up, but can be tricky to memorize. One thing that will help is the color-coded RGB underglow, which we’re going to call sandwich glow because it is emanating from the middle of a stacked pair of PCBs floating on 7 mm standoffs. We only wish we could hear how loudly those jade Kailh choc switches can clack. The board files are up on GitHub, so we may just have to make our own.

Indeed, many keebs we see use a Pro Micro or two, but here’s a tasty split that runs on a Raspberry Pi Zero W.

Via reddit

Sherbet Custom Game Pad Is Smooth And Sweet

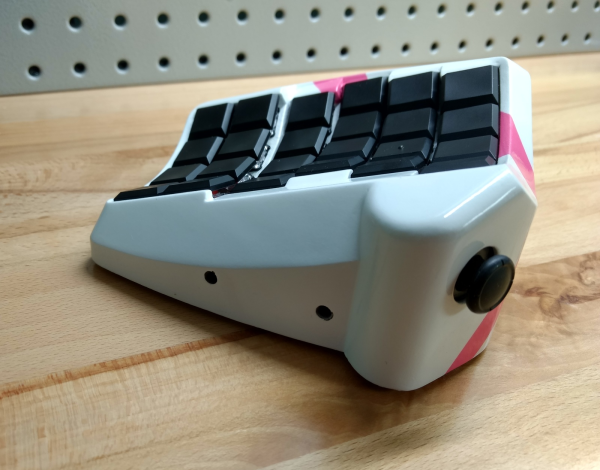
When [Billiam]’s beloved Logitech G13 game pad went to that great spectate room in the sky, he decided to pay homage by designing a custom, more ergonomic replacement from the desk up. Grab a spoon and dig into the story of [Billiam]’s journey toward Sherbet, because it’s a sweet ride.

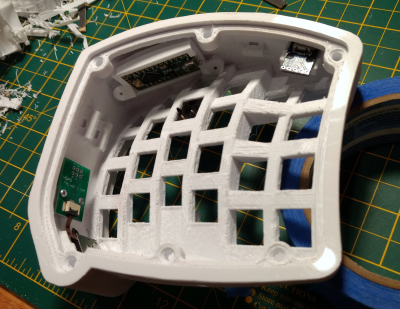
Here’s the scoop: like a lot of DIY game pads and keyboards, Sherbet is based on the Teensy. We often see the micro USB coming straight off the Teensy, especially in clear acrylic builds, but [Billiam] added a USB breakout board so there’s no direct stress on the Teensy itself.

One of [Billiam]’s design challenges comes from the game pad placement — he has a tall desk and uses a keyboard tray, so it has to fit the space and leave enough room for his hand. Fortunately, there are low-profile mechanical switches out there, although the keycap options are strongly limited. We love that [Billiam] embedded a tiny ceramic bearing into one of them to use as a homing bump, because that’s a great idea.

If you want to take a crack at this project, [Billiam] has all the goodies laid out. [Billiam] wanted to use QMK firmware, but they didn’t have joystick support yet, so he’s got an Arduino sketch running in the meantime.

We love a good custom game pad around here, especially if they can reprogram themselves.