Full-color 3D printing is something of a holy grail, if nothing else, just because of how much it impresses the normies. We’ve seen a lot of multi-material units in the past few years, and with Snapmaker’s U1 and the Prusa XL, it looks like tool changers are coming back into vogue. Just in time, [Ratdoux] has a fork of OrcaSlicer called FullSpectrum that brings HueForge-like color mixing to tool-changing printers.
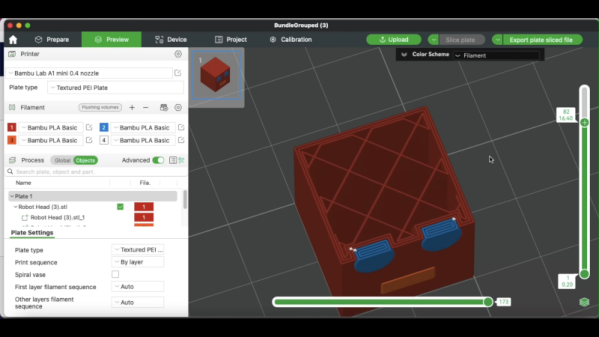
The hook behind FullSpectrum is very simple: stacking thin layers of colors, preferably with semi-translucent filament, allows for a surprising degree of mixing. The towers in the image above have only three colors: red, blue, and yellow. It’s not literally full-spectrum, but you can generate surprisingly large palettes this way. You aren’t limited to single-layer mixes, either: A-A-B repeats, and even arbitrary patterns of four colors are possible, assuming you have a four-head tool-changing printer like the Snapmaker U1 this is being developed for.
FullSpectrum is, in fact, a fork of Snapmaker’s fork of OrcaSlicer, which is itself forked from Bambu Slicer, which forked off of PrusaSlicer, which originated as a fork of Slic3r. Some complain about the open-source chaos of endless forking, but you can see in that chain how much innovation it gets us — including this technique of color mixing by alternating layers.
Continue reading “FullSpectrum Is Like HueForge For 3D Models, But Bring Your Toolchanger”