Prusa Mini with endoscope nozzle cam and pip preview

Prusa Mini Nozzle Cam On The Cheap

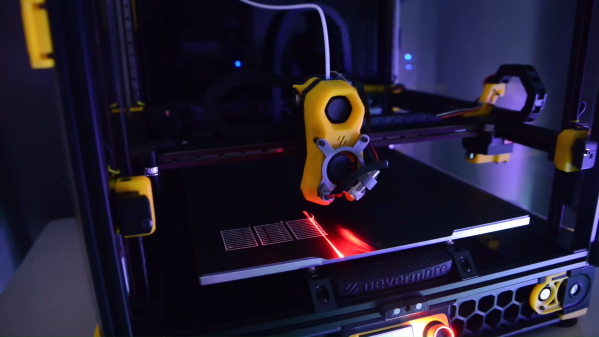
Let me throw in a curveball—watching your 3D print fail in real-time is so much more satisfying when you have a crisp, up-close view of the nozzle drama. That’s exactly what [Mellow Labs] delivers in his latest DIY video: transforming a generic HD endoscope camera into a purpose-built nozzle cam for the Prusa Mini. The hack blends absurd simplicity with delightful nerdy precision, and comes with a full walkthrough, a printable mount, and just enough bad advice to make it interesting. It’s a must-see for any maker who enjoys solder fumes with their spaghetti monsters.

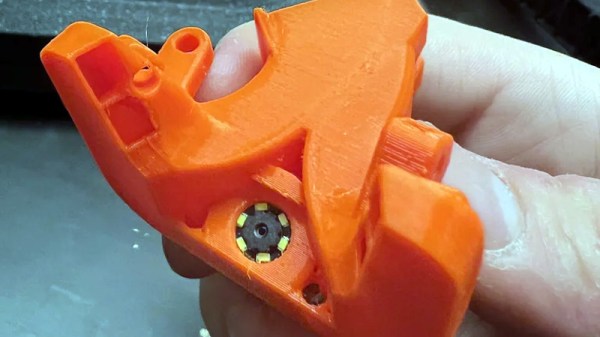
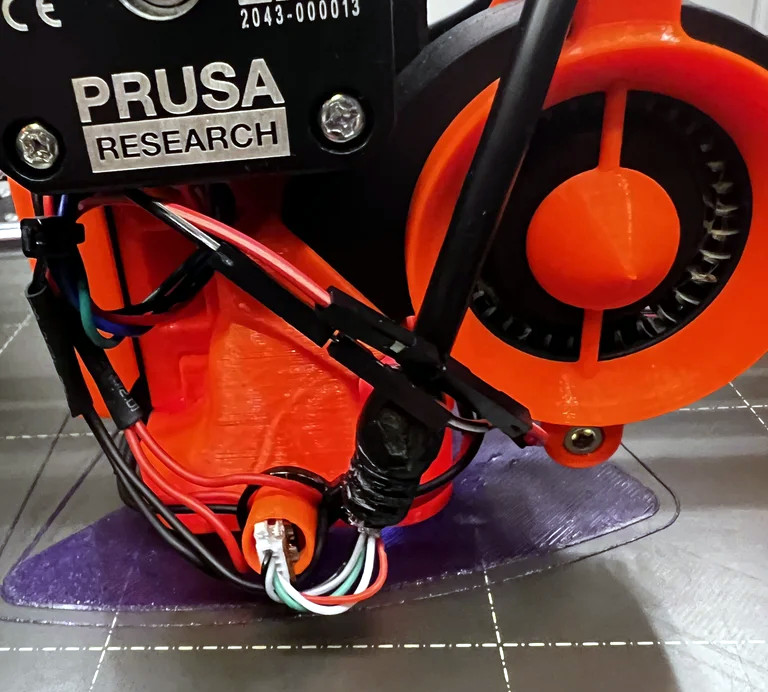
What makes this build uniquely brilliant is the repurposing of a common USB endoscope camera—a tool normally reserved for inspecting pipes or internal combustion engines. Instead, it’s now spying on molten plastic. The camera gets ripped from its aluminium tomb, upgraded with custom-salvaged LEDs (harvested straight from a dismembered bulb), then wrapped in makeshift heat-shrink and mounted on a custom PETG bracket. [Mellow Labs] even micro-solders in a custom connector just so the camera can be detached post-print. The mount is parametric, thanks to a community contribution.

This is exactly the sort of hacking to love—clever, scrappy, informative, and full of personality. For the tinkerers among us who like their camera mounts hot and their resistor math hotter, this build is a weekend well spent.

Continue reading “Prusa Mini Nozzle Cam On The Cheap”

Laser Triangulation Makes 3D Printer Pressure Advance Tuning Easier

On its face, 3D printing is pretty simple — it’s basically just something to melt plastic while being accurately positioned in three dimensions. But the devil is in the details, and there seems to be an endless number of parameters and considerations that stand between the simplicity of the concept and the reality of getting good-quality prints.

One such parameter that had escaped our attention is “pressure advance,” at least until we ran into [Mike Abbott]’s work on automating pressure advance calibration on the fly. His explanation boils down to this: the pressure in a 3D printer extruder takes time to both build up and release, which results in printing artifacts when the print head slows down and speeds up, such as when the print head needs to make a sharp corner. Pressure advance aims to reduce these artifacts by adjusting filament feed speed before the print head changes speed.

The correct degree of pressure advance is typically determined empirically, but [Mike]’s system, which he calls Rubedo, can do it automatically. Rubedo uses a laser line generator and an extruder-mounted camera (a little like this one) to perform laser triangulation. Rubedo scans across a test print with a bunch of lines printed using different pressure advance values, using OpenCV to look for bulges and thinning caused when the printer changed speed during printing.

The video below gives a lot of detail on Rubedo’s design, some shots of it in action, and a lot of data on how it performs. Kudos to [Mike] for the careful analysis and the great explanation of the problem, and what looks to be a quite workable solution.

Continue reading “Laser Triangulation Makes 3D Printer Pressure Advance Tuning Easier”

Custom Prusa MK3 Fan Duct Gives Camera Perfect View

A growing trend is to mount a borescope “inspection camera” near a 3D printer’s nozzle to provide a unique up-close view of the action. Some argue that this perspective can provide valuable insight if you’re trying to fine tune your machine, but whether or not there’s a practical application for these sort of nozzle cams, certainly everyone can agree it makes for a pretty cool video.

[Caelestis Cosplay] recently decided to outfit his Prusa i3 MK3S+ with such a camera, and was kind enough to share the process in a write-up. The first step was to find a community-developed fan duct, which he then modified to hold the 7 mm camera module. Since the duct blows right on the printer’s nozzle, it provides an ideal vantage point.

The camera module included a few tiny SMD LEDs around the lens, but [Caelestis Cosplay] added holes to the fan duct to fit a pair of 3 mm white LEDs to really light things up. While modifying the printed parts took some effort, he says the hardest part of the whole build was salvaging a 5X lens from a handheld magnifier and filing it down so it would fit neatly over the camera. But judging by the sharp and bright demo video he’s provided, we’d say the extra effort was certainly worth it.

After covering how the camera rig was put together, [Caelestis Cosplay] then goes over how it was integrated into OctoPrint, including how the external LEDs are switched on and off. He’s running OctoPrint on a Raspberry Pi, though as we’ve covered recently, a small form factor desktop computer could just as easily run the show.

Continue reading “Custom Prusa MK3 Fan Duct Gives Camera Perfect View”