[Pete Juliano, N6QW] built a 20 M QRP CW transmitter using just a handful of parts. That in itself will not raise any eyebrows, until you find that he built it using one of the very first RF transistors manufactured all the way back in 1955. That’s from before the time most of us were born and not many years after the invention of the transistor in late 1947.
![]()
QRP in HAM-speak technically stands for a request to “reduce power” or an offer of “should I reduce power” when appended with a question mark. A QRP transmitter is designed to transmit at really low powers. The accepted upper power limit for QRP transmitters is 5 W, at least for modes like CW using FM or AM modulation. [Pete]’s interest was piqued when he read about a 10 mW 10 M QRP transmitter design in a vintage Radio magazine from the late ’50’s and decided to replicate it. We aren’t sure, but it appears he had a Philco SB-100 RF transistor lying around in his parts bin. The SB-100 was one of the first surface-barrier transistors and could output 10 mW at frequencies up to 30MHz.
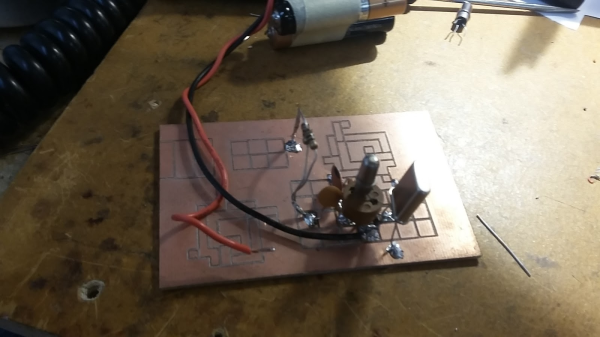
[Pete]’s rig was originally putting out 0.4 mW with a 3 V supply, and oscillating at 14.060 MHz in the 20 M band. The design appears to be a simple Colpitts oscillator with just a few parts assembled in dead-bug style on a piece of copper clad laminate. After adding an output transformer, he managed to increase the power output to about 25 mW. Check out [Pete N6QW] sending out a CQ shout out from his QRP transmitter in the video after the break.
If this gets you interested in Amateur Radio, but you are mic-shy, then [Dan Maloney] has some options for you in Shut Up and Say Something: Amateur Radio Digital Modes.
SBF image via Historianbuff CC-BY-SA 3.0, Public Domain
[via Dangerous Prototypes]
Continue reading “Vintage Transistor Powers QRP Transmitter”
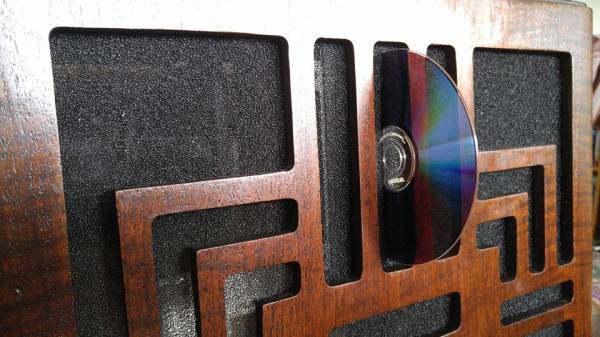
 Clearly a labor of love, [SolomonZaraa]’s two-year effort guts the radio but still manages to pay homage to the original beauty of the 1939 vintage