Synth Gains Plug And Play Analog MUX

High school computer engineering teacher [Andy Birch] kept losing track of I/O pins on his home-built synth, so he made a custom plug and play addressable MUX system to solve the problem. [Andy]’s synth is based on the Teensy microcontroller, and he was already using CMOS analog 8:1 multiplexer chips (CD4051) to give him more I/O pins. But I/O pin expansion means that now there are more I/O pins to forget. Did I hook up that pitch potentiometer on U3 pin 13 or was it U10 pin 2?

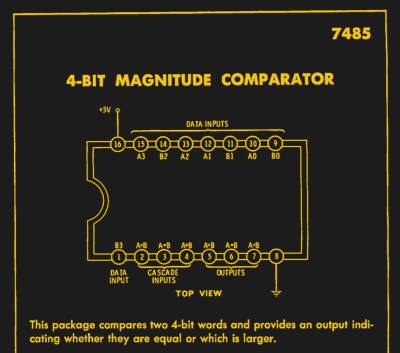
He proceeds to design an addressing system for each I/O card using three bits (expandable to four) supporting eight cards, with a maximum of 16 possible in the future. Since each card may not use all eight signals, each card can tell the Teensy how many signals it has. [Andy] does his address decoding on each card using OR and XOR gates. We would have considered using a single 74HC85 four-bit magnitude comparator instead. That would require only one chip instead of two, but would deprive his students of the opportunity to learn gate level address decoding.

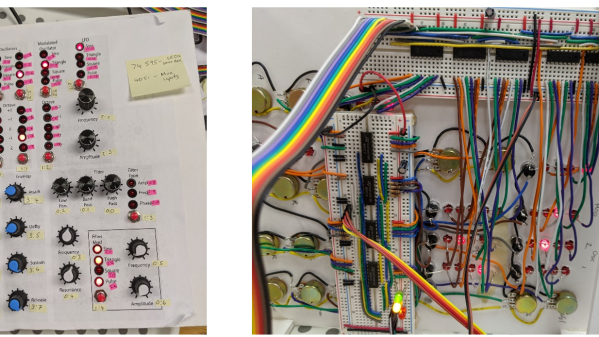
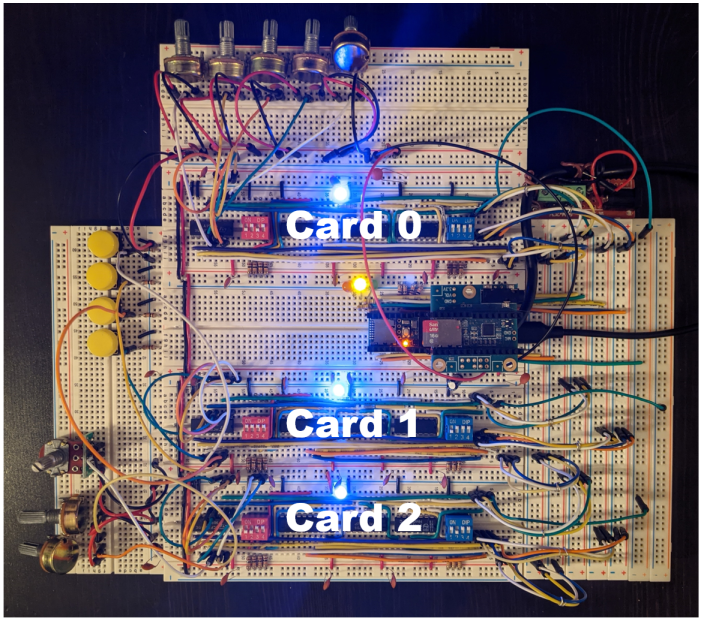
When seeing the term “I/O card”, you may be fooled like we were into thinking this was using PCBs and some kind of motherboard. [Andy]’s I/O cards are actually solderless breadboards mounted on the back of the synth control panel. We really like his bus technique — he removes the power strip sections from several breadboards and repurposes them as address and data buses. Check out the thorough documentation that [Andy] has prepared, and let us know if you have ever designed your own plug and play method for a project in the comments below.

[Ed Note: We love us some muxes!]

I/O Cards — Note the use of Power Strip Bars as Data / Address Buses


Electric Longboard Quick Build Using Off-The-Shelf Components.

Building cool things completely from scratch is undeniably satisfying and makes for excellent Hackaday posts, but usually involve a few unexpected speed humps, which often causes projects to be abandoned. If you just want to get something working, using off-the-shelf modules can drastically reduce frustration and increase the odds of the project being completed. This is exactly the approach that [GreatScott!] used to build the 3rd version of his electric longboard, and in the process created an excellent guide on how to design the system and selecting components.

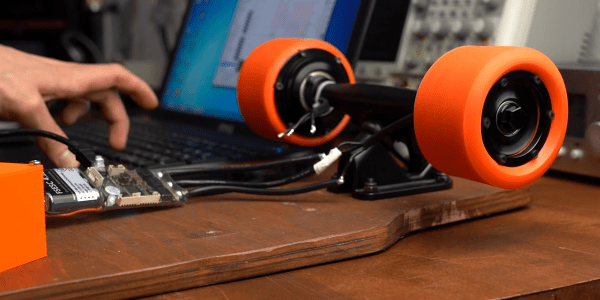
Previous versions of his board were relatively complicated scratch built affairs. V2 even had a strain gauge build into the deck to detect when the rider falls off. This time almost everything, excluding the battery pack, was plug-and-play, or at least solder-and-play. The rear trucks have built in hub motors, the speed controllers are FSESC’s (VESC software compatible) and the remote control system is also an off the shelf system. All the electronics were housed in 3D printed PETG housing, and the battery pack is removable for charging. We just hope the velcro holding on the battery pack doesn’t decide to disengage mid-ride.

The beauty of this video lies in the simplicity and how [GreatScott!] covers the components selection and design calculations in detail. Sometimes we to step back from a project and ask ourselves if reinventing is the wheel is really necessary, or just an excuse to do some yak shaving. Electric long boards are extremely popular at the moment, you can even make a deck from cardboard or make a collapsible version if you’re a frequent flyer.

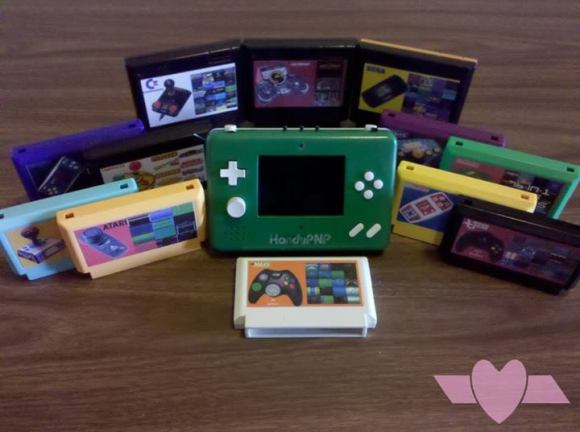
Plug And Play Portable Console Saves Space So You Don’t Have To!

Plug and Play console

Remember all those fun plug and play consoles they used to make? Usually just one offs with a few games here and there, typically designed to get poor old grandmothers to try buying them instead of the official Nintendo or SEGA systems for their grandchildren…

Anyway, some of the games were actually pretty good! But who wants to store a system for every individual game? [Sharon] decided to make the ultimate portable console — and jammed every plug and play console… into cartridges for safe keeping!

Wait what? [Sharon] took 12 of the plug and play consoles, hacked them to pieces, and managed to stuff the guts into custom game cartridges she made herself. She then made the HandyPNP, a “base console” with buttons and controls, video output and an LCD screen. She meticulously mapped out every consoles’ controls, and wired them accordingly, so when you plug the cartridge into the HandyPNP, it’s like your playing the original system.

It’s probably one of the most impressive handheld console hacks we’ve seen in a while, just considering the amount of work required to convert one console, let alone 12, to a standard connection for the HandyPNP to communicate with. Stick around after the break to hear [Sharon] explain the project herself!

Continue reading “Plug And Play Portable Console Saves Space So You Don’t Have To!”