Hackaday Prize Entry: Modular Rail Lighting

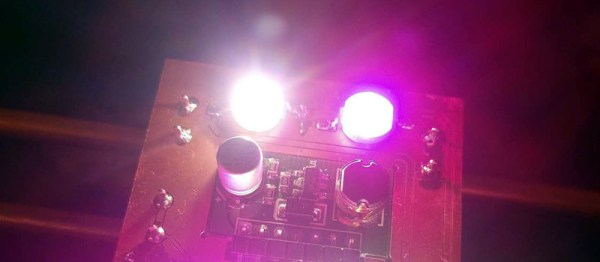
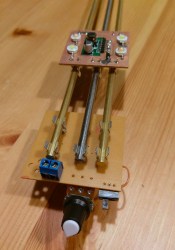
When operating any kind of hydroponic farming, there are a number of lighting solutions — few of them inexpensive. Originally looking for an alternative to the lighting of IKEA’s expensive hydroponics system, [Professor Fartsparkle] and their colleague prototyped a rail system that allows clip-on LED boards for variable lighting options.

Taking inspiration from wire and track lighting systems, the key was the 5mm fuse holders mounted on the bottom of the LED boards. Snipping off their stopping clip makes them easy to install and remove from the mounting rails. The rails themselves double as power conduits for the LED boards, but keeping them out of the way is easily done with the variety of 3D printed hangers [Professor Fartsparkle] has devised. Lighting is controlled by a potentiometer on the power injection board, as well as any home automation control via an ESP8266.

[Professor Fartsparkle] asserts that the boards can be slid along the rails without any noticeable flickering, but they do suffer from heat dissipation issues. That aside, the prototype works well enough that the 3W LEDs can be run at half power.

This is an ingenious — and cheap — workaround for when sunlight isn’t an option, but you are still looking for a solution capable of automation.

3D Printer Used To Make Custom Blade Server Type Mounting System

3d-printed-blade-server-mounts

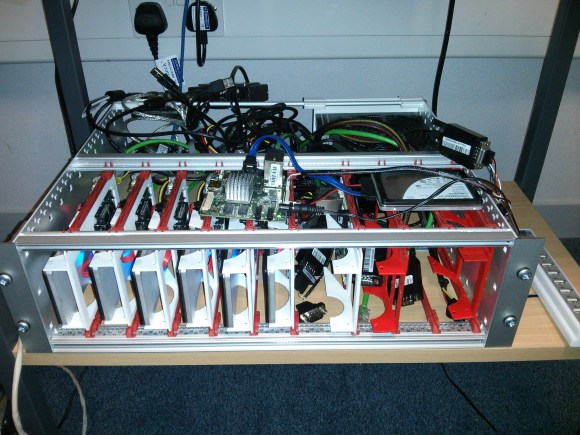
We usually have no problem hacking together electronics into something useful. But finding an enclosure that makes sense for the build can be a real drag. In this case [Vincent Sanders] already had a working ARM build farm that leveraged the power of multiple ARM boards. But it was lying in a heap in the corner of the room and if it ever needed service or expansion it was going to be about as fun as having a cavity drilled. But no longer. He took inspiration from how a blade server rack works and 3D printed his own modular rail system for the hardware.

Each group of boards is now held securely in its own slot. The collection seen above mounts in a server rack which has its own power supply. This image is part way through the retrofit which explains why there’s a bunch of random pieces lying around yet. Instead of printing continuous rail [Vincent] uses a threaded rod to span the larger frame, securing small chunks of rail where needed by tightening nuts on either side of them. The white and red trays are prints he ordered from Shapeways designed to secure the eurocard form factor parts.

[Thanks Thomas]

A Respectable Electronics Bench That’s Not A Pain To Move

electronics-workstation-that-moves

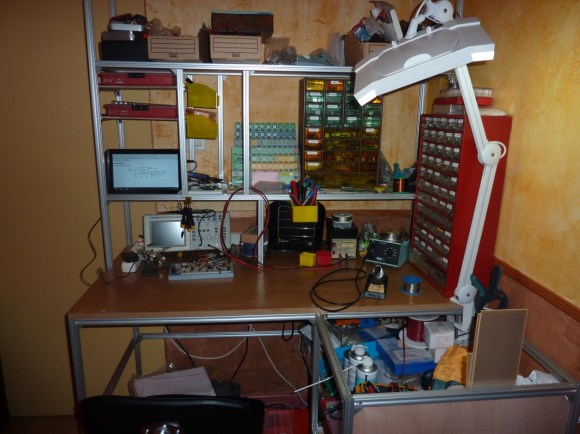
Apartment dwellers who are living the nomadic lifestyle take note. You don’t need to live your tinkering lifestyle out of a toolbox. Here is a great example of a respectable electronics bench which breaks down when it’s time to move (translated). We’re sure you already belong to your local hackerspace for the big projects, but this corner office will let you take some of your creations home for continued tweaking.

The bench uses slotted aluminum rails as the support structure. The slots accept small nuts, which have a spring-loaded ball bearing to keep them from sliding freely ([Nerick] mentions this is especially nice for working with the vertical runs). These fasteners ended up being the most costly component.  The desktop itself is the largest solid piece. It was machined using a CNC mill (we already mentioned having a hackerspace membership) so that the mounting screws are countersunk to leave a perfectly flat surface. It’s clean, has a small footprint, and gives you a place to dump all of your gear. What else could you ask for?