The Internet Enabled Kill-A-Watt

The Internet of Things has been applied to toasters, refrigerators, Christmas lights, Barbies, and socks. Unsurprisingly, the Internet of Things has yet to happen – that would require a useful application of putting the Internet in random devices. One of the best ideas is a smart electric meter, but the idea behind this is to give the power company information on how much electricity you’re using, not give you an idea of how much power you’re pulling down. The answer to this is the Internet-enabled Kill-A-Watt, and that’s exactly what [Solenoid] is building for his entry into the Hackaday Prize.

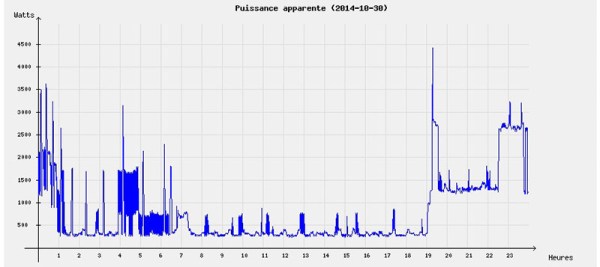
Modern power meters have an LED somewhere on the device that blinks every time a Watt is used. This is the data [Solenoid]’s creation is pushing up to the Internet to relay power consumption to himself or anyone else in the world.

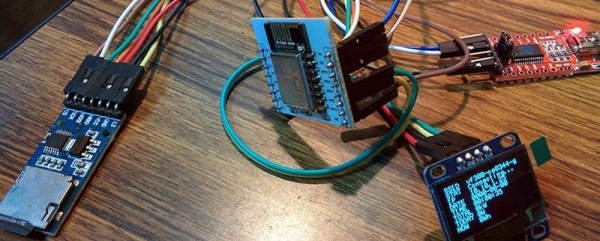
The hardware, like many upcoming Hackaday Prize entries, we’re sure, is based on the ESP8266 WiFi module, with a light sensor, SD card reader, and OLED display. It’s meant to mount directly to a power meter, recording power consumption and pushing that data up the network. It’s simple, but it also allows for very granular monitoring of [Solenoid]’s power consumption, something the electric company’s smart meters can’t compete with.

The HackadayPrize2016 is Sponsored by:

Tracking Power Usage With A Raspi

With tiny, Internet-connected computers everywhere these days, home automation is finally hitting it big. [Jelora] was looking for a few more home automation projects and realized his electric meter had a pair of ‘digital information outputs’. With a Raspberry Pi and a few bits of wire, he figured out how to read this digital output and put a log of his electricity consumption up on the web.

The digital output on [Jelora]’s meter is a bit odd; it’s 1200 bps, 7 bits per character, parity, with one stop bit. It’s also a 50 kHz AC signal for a binary ‘0’ and nothing for a binary ‘1’. To read this signal, [Jelora] is using a diode to throw out half the signal, a 6N138 optoisolator so the Pi isn’t connected directly to the meter, and a small cap to smooth out the signal. Simple, and it works.

This cleaned up signal is then connected to serial to USB chip and a PHP script scrapes the data every minute. The data received from the meter is stored in a data base along with a few other bits of information: if the meter is being charged peak or off-peak rates, and the price per kWh. All this is saved on an IDE hard drive (more reliable than the SD card, surprisingly), and a ‘electricity cost per day’ is plotted on a nifty graph and served up by the Raspberry Pi.

A WiFi Home Power Meter

acFor his masters at Cornell, [Christopher McNally] designed a simple, non intrusive home power meter capable of doing everything a ‘smart meter’ can do – log power consumption throughout a home, and display a log of a home’s power consumption over WiFi. He’s even testing out some interesting ideas, like automatically detecting when specific devices turn on by reading the current data.

From [Chris]'[Jeramy] developed his system around the Arduino and a Ethernet shield, taking care of networking and choosing a micro, leaving him more time to develop the more interesting part of the project: sensing current. For this he used a small, clip-on current transducer. This sensor generates up to 10 VAC across a resistor, but the Arduino doesn’t play well with AC, requiring a small rectifier built around an op amp.

While the project works as a homebrew smart meter, [Jeramy] wasn’t able to automatically detect when certain devices were powered on. This is partly due to the fact that changes in current were only seen in magnitude and not waveform. Also, if two devices were powered on at the same time, the software would see that as a larger device that draws the sum of the current of two smaller devices. Still, [Jeramy] came up with a cheap way of metering power in any home, and the cost of his solution is cheaper than a lot of professional systems out there.

All the code, files, and design report are available on [Jeramy]’ git.