![]()
Adafruit did another Circuit Playground, this time concerning frequency. If you’re reading this, no, it’s probably not for you, which is great because it’s not meant to be. If you have some kids, though, it’s great. Not-muppet robots and oscilloscopes. Just great.
The Hack42 space in Arnhem, Neterhlands recently got an offer: clean out a basement filled with old computer equipment, and it’s yours. Everything in the haul had to fit through an 80cm square door, and there are some very heavy, very rare pieces of equipment here. It’ll be a great (and massive) addition to their museum. There’s a few pics from the cleanout here and here.
[Mike] has been working on a project to convert gerber files into SVGs and it’s great.
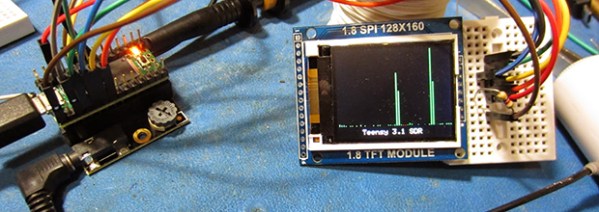
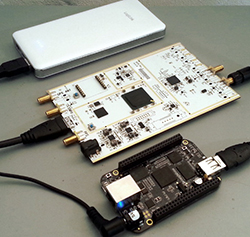
[Carl] did a roundup of all the currently available software defined radios available. It’s more than just the RTL-SDR, HackRF, and BladeRF, and there’s also a list of modifications and ones targeted explicitly to the ham crowd.
This is a Facebook video, but it is pretty cool. It’s a DIY well pump made in Mexico. A few rubber disks made out of an old inner tube, a bit of PVC pipe, and a string is all you need to bring water to ground level.
What can you do with a cellphone equipped with a thermal imaging camera? Steal PIN codes, of course. Cue the rest of the blogosphere sensationalizing this to kingdom come. Oh, what’s that? Only Gizmodo took the bait?
About a year ago, we saw a pretty cool board made by [Derek] to listen in on the CAN bus in his Mazda 3. Now it’s a Kickstarter, and a pretty good one at that.
Your connectors will never be this cool. This is a teardown of a mind bogglingly expensive cable assembly, and this thing is amazing. Modular connectors, machined copper shields, machined plastic stress relief, and entire PCBs dedicated to two caps. Does anyone know what this mated to and what the list price was?
 If you’re wondering how to get a better signal on your cellphone, or just want to set up your own private cell network, this one is for you.
 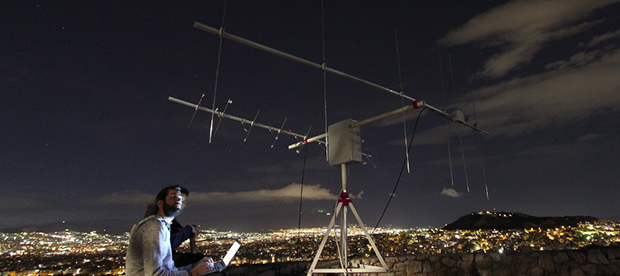 Here’s an interesting thought: it’s possible to build a cubesat for perhaps ten thousand dollars, and hitch a ride on a launch for free thanks to a NASA outreach program. Tracking that satellite along its entire orbit would require dozens of ground stations, all equipped with antennas, USB TV tuners, and a connection to the Internet. It’s actually more expensive to build and launch a cubesat than it costs to build a network of ground stations to get reasonably real-time telemetry from a cubesat. The future is awesome and weird, it seems.