Until the fall of the Soviet Union around 1990 you’d be forgiven as a proud Soviet citizen for thinking that the USSR’s technology was on par with the decadent West. After the Iron Curtain lifted it became however quite clear how outdated especially consumer electronics were in the USSR, with technologies like digital audio CDs and their players being one good point of comparison. In a recent video by a railways/retro tech YouTube channel we get a look at one of the earliest Soviet CD players.
A good overall summary of how CD technology slowly developed in the Soviet Union despite limitations can be found in this 2025 article by [Artur Netsvetaev]. Soviet technology was characterized mostly by glossy announcements and promises of ‘imminent’ serial production prior to a slow fading into obscurity. Soviet engineers had come up with the Luch-001 digital audio player in 1979, using glass discs. More prototypes followed, but with no means for mass-production and Soviet bureaucracy getting in the way, these efforts died during the 1980s.
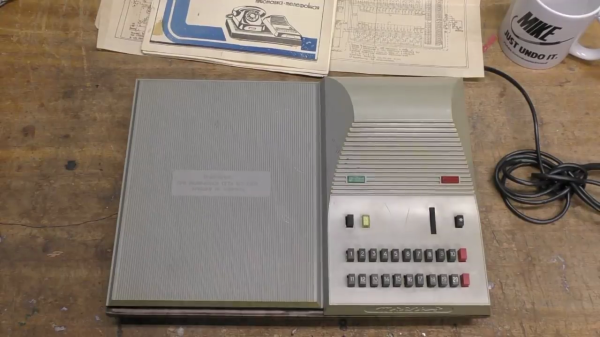
During the 1980s CD players were produced in Soviet Estonia in small batches, using Philips internals to create the Estonia LP-010. Eventually sanctions on the USSR would strangle these efforts, however. Thus it wouldn’t be until 1991 that the Vega PKD-122 would become the first mass-produced CD player, with one example featured in this video.
Continue reading “Soviet CDs And CD Players Existed, And They Were Strange”