In 2025 we are spoiled for choice when it comes to displays, with affordable LCDs, OLEDs, TFTs, and e-ink panels of all sizes only a few clicks away. But in decades past, such exotica were not on the menu for casual construction. Instead there were a range of LED seven segment displays which have now largely passed out of use.
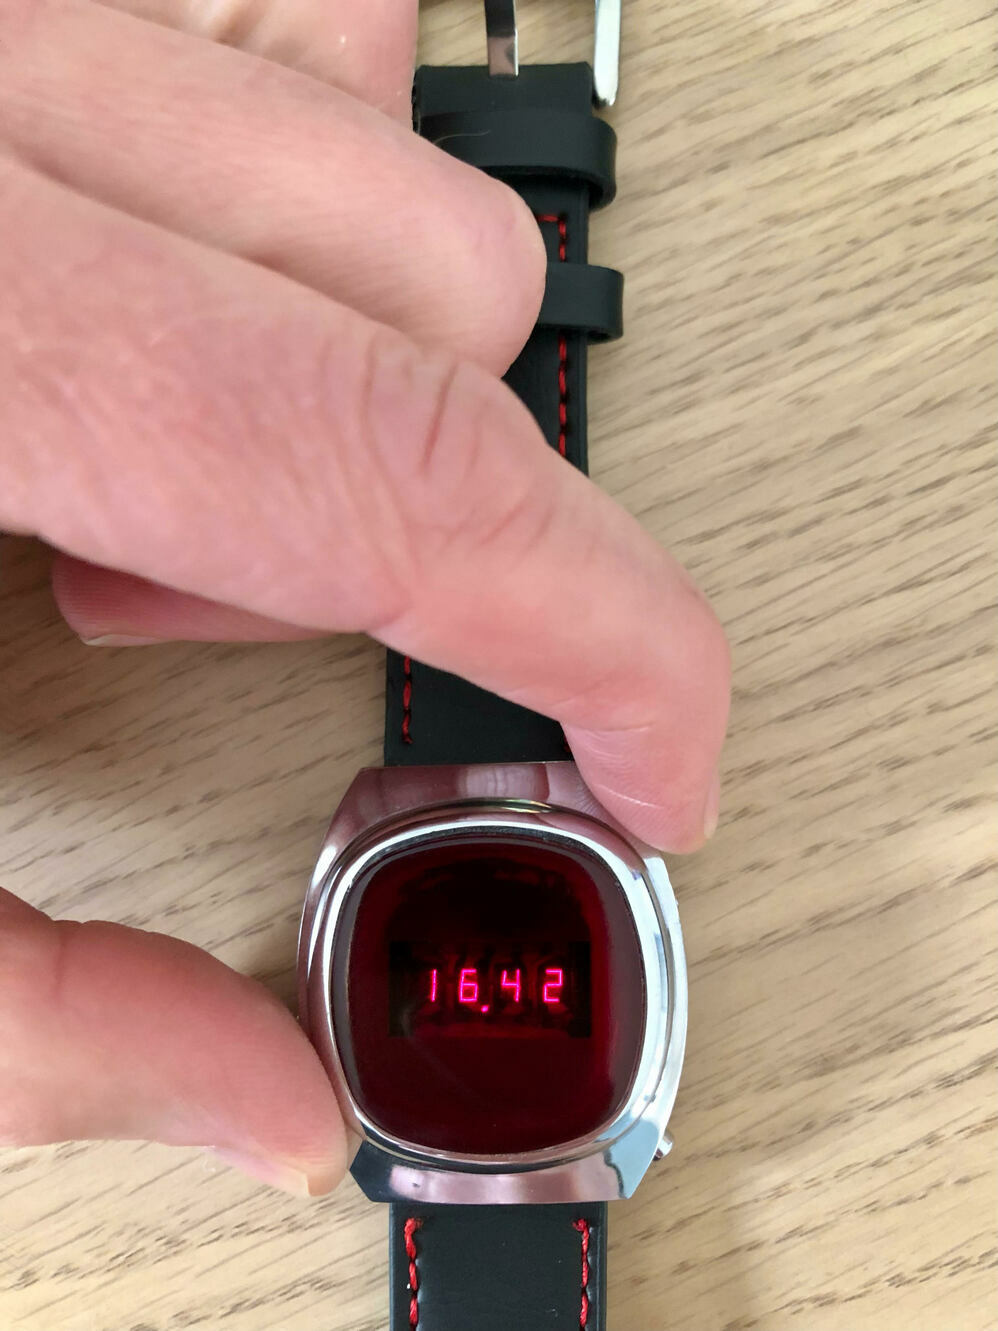
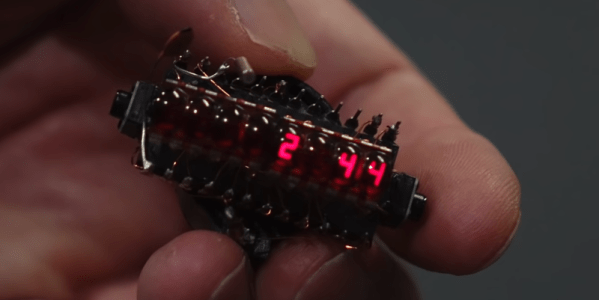
Among them were HP’s bubble displays, assemblies of miniature LEDs on a PCB, topped with plastic bubble lenses. If you had a calculator in the 1970s it probably had one, but in the present, [Joshua Coleman] has incorporated one into a pleasingly retro digital clock.
Inside the 3D printed case is an ESP32 with a pair of 74HC595 shift registers to drive the display, and an 18650 battery with all associated charging and protection circuitry. It’s a surprisingly simple circuit, and the code is provided on the page. He makes an apology to non-Americans for his use of US date formats, but we think few readers will be unable to change it to reflect the only date format which really matters.
If you find a bubble display, hang on to it. They’re certainly something we’ve seen before here a few times.