Add-On Lets FDM 3D Printer Wash And Cure Resin Parts

The dramatic price reductions we’ve seen on resin 3D printers over the last couple of years have been very exciting, as it means more people are finally getting access to this impressive technology. But what newcomers might not realize is that the cost of the printer itself is only part of your initial investment. Resin printed parts need to be washed and cured before they’re ready to be put into service, and unless you want to do it all by hand, that means buying a second machine to do the post-printing treatment.

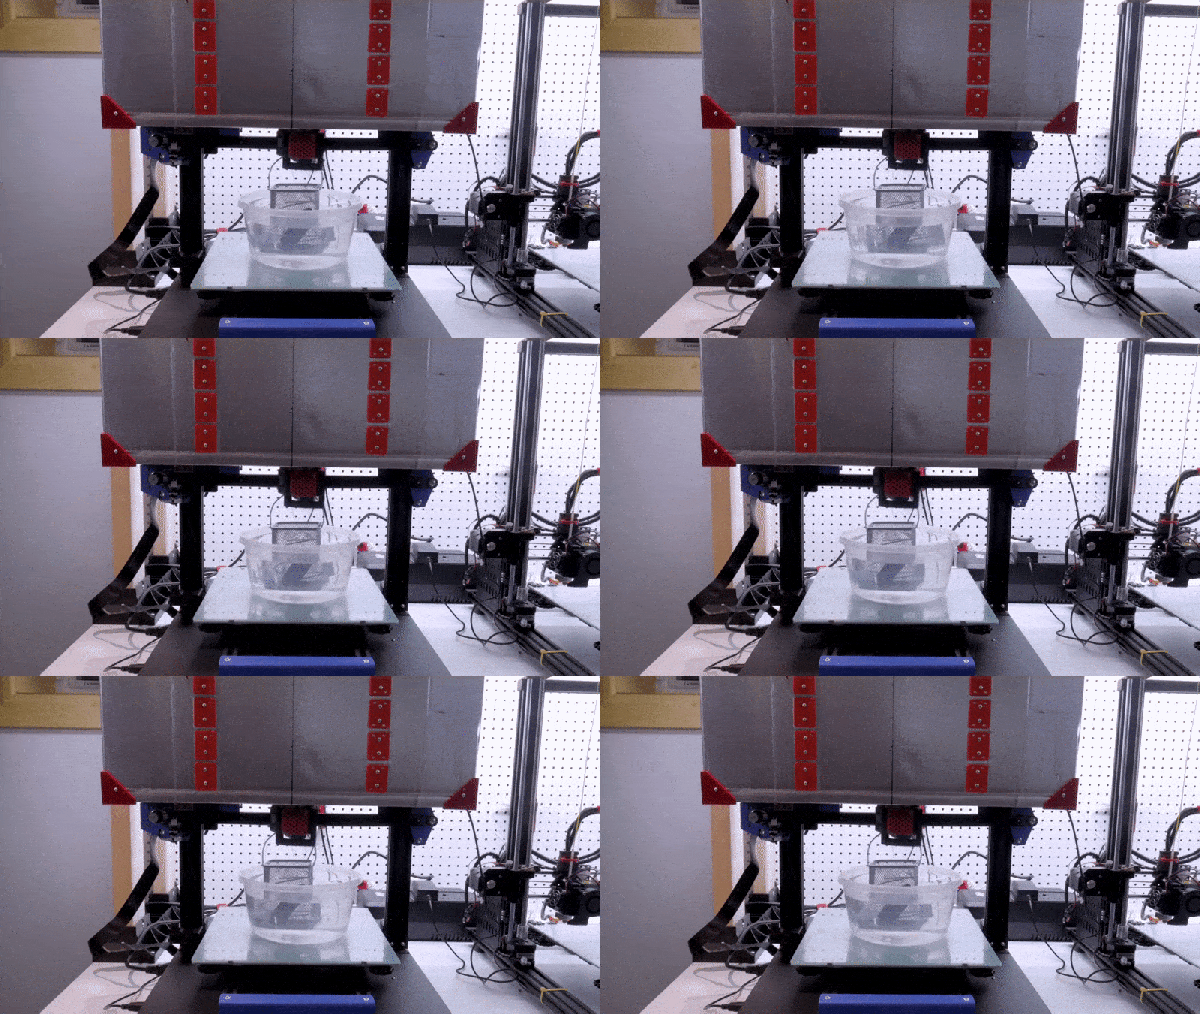
Not sure he wanted to spend the money on a dedicated machine just yet, [Chris Chimienti] decided to take an unusual approach and modify one of his filament-based 3D printers to handle wash and cure duty. His clever enclosure slips over the considerable Z-axis of a Anet ET5X printer, and includes banks of UV LEDs and fans to circulate the air and speed up the drying process.
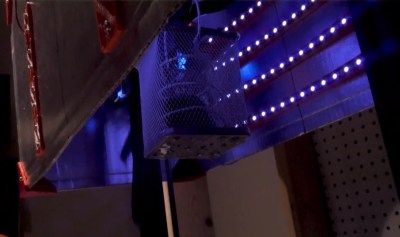
Looking up into the curing chamber.

The curing part is easy enough to understand, but how does it do the washing? You simply put a container of 70% isopropyl alcohol (IPA) on the printer’s bed, and place the part to be washed into a basket that hangs from the printer’s extruder. Custom Python software is used to generate G-code that commands the printer to dip the part in the alcohol and swish it back and forth to give it a good rinse.

Once the specified time has elapsed, the printer raises the part up into the enclosure and kicks on the LEDs to begin the next phase of the process. The whole system is automated through an OctoPrint plugin, and while the relatively low speed of the printer’s movement means the “washing” cycle might not be quite as energetic as we’d like, it’s definitely a very slick solution.

[Chris] provides an extensive overview of the project in the latest video on his YouTube channel, Embrace Racing. In it he explains that the concept could certainly be adapted for use on printers other than the Anet ET5X, but that it’s considerable build volume makes it an ideal candidate for conversion. Of course it’s also possible to use the foam board enclosure by itself as a curing chamber, though you’ll still need to wash the part in IPA ahead of time.

This is perhaps one of the most unusual wash and cure systems we’ve seen here at Hackaday, but we appreciate the fact that [Chris] based the whole thing on the idea that you’ve probably got a FDM printer sitting nearby that otherwise goes unused when you’re working with resin. If that’s not the case for you, putting together a more traditional UV curing chamber is an easy enough project.

Continue reading “Add-On Lets FDM 3D Printer Wash And Cure Resin Parts”

Building A UV Curing Station For Resin Prints

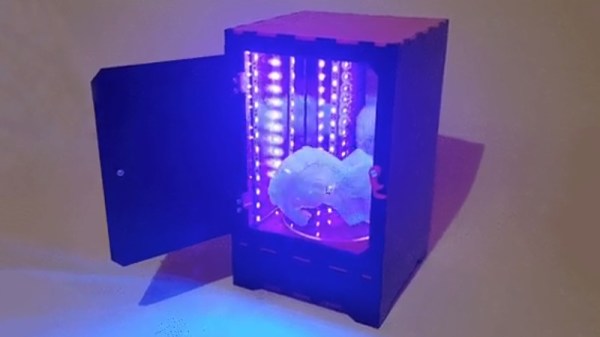
Resin printers have a lot going for them – particularly in regards to quality surface finishes and excellent reproduction of fine details. However, the vast majority rely on UV light to cure prints. [douwe1230] had been using a resin printer for a while, and grew tired of having to wait for sunny days to cure parts outside. Thus, it was time to build a compact UV curing station to get the job done.

The build consists of a series of laser-cut panels, assembled into a box one would presume is large enough to match the build volume of [douwe1230’s] printer.  UV LED strips are installed in the corners to provide plenty of light, and acrylic mirrors are placed on all the walls. The use of mirrors is key to evenly lighting the parts, helping to reduce the likelihood of any shadows or dead spots stopping part of the print from curing completely. In the base, a motor is installed with a turntable to slowly spin the part during curing.

[Douwe1230] notes that parts take around about 10 minutes to cure with this setup, and recommends a flip halfway through to make sure the part is cured nice and evenly. We’ve seen other similar DIY builds too, like this one created out of a device aimed at nail salons. If you’re struggling with curing outside, with the weather starting to turn, this might just be the time to get building!

A Smart Controller For Your DIY UV Cure Box

Resin 3D printers are finally cheap enough that peons like us can finally buy them without skipping too many meals, and what means we’re starting to see more and more of them in the hands of hackers. But to get good results you’ll also want a machine to cure the prints with UV light; an added expense compared to more traditional FDM printers. Of course you could always build one yourself to try and save some money.

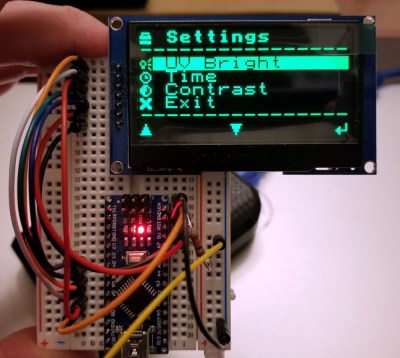
An earlier prototype build of the interface.

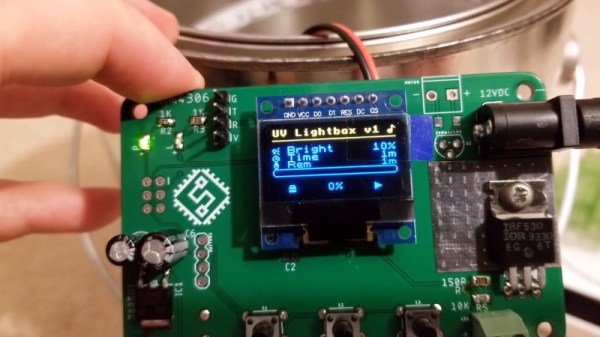
To that end, [sjm4306] is working on a very impressive controller for all your homebrew UV curing needs. The device is designed to work with cheap UV strip lights that can easily be sourced online, and all you need to bring to the table is a suitable enclosure to install them in. Here he’s using a metal paint can with a lid to keep from burning his eyes out, but we imagine the good readers of Hackaday could come up with something slightly more substantial while still taking the necessary precautions to not cook the only set of eyes you’ll ever have.

Of course, the enclosure isn’t what this project is really about. The focus here is on a general purpose controller, and it looks like [sjm4306] has really gone the extra mile with this one. Using a common OLED display module, the controller provides a very concise and professional graphical user interface for setting parameters such as light intensity and cure time. While the part is cooking, there’s even a nice little progress bar which makes it easy to see how much time is left even if you’re across the room.

At this point we’ve seen a number of hacked together UV cure boxes, but many of them skip the controller and just run the lights full time. That’s fine for a quick and dirty build, but we think a controller like this one could help turn a simple hack into a proper tool.

Continue reading “A Smart Controller For Your DIY UV Cure Box”