This week, Hackaday’s Elliot Williams and Kristina Panos met up over assorted beverages to bring you the latest news, mystery sound results show, and of course, a big bunch of hacks from the previous seven days or so.
 In the news, there’s quite a bit to talk about. Regarding Hackaday Europe, you can rest assured that the talks will be announced soon. The Green-Powered Challenge is still underway, and we need your entry to truly make it a contest. You have until April 24th to enter, so show us what you can do with power you scrounge up from the environment!
As usual, we published a handful of April Fool’s posts, which you may or may not find amusing. And finally — no fooling — our own Tom Nardi wrote up the Artemis moon launch, and is going to update the post every day until the mission ends.
On What’s That Sound, we can score one for Kristina, which brings her record to approximately three wins and sixty-eight losses. She knew without a doubt that the dialogue was from the Day the Earth Stood Still (1951). Oh, what? There was a remake in 2008? Kristina should get bonus points, then.
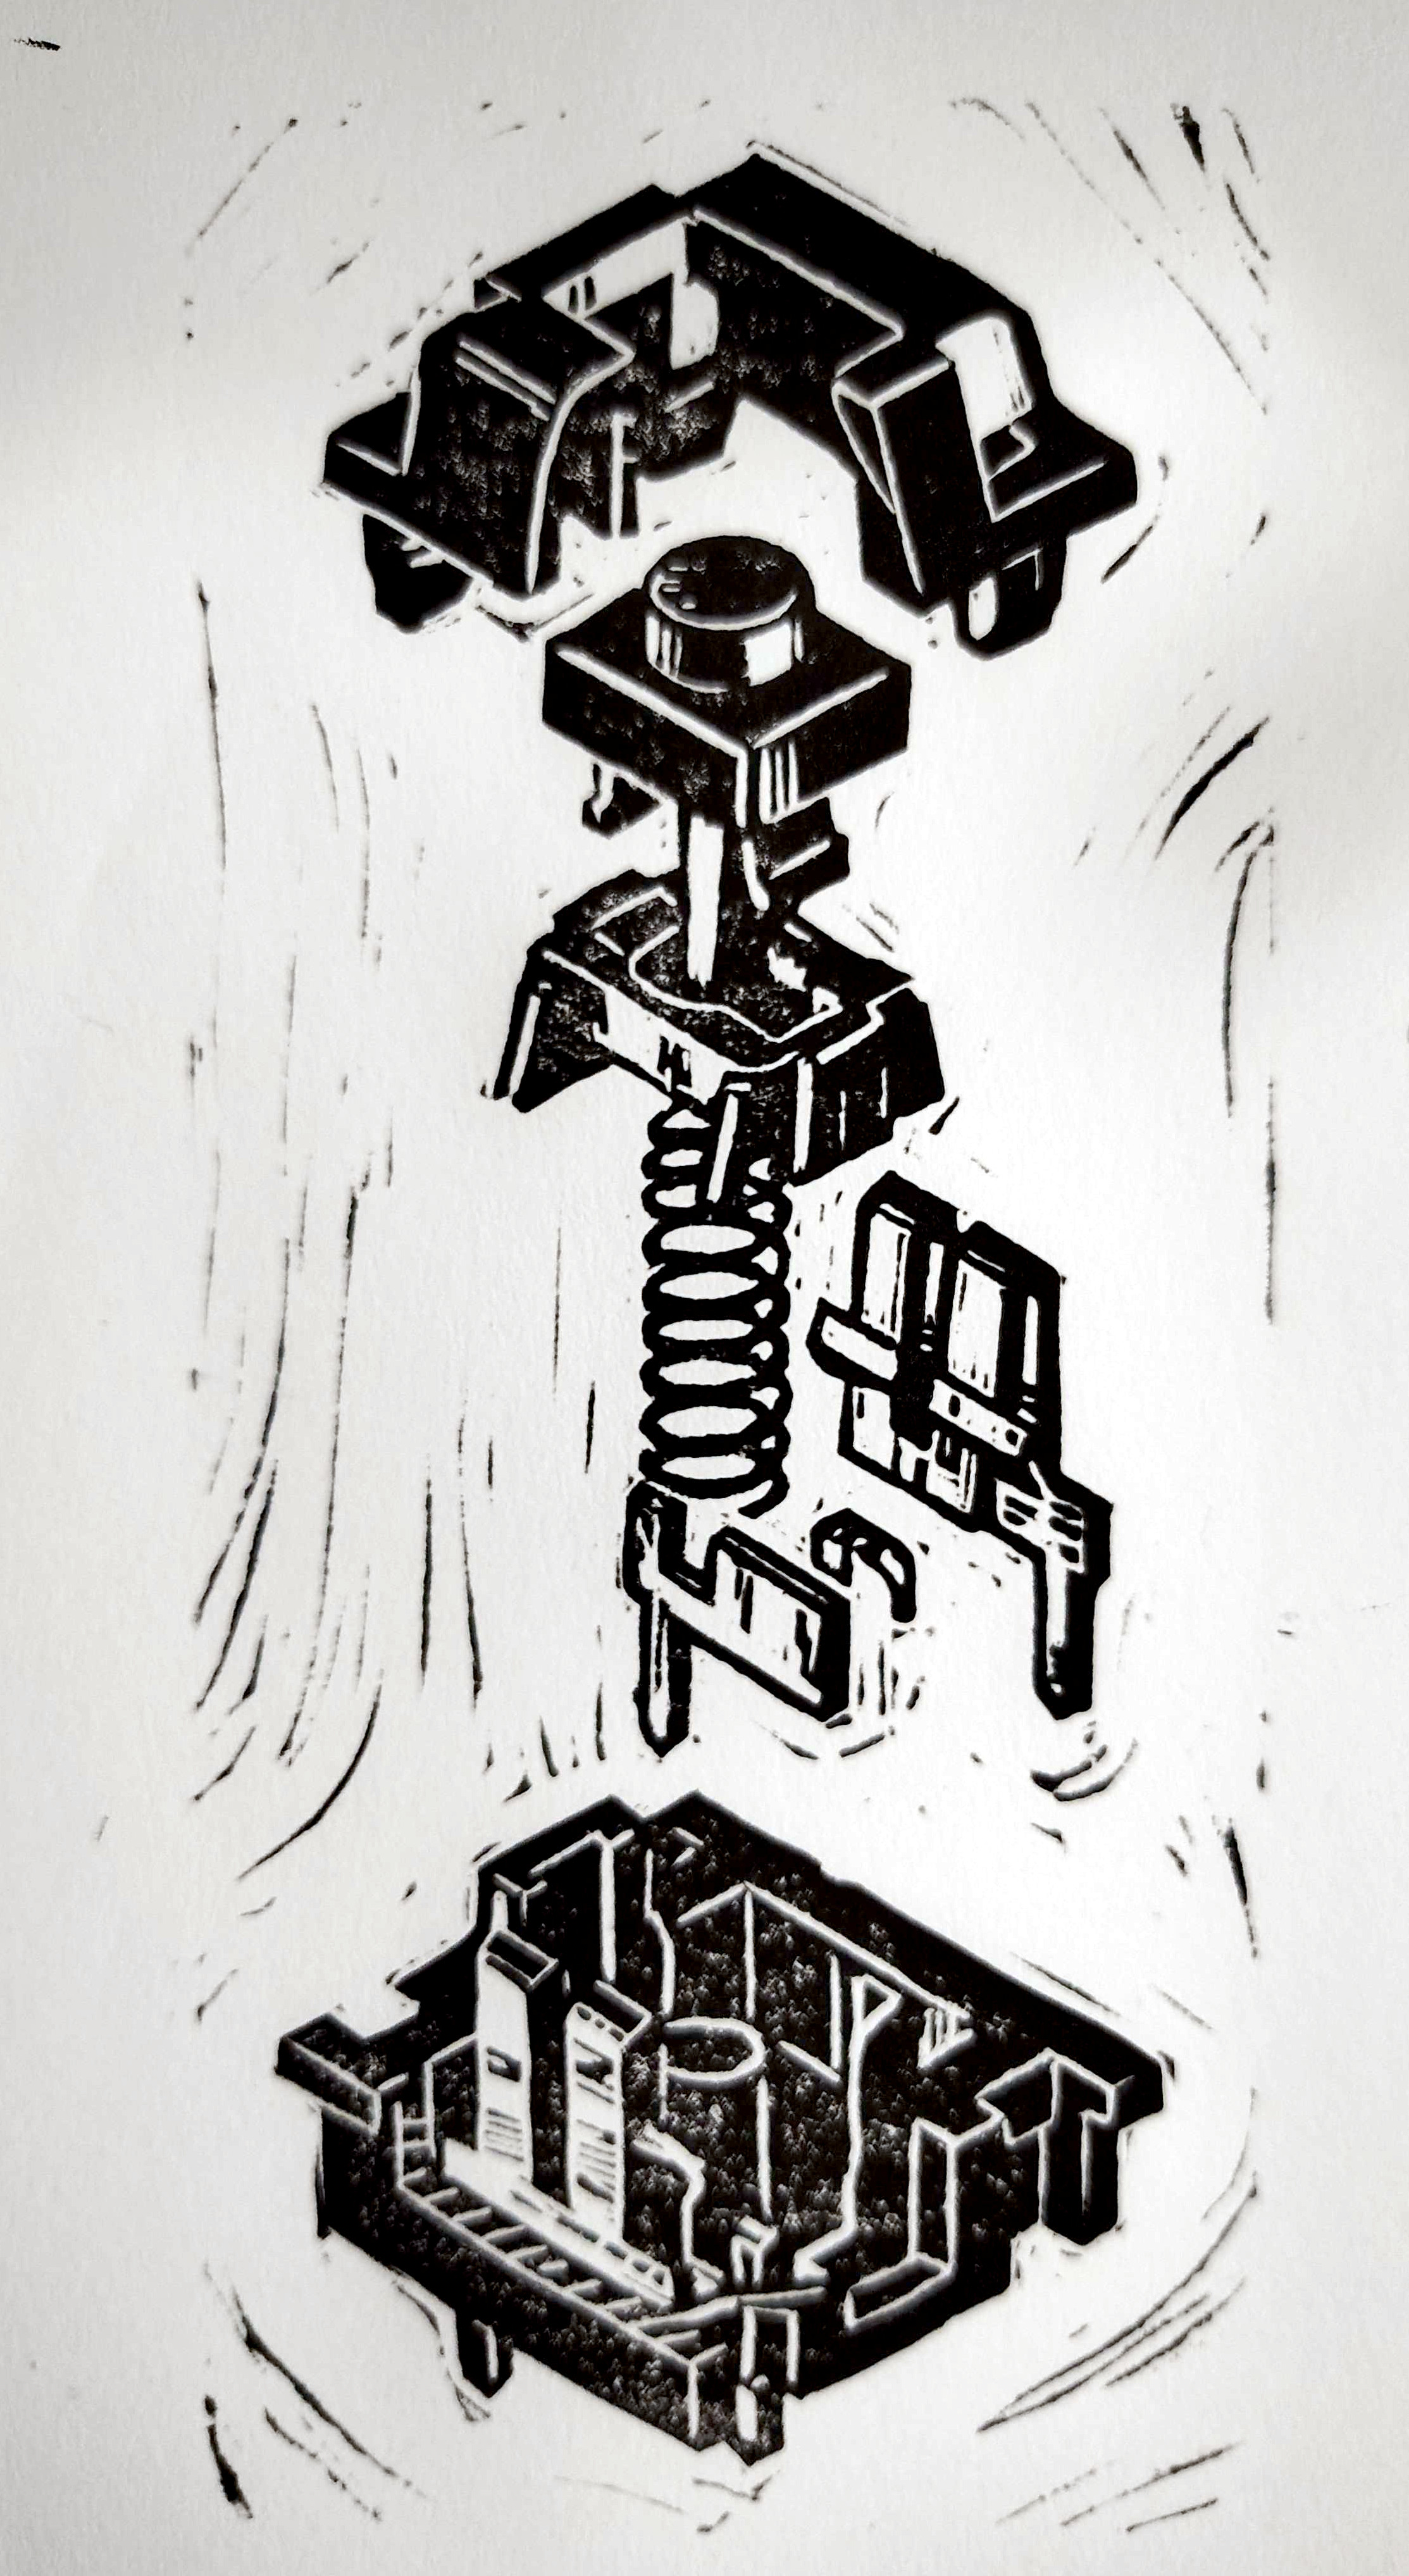
After that, it’s on to the hacks, beginning with the basics of making clean enclosures that are decidedly not 3D-printed, a couple of sweet lo-fi cameras, and a nice way to tame the tape when it comes to SMT parts. We also discuss a clock that marks time in a mathematical way, watch an electro-permanent magnet in action, and improving soda by turning it into mead. Finally, we discuss the solar balconies taking Europe by storm, and Copilot’s terrifying terms of service.
Check out the links below if you want to follow along, and as always, tell us what you think about this episode in the comments!
Download in DRM-free MP3 and savor at your leisure.
Continue reading “Hackaday Podcast Episode 364: Clocks, Cameras, And Free Will”