Laser Kaleidoscope Uses More 3D Printing And Less Scavenging

laser-kaleidoscope

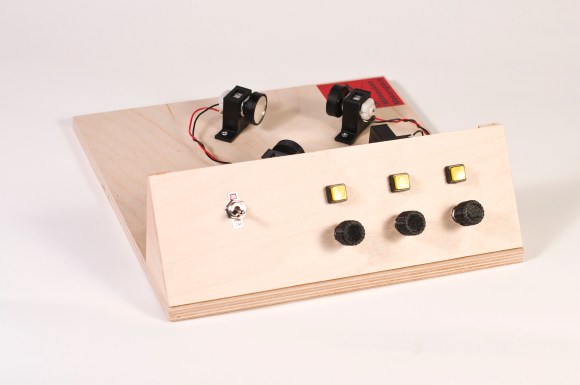
At first we thought that [Pete Prodoehl] was using the wrong term when calling his project a Laser Kaleidoscope. We usually think of a kaleidoscope as a long tube with three mirrors and some beads or glass shards in one end. But we looked it up and there’s a second definition that means a constantly changing pattern. This fits the bill. Just like the laser Spirograph from last week, it makes fancy patterns using spinning mirrors. But [Pete] went with several 3D printed parts rather than repurposing PC fans.

In the foreground you can see the potentiometers which adjust the motor speeds. The knobs for these were all 3D printed. He also printed the mounting brackets for the three motors and the laser diode. A third set of printed parts makes mounting the round mirrors on the motor shaft quite easy. All of this came together with very tight tolerances as shown by the advanced shapes he manages to produce in the video after the break. Continue reading “Laser Kaleidoscope Uses More 3D Printing And Less Scavenging”

Laser Spirograph

laser-spirograph

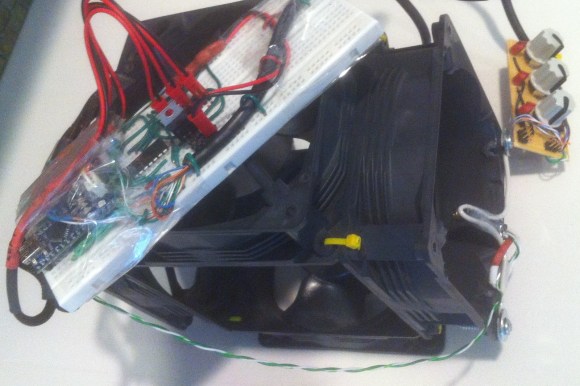
Here’s a weekend junk bin project if we’ve ever seen one. [Pat] used a quartet of computer fans to make his laser Spirograph. Deciding to try this simple build for yourself will run you through a lot of basics when it comes to interfacing hardware with a microcontroller. In this case it’s the Arduino Nano.

The Spirograph works by bouncing a laser off of mirrors which are attached to the PC fans. When the fans spin the slight alignment changes cause the laser dot to bob and weave in visually pleasing ways. You can catch twenty minutes of the light show in the clip after the break.

Three of the fans have mirrors attached, the housing of the fourth is used to host the laser diode and make assembly easier. A TC4469 motor driver is used to connect the fans to the Arduino. The light show can be manually controlled by turning the trio of potentiometers which are read using the Arduino’s ADC.

If you manage your way through this build perhaps you’ll move on to a setup that throws laser light all over the room.

Continue reading “Laser Spirograph”

Laser Spirograph Exhibit Repair And Upgrade

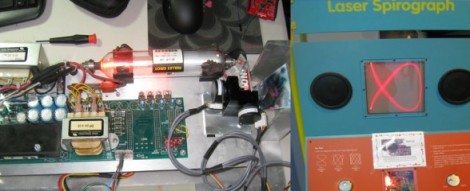
[Bill Porter] continues finding ways to help out at the local museum. This time he’s plying his skills to fix a twenty-year-old exhibit that has been broken for some time. It’s a laser spirograph which had some parts way past their life expectancy.

He started by removing all of the electronics from the cabinet for further study in his lair. He examined the signal generator which when scoped seemed to be putting out some very nice sine waves as it should. From there he moved on to the galvos which tested way off of spec and turned out to be the offending elements.

A bit of searching around the interwebs and [Bill] figured out an upgrade plan for the older parts. But since he was at it, why not add some features at the same time? He rolled in a port so that just a bit of additional circuitry added later will allow shapes and logos to be drawn on the screen. One of his inspirations for this functionality came from another DIY laser projector project.

Take a look at the results of the repair process in the clip after the break.

Continue reading “Laser Spirograph Exhibit Repair And Upgrade”

Laser Cut Clock Reminds Us Of A Spirograph

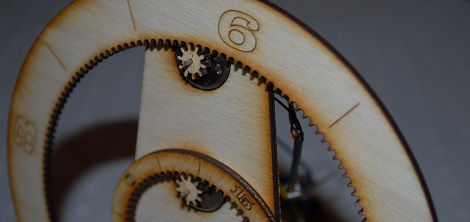
[Brian] from Louisville’s LVL1 hackerspace sent in this laser cut gear clock that’s almost unlike any other clock we’ve seen before. [Brian] also put up a wonderful Instructable for his build.

Since LVL1 got a better laser cutter a lot of neat projects have been piling up. [Brian] based his clock around two cheap stepper motors driven by a freeduino. A chronodot was used to keep accurate time. Making the gears, though, presented a few problems. While prototyping the gear clock face, it was apparent that the numbers should be oriented along a line coming from the center of the gear. The prototype also used 100 teeth and that didn’t translate well into a clock design. [Brian] designed the minute gear with 60 teeth, and the hour gear with 144 teeth so that each tooth would equal 5 minutes.

[Brian]’s clock is functionally similar to this $2500 gem, and certainly much less expensive even after the cost of the laser cutter is taken into account. Of course, the Spirograph clock keeps track of minutes so it may be worth upwards of $5k.

Computer Aided Cake Decoration

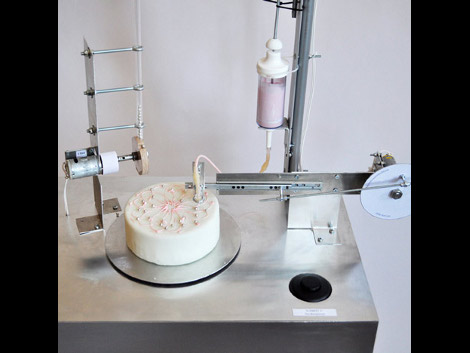
This contraption lets you decorate your cake at the push of a button. It’s a stretch to call it computer aided as this is purely a mechanical monster, but we still enjoy the apparatus and see its CNC potential (we’re still waiting for that pizza printer to hit the market too). An icing syringe has been modified with a flexible hose on the business end. As constant pressure is applied to the plunger, the nozzle oscillates while the cake rotates. What results is a spirograph drawing on the top of your dessert. But the fun doesn’t stop there. Another push of the button and you get shiny silver orb candies joining in the party.

What, no video? Aw! If you know where to find a clip, let us know and we’ll update this post.

[Thanks Mowcius]

Spirograph Generator

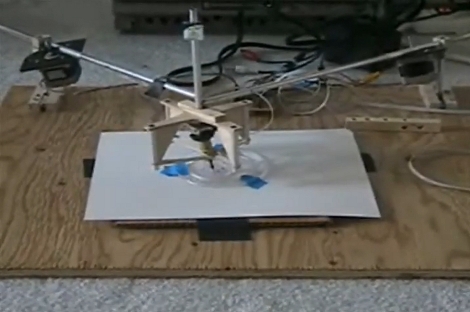
The Agnewgraph I can turn out a pretty nice Spirograph drawing. Instead of relying on meticulously acurate CNC hardware, it uses a Spirograph stencil similiar to that business card we’re so fond of. The key to the [Mpark’s] design is an analog joystick which is attached to the pen. As the pen follows the plastic guide around, a Propeller microcontroller calculates the angle of travel based on that joystick. These measurements are used to decide how to move the two stepper motors that provide horizontal and vertical motion to the frame. We’ve attached a video after the break just in case our rough description didn’t do it for you.

Continue reading “Spirograph Generator”

RGB Laser

laser_RGB_21_big

Last month we had the pleasure of bringing you [FireMyLaser’s] green laser spirograph. Just green is great for a while, but why not add red and blue for a full spectrum of color! [c4r0] steps in at this point to bring us his red green blue laser.

(Editor’s note: the old forum doesn’t seem to exist in 2023, but the project moved here. Thanks, [Rolson]!)

He dug around inside Blu-ray players and DVD drives until he had a collection of lasers, refractors, and other filters that fit his needs. With some careful toothpick alignment and glue, his setup was complete.

But then he went further by modified his galvo scanner to accept the RGB laser; requiring a custom circuit board and new software, both available on his site. The original is in Polish, but Google does a decent translation. Check after the jump for a video.

Continue reading “RGB Laser”