When it comes to learning about microcontrollers, everyone has to start somewhere. [Lady Ada] recently posted a tutorial on burning the Arduino bootloader to standalone chips for those just getting started with the micro.
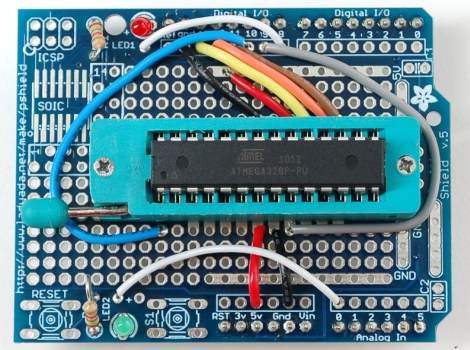
The tutorial cites a common situation, where someone is working on a project using an Arduino chip but they don’t want to sacrifice their dev board when just the micro and a few other components would do just fine. A short list of supplies is required, including an Arduino, a proto shield kit, a ZIF socket, and a blank ATmega chip.
The process is probably pretty straightforward and likely familiar to many of you out there. The ZIF socket is soldered to the board and handful of wires are added for powering and programming the new chip. The protoboard is installed on top of the Arduino like any other shield, and using a sketch that [Lady Ada] has made available, the bootloader burning process is a cinch.
It’s a useful tip for newcomers, and definitely a skill that seasoned Arduino users should have under their belts as well.

