These Capacitors Are A Cheap Gimmick

If you search through an electrical engineering textbook, you probably aren’t going to find the phrase “gimmick capacitor” but every old ham radio operator knows about them. They come in handy when you need a very small capacitor of unknown value. For example, if you are trying to balance the stray capacitance in a circuit, you might not know exactly what value you need, but you know it won’t be very much. That’s when you want a gimmick capacitor.

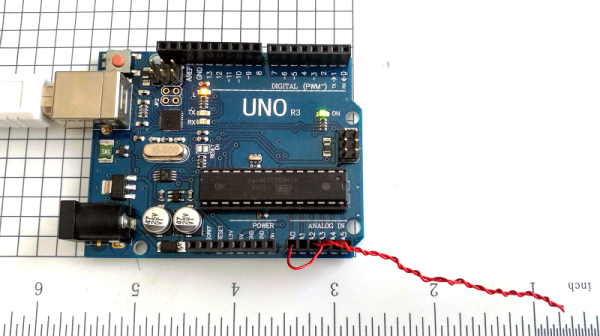
A gimmick capacitor is made by taking two strands of insulated wire and twisting them together; the length and the tightness of the twist determine the capacitance. Tightening or loosening the twist, or trimming some of the wire off, makes it tunable.

These are most commonly found in RF equipment or high-speed logic because of the small capacitance involved — usually about 1 to 2 pF per inch of twist or so. The thicker the insulation, the less capacitance you’ll get, so it is common to use magnet wire or something else with a thin insulating layer. You can take this one step further and decrease the spacing by stripping down one wire as long as it isn’t going to touch anything else.

Obviously, the insulation needs to be good enough for the voltage on them, an important consideration in tube circuits, for instance. But other than that, a gimmick capacitor is a straightforward tool to have in your box of design tricks. Can we take this further? Continue reading “These Capacitors Are A Cheap Gimmick”

Drawing Lines In The Sand: Taking Beach Graffiti To The Next Level

When strolling down the beach, there’s always an urge to draw in the sand – it seems compulsory to make your mark by inscribing something. But there’s a dilemma: how do you go about physically drawing it? You could opt to remain standing and attempt to deploy a toe, but that requires a level of dexterity few possess. The only other option is to bend down and physically use your hands. Ultimately, there’s no way to draw anything in the sand without losing your dignity.

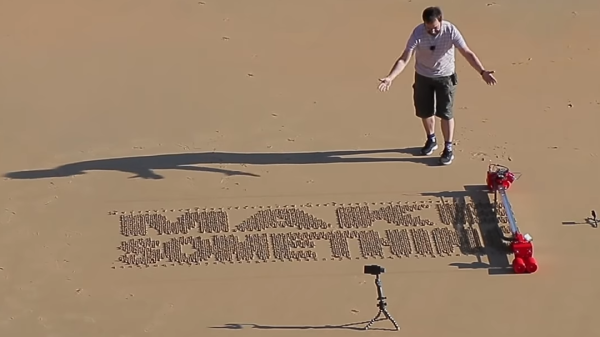
The solution? A robot, of course – the brainchild of [Ivan Miranda]. The idea is simple and elegantly executed: make a large linear actuator, place it on wheels, and attach a servo which can position an etching tool to be either in the sand or above it. The whole contraption moves forward one column at a time, making a vertical pass with the marker being engaged or disengaged as required. The columns are quite thin, giving relatively high-resolution text, though this does mean it take a while. Adding another servo and marking two adjacent columns at the same time would be an easy way to instantly double the speed.

The wheels are big and chunky, to ensure the horizontal distance travelled does not change between the top and the bottom. Of course, when making big parts like these it always helps if you’ve already built a giant custom 3D printer. If you want to read more of [Ivan]’s large scale 3D printing antics, checkout his tank with suspension, or plus-sized seven-segment clock.

Continue reading “Drawing Lines In The Sand: Taking Beach Graffiti To The Next Level”

The A To Z Of Building Your Own Keyboard

We’ve featured a number of people who’ve taken the plunge and created their own customized keyboard; at this point it’s safe to say that there’s enough information and source code out there that anyone who’s looking to build their own board won’t have much trouble figuring out how to do so. That being said, it’s nice to have a comprehensive at a process from start to finish. Why sift through forum posts and image galleries looking for crumbs if you don’t have to?

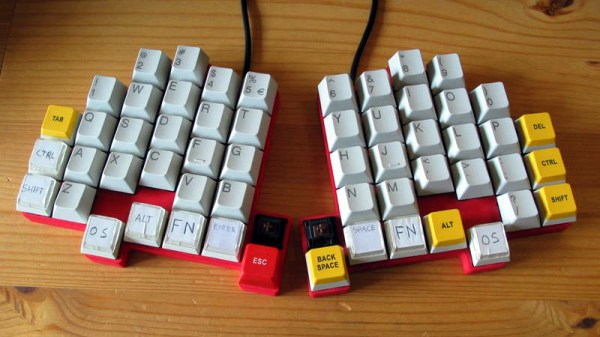
That’s precisely what makes this write-up by [Maarten Tromp] so interesting. He walks the reader through every step of the design and creation of his customized keyboard, from coming up with the rather unique layout to writing the firmware for its AVR microcontroller. It’s a long read, filled with plenty of tips and tricks from a multitude of disciplines.

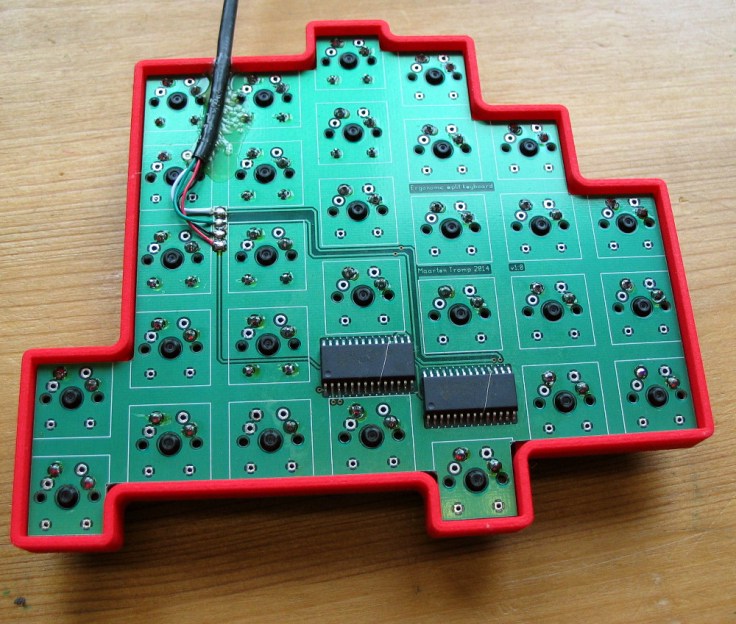
After looking at other custom boards for inspiration, [Maarten] used OpenSCAD to create a 3D model of his proposed design, and had it printed at Shapeways. His electronics are based around an Atmel ATMega328P using vUSB, and Microchip MCP23017 I/O expanders to connect all the keys. He wrapped it all up by designing a PCB in gEDA PCB and having it sent off for production. As a testament to his attention to detail, everything mated up on the first try.

[Maarten] is happy with the final product, but mentions that in a future revision he would like to add RGB lighting and use a microcontroller that has native USB support. He’d also like to drop the I/O expanders and switch over to Charlieplexing for the key matrix.

From uncommon layouts to diminutive technicolor beauties, it seems there’s no end of custom keyboards in sight. We aren’t complaining.