If you’ve used a diode laser engraver or cutter, you know that focus is critical. You’d think it would be relatively simple to get a sharp focus, but it isn’t that simple. [Makers Mashup] shows in a video how to use an adjustable IR filter to cut out all the light bleed to get a sharp image to make focusing simpler.
The filter he shows adjusts from 530nm to 750nm and is made to screw into a 72mm lens, but it works fine with your eyeballs, too. [Makers Mashup] says he’ll eventually make a stand for it so he can look through it with both hands free.
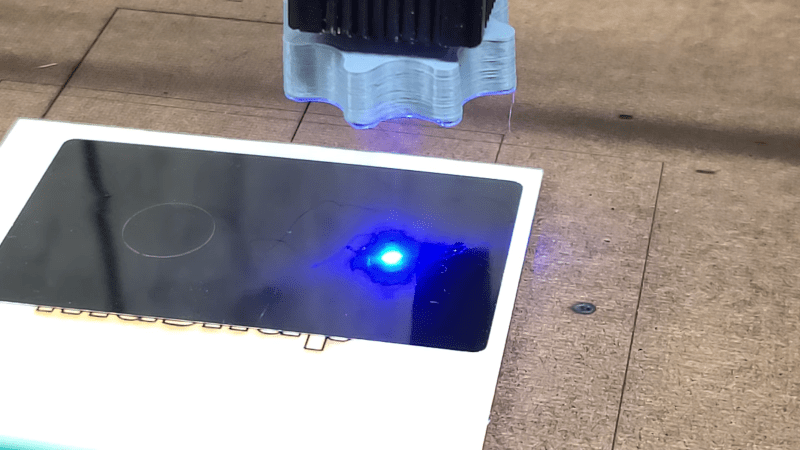
The laser isn’t a point source and the focus isn’t a sharp dot. Even so, observing the laser at low power shows a bright spot encircled by slightly less bright spots. It can be difficult to figure out the exact smallest point.
We’ve noticed before that using a black target helps and one pair of laser goggles we have cuts out the fringe better than the other pair, so it isn’t surprising that a properly tuned filter would make things easier.
A laser that isn’t focused well won’t engrave with maximum resolution and will lose power when cutting. This topic comes up every once in a while. We’ve even seen the focus done, not optically, but with springs.


I wouldn’t have thought you wanted the focal point at the surface on thicker materials, but a little below it. I’d have been likely to use the schoolboy with sun plus magnifying glass method though, correct focus is where it burns gooderer.
For sure, but it’s rather hard to directly set the focal point inside the material. Focussing on the top surface (or the platen) followed with a known offset tends to be a reliable method.
It seems to me that you can’t magically make the laser hit under the surface without first getting rid of the surface.
One technique I use in my L301 video is that you can use pieces of paper to more or less make a surface to focus the laser. After you focus it you simply replace the stack of paper with the actual object to engrave/cut.
@RW ver 0.0.3 said: “I wouldn’t have thought you wanted the focal point at the surface on thicker materials, but a little below it.”
You are correct. For cutting or deep engraving sometimes you want to focal point below the surface. Some cutters have programmable variable focal point which works when the material thickness varies or multiple passes are needed. On TV or YouTube (can’t remember where) I saw and example of measuring/setting a laser cutter’s focal point with disposable clear acrylic blocks. When the beam burns through the clear block it is possible to see how the focal point narrows and widens inside the block.
I thought so, too, but in practice, it did not help with cutting on my laser.
I’ve always used the trick of putting a block under the sheet to make it tilted and engraving a straight line – it’s easy to pick the best focus point and adjust bed height appropriately. For machines with motorized Z, the same can be done from g-code without tilting.
Exatly what i did. A Ramp and looking for the best burning point at a high speed.
This! The slanted block trick is gold if you have fixed Z.
Adjustable Z and a surface probe makes a lot of sense, though, if you’re engraving/cutting things of different height. It’s super tedious to play with focus all the time.
Bonus of adjustable z is that you can do one pass at surface, one pass halfway down, and that’ll cut through thicker things than it has any right to.
This is SOP for our 815nm lasers – use a #83 filter (or the old trick of a piece of blacked out negative film) on a cheap webcam with the IR blocking filter surgically removed and you can monitor things in real time without risking the one remaining good eye.
#87 filter – sorry.
Does anyone have a link explaning how variable wavelength infra-red filters like the one used in the article (link below) work? I searched but didn’t get any hits.
https://www.amazon.com/gp/product/B07THV9R3K
I don’t think it is a ‘variable wavelength’ filter. Best I can tell is that it’s a band pass filter combined with a standard polarizing adjustable Neutral Density filter. So you can just adjust your intensity of your 530nm to 750nm light.
Now maybe it’s not a flat response from 530nm to 750nm, so adjusting the passthrough might technically adjust the average wavelength, but then it’s a stretch to call it variable wavelength filter.
I would love to be corrected though.