Do You Need The Raspberry Pi Camera Module V3?

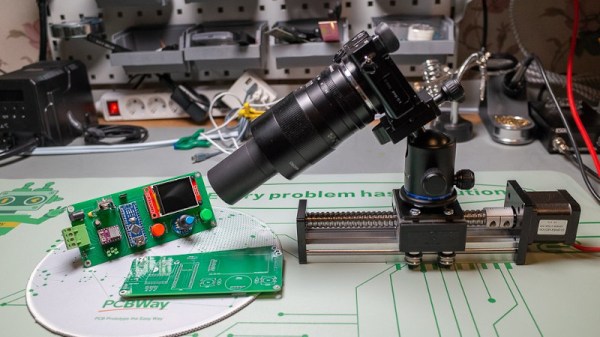
This month came the announcement of some new camera modules from Raspberry Pi. All eyes were on version 3 of their standard camera module, but they also sneaked out a new version of their high quality camera with an M12 lens mount. The version 3 module is definitely worth a look, so I jumped on a train to Cambridge for the Raspberry Pi Store, and bought myself one for review.

There’s nothing new about a Pi camera module as they’ve been available for years in both official and third party forms, so to be noteworthy the new one has to offer something a bit special. It uses a 12 megapixel sensor, and is available both in autofocus and wide angle versions in both standard and NoIR variants. Wide angle and autofocus modules may be new in the official cameras, but these are both things which have been on the third-party market for years.

So if an autofocus camera module for your Pi isn’t that new, what can we bring to a review that isn’t simply exclaiming over the small things? Perhaps it’s better instead to view the new camera in the context of the state of the Pi camera ecosystem, and what better way to do that than to turn a Pi and some modules into a usable camera! Continue reading “Do You Need The Raspberry Pi Camera Module V3?”

Better Macro Images With Arduino Focus Stacking

If you’ve ever played around with macro photography, you’ve likely noticed that the higher the lens magnification, the less the depth of field. One way around this issue is to take several slices at different focus points, and then stitch the photos together digitally. As [Curious Scientist] demonstrates, this is a relatively simple motion control project and well within the reach of a garden-variety Arduino.

You can move the camera or move the subject. Either way, you really only need one axis of motion, which makes it quite simple. This build relies on a solid-looking lead screw to move a carriage up or down. An Arduino Nano acts as the brains, a stepper motor drives the lead screw, and a small display shows stats such as current progress and total distance to move.

The stepper motor uses a conventional stepper driver “stick” as you find in many 3D printers. In fact, we wondered if you couldn’t just grab a 3D printer board and modify it for this service without spinning a custom PCB. Fittingly, the example subject is another Arduino Nano. Skip ahead to 32:22 in the video below to see the final result.

We’ve seen similar projects, of course. You can build for tiny subjects. You can also adapt an existing motion control device like a CNC machine.

Continue reading “Better Macro Images With Arduino Focus Stacking”

Adding Electronic Shifter Functionality To Bicycle Derailleur

For the overwhelming majority of bicycles out there that feature multiple gears, switching between these is done purely mechanically, with a cable. Generally this uses a derailleur, which forms part of the gear switching and chain tensioning mechanism. As a mechanical system, it’s reliable when well maintained, but tuning it can be a real hassle. This is where an electronic shifter should be able to provide faster, more reliable and quieter shifting, and is also where [Jesse DeWald]’s electronic shifting project begins.

As [Jesse] points out in the introductory article on electronic shifting, it’s not a new concept, with everyone from Shimano (Di2) to Archer and others coming up with their own version. Some of these require replacing the existing derailleur, while others should allow for non-destructive modification. What [Jesse] did not find among this constellation of options was a version that’d work with existing derailleurs, did not require destructive modifications and have a long battery life.

[Jesse]’s design omits the servo present in Archer’s design, and uses the existing derailleur spring, with the reasoning explained in a nice spring physics refresher. Instead a stepper is used along with a matched balancer spring that in testing managed over 3 months of standby time with a 3,700 mAh Li-ion battery and thousands of shifts. At the core of the system is an Arduino Pro Mini board, the code for which is available along with the design plans.

The project is not done at this point, of course, with a whole range of improvements still to be added, including a case, so that the shifter can be used outside in the rain.