Here’s something fun. Our hacker [Willow Cunningham] has sent us a copy of their homework. This is their final project for the “ECE 574: Cluster Computing” course at the University of Maine, Orono.
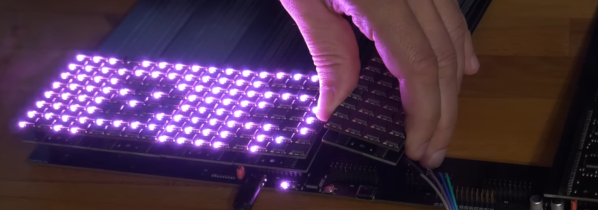
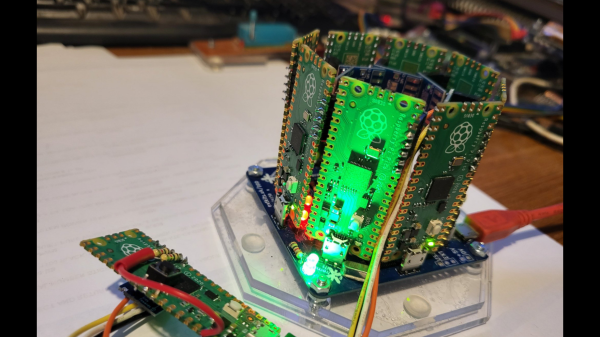
It was enjoyable going through the process of having a good look at everything in this project. The project is a “cluster” of 5x Raspberry Pi Pico microcontrollers — with one head node as the leader and four compute nodes that work on tasks. The software for both types of node is written in C. The head node is connected to a workstation via USB 1.1 allowing the system to be controlled with a Python script.
The cluster is configured to process an embarrassingly parallel image convolution. The input image is copied into the head node via USB which then divvies it up and distributes it to n compute nodes via I2C, one node at a time. Results are given for n = {1,2,4} compute nodes.
It turns out that the work of distributing the data dwarfs the compute by three orders of magnitude. The result is that the whole system gets slower the more nodes we add. But we’re not going to hold that against anyone. This was a fascinating investigation and we were impressed by [Willow]’s technical chops. This was a complicated project with diverse hardware and software challenges and they’ve done a great job making it all work and in the best scientific tradition.
It was fun reading their journal in which they chronicled their progress and frustrations during the project. Their final report in IEEE format was created using LaTeX and Overleaf, at only six pages it is an easy and interesting read.
For anyone interested in cluster tech be sure to check out the 256-core RISC-V megacluster and a RISC-V supercluster for very low cost.