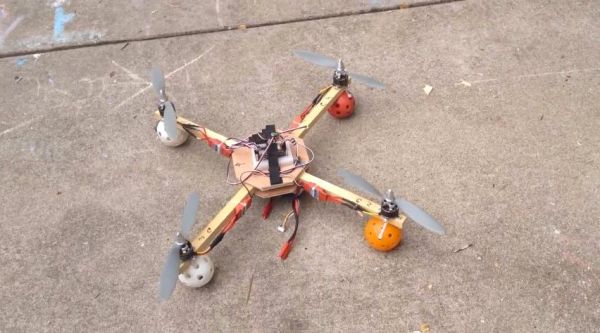
[marhar] was pretty confident in his quadcopter building skills when he made a bet to build and fly a quadcopter in just one hour! This is a big task but he saved valuable time by using some unlikely parts that were hanging around his parts bin. And to make the task a little more difficult, this build wasn’t done in a nice shop, either. It was built outside on a patio floor with the only power tools available being a hand drill, miter saw and small drill press!
The frame is made from cheap, sturdy and available scrap wood. The center plates are 1/4″ plywood and the arms are 3/4″ square fir strips. Notice the landing gear, yes, those are mini wiffle balls zip-tied to the wooden arms. Although an unlikely candidate for landing gear, they are surprisingly effective.
The flight controller board is an Ardupilot. [marhar] did use a flight controller that he previously had in another quadcopter. He used it as-is, and it worked, but no programming or configuration time is included in the 1-hour limit. Even so, it doesn’t take away from the impressiveness of the build time. The motors, ESC’s and battery are just standard types used for most multirotors.
[marhar] doesn’t say what he won for completing the ‘copter but we hope it was something good, he deserves it. If you’d like to make something similar, [marhar] gives very detailed instructions and provides templates for the wood parts on his Instructables page. Check out the time-lapse build video after the break…


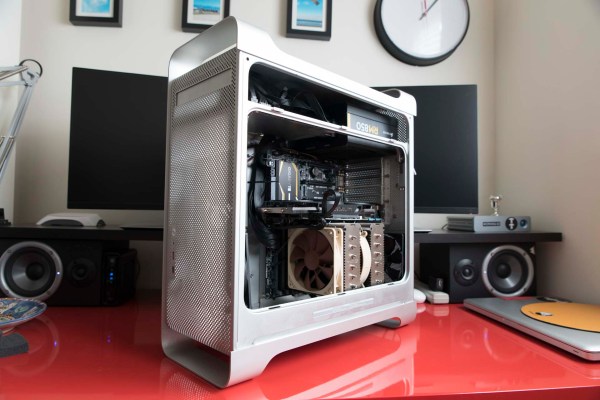
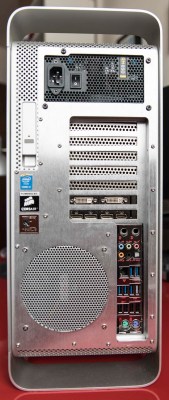 Fast forward from 2012 to present day and [G.S.] decided it was time to do something with that G5. That “something” wasn’t about fixing it. Instead, it was gutted to turn it into a
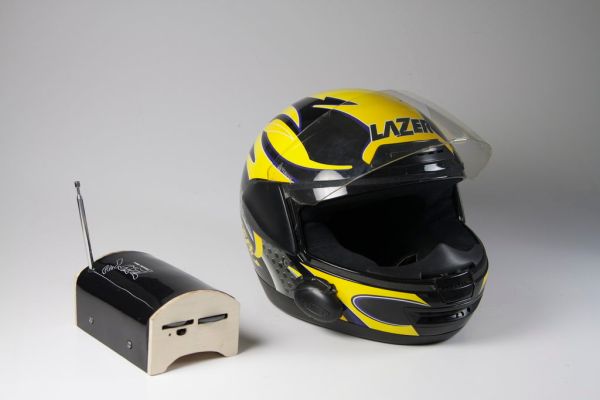
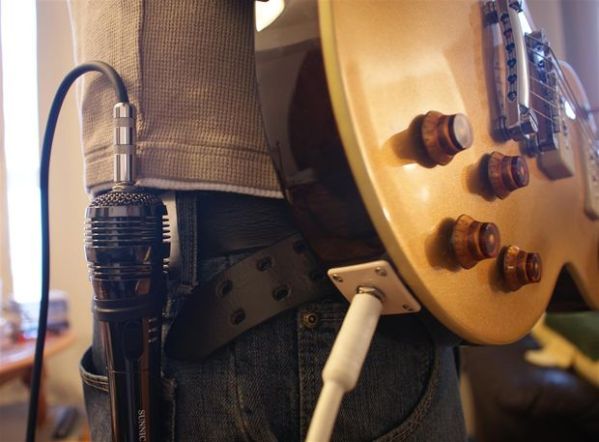
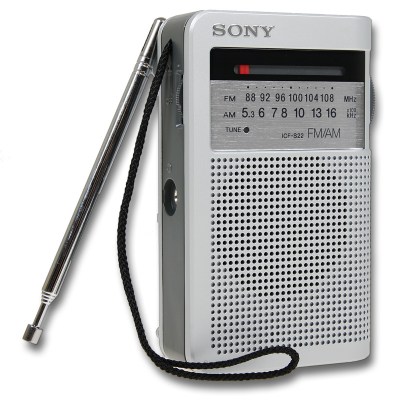 [sswanton] started out by disassembling the ultra-inexpensive, old-school, battery-powered Sony ICF-S22 radio specified by the class. The stock case was discarded as he would have to make a new one that fits onto the bike’s handlebars. Plywood makes up majority of the frame while the cover is black acrylic. Getting the acrylic bent required heating to 160 degrees so that it could be bent around a form [sswanton] created specifically for this project. A few cutouts in the case allows the rider to access the volume and tuning knobs.
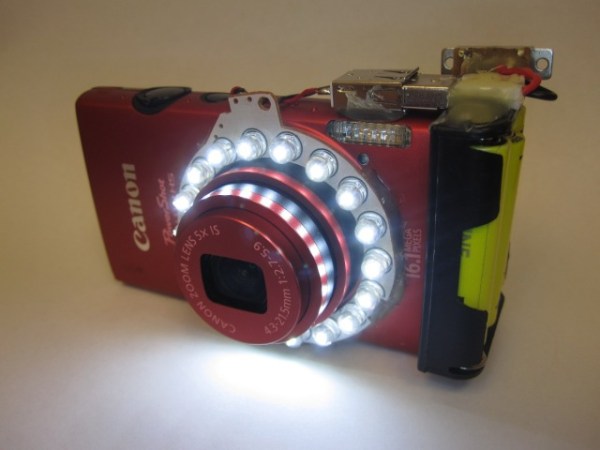
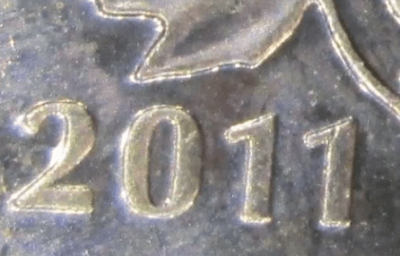 The utilitarian modification may look crude but the results are anything but. Check out this close-up macro shot of a Canadian penny. Not too bad.