We often take our “SoftwareSerial” libraries for granted, and don’t investigate what goes on under the hood — until they fail us, at least. Would you like to learn how to harness the power of interrupt-driven bitbanging? [Jim Mack] teaches us how to make our protocol implementations fly using the LTC protocol as a springboard.
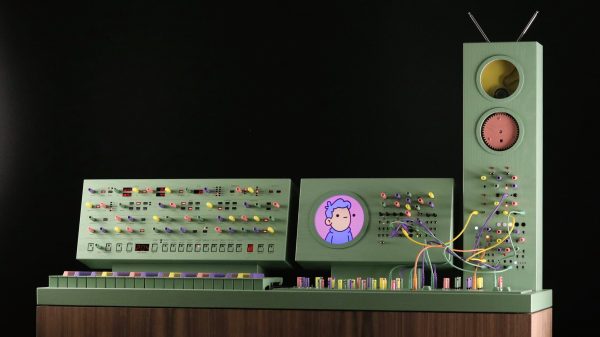
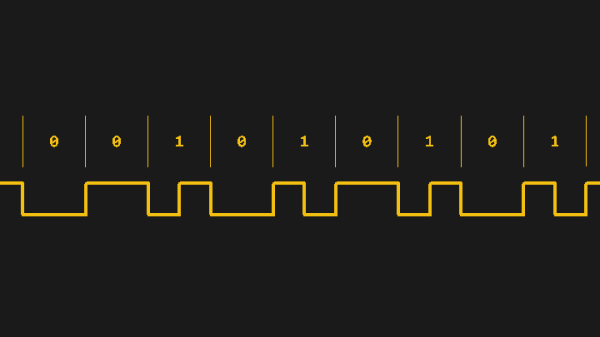
LTC (Linear/[Longitudinal] TimeCode) is a widely-used and beautifully-crafted protocol that tends to fly under our radar, and is one that hackers could learn plenty from. It’s used for synchronization of audio/video devices during media production and playback. LTC’s signal is almost digital but not quite: it doesn’t need a clock, and it has no polarity. Additionally, it mimics an audio signal really well, you can decode it at any playback speed, and many other benefits and quirks that [Jim] outlines. You do need to maintain the timings, though, and [Jim]’s article shows us how to keep them right while not inconveniencing your primary tasks.
Continue reading “Animate Arcane Protocols With Interrupt-Backed Bitbanging”

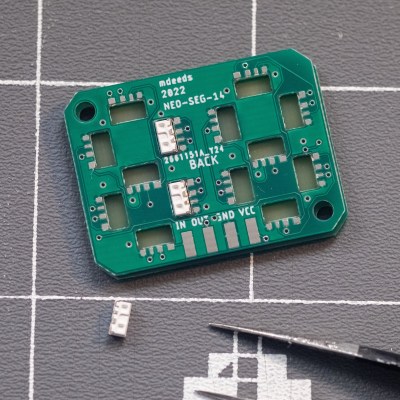 [Matt’s] build consists of a PCB filled with SK6812 side-mount LEDs, laid out in a typical 7-segment pattern. Each PCB features two 7-segment digits. The SK6812 LEDs can be driven in the same way as the famous WS2812B addressable LEDs, though they have the benefit of being more stable in color and brightness over a range of supply voltages.